Saniderm has become one of the most significant developments in tattoo aftercare in the last decade. The medical-grade adhesive bandage, and its equivalents under brand names like Dermshield, Tegaderm, and Second Skin, changed the first-week healing protocol for a significant number of artists and their clients. Understanding how it works means using it correctly and getting the results it’s capable of delivering.
Here is the complete guide to Saniderm tattoo healing.
What Saniderm Is and How It Works
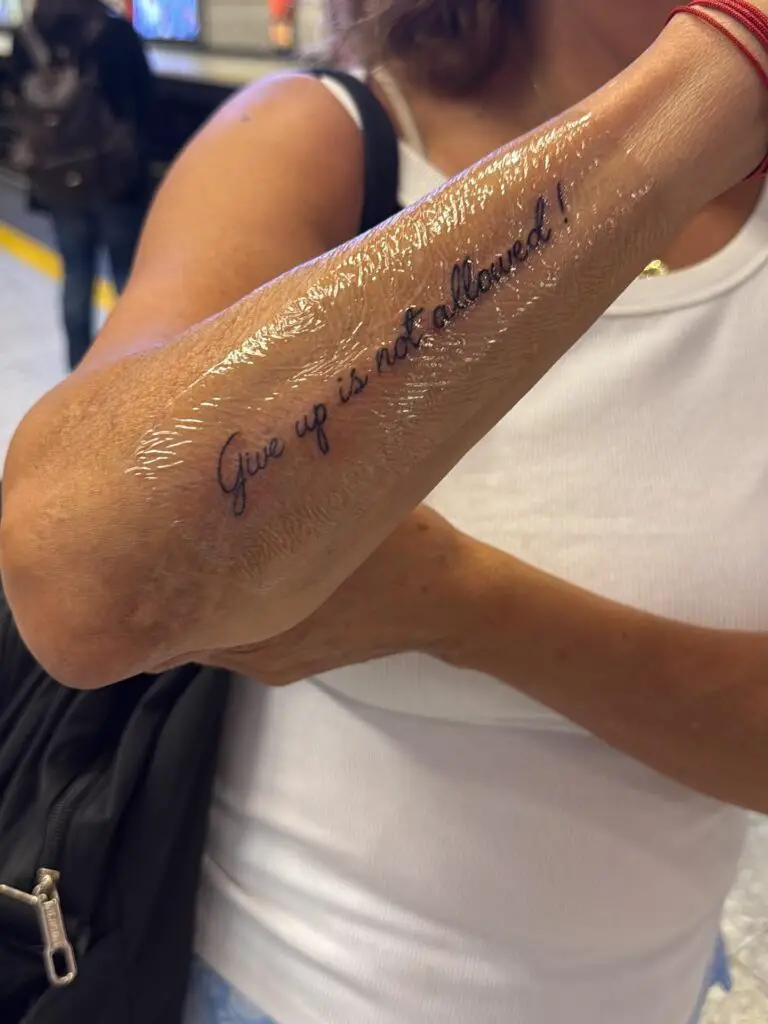
Saniderm is a breathable, waterproof polyurethane film that adheres to the skin around a fresh tattoo and creates a sealed, moist environment over the healing wound. It allows oxygen through but prevents bacteria, water, and debris from reaching the tattoo surface. The moist healing environment it creates has been shown in medical research to accelerate wound closure compared to dry healing methods.
The bandage collects the plasma and excess ink that the tattoo weeps in the first 24–48 hours. This is normal. The fluid pooling under the film looks alarming the first time you see it. It is not alarming. It’s the healing process contained rather than absorbed into clothing or bedding.
How to Apply Saniderm Correctly
Your artist will apply the first piece in the studio immediately after the tattoo is complete. This first application is the most important one, as it protects the fresh wound during the highest-risk period for contamination.

If you’re applying it yourself for subsequent pieces, the skin must be clean and dry. Clean the tattooed area gently with an unscented antibacterial soap, pat completely dry with a clean paper towel, and apply the Saniderm piece with at least 2–3cm of film beyond the tattoo’s edges on all sides. Press firmly from the centre outward to eliminate air bubbles and ensure adhesion.
How Long to Keep It On
Most artists recommend keeping the first piece of Saniderm on for 24 hours, then replacing it with a fresh piece for a further 5–6 days. Some artists apply a single large piece intended to remain for the full 5–7 days. Follow your specific artist’s instructions rather than a generic protocol, as they’ve calibrated the recommendation to their style of tattooing.
The bandage should be removed if you notice a leak, if it begins to lift significantly at the edges, or if you experience unusual redness, swelling, or heat beneath the film suggesting a reaction.

How to Remove Saniderm Without Damaging the Tattoo
Saniderm is a medical adhesive and removes differently from a regular bandage. Pull it back slowly and in the direction of hair growth rather than straight up. The shower is the best removal environment: warm water softens the adhesive and significantly reduces discomfort. Peel a corner back, press the skin down ahead of the film, and work slowly.
Do not rip it. The adhesive is strong enough to lift healing skin if removed quickly. Take the extra two minutes.
What the Tattoo Looks Like Under Saniderm
By the end of the first 24 hours, the film will typically contain a cloudy mixture of plasma, blood, and excess ink. The tattoo itself may look smudged or unclear beneath this fluid. This is normal. The ink is not leaving the tattoo. The fluid is simply what the healing process produces in the first day.
After changing to a fresh piece, the tattoo should be visible much more clearly. The second piece will collect less fluid than the first. By days five through seven, the film should be largely clear.
After Saniderm: What Comes Next
Once the Saniderm period is complete, the tattoo’s surface healing is usually well advanced compared to traditional wrap and lotion methods. The skin should be largely intact rather than in full peel mode. You’ll typically move directly into a regular moisturising routine rather than the intensive first-week protocol.
Some light flaking and dullness is still normal after Saniderm removal. The deeper layers continue healing for weeks regardless of the surface method. Moisturise consistently, keep out of direct sun, and let the process complete itself.
Who Saniderm Works Best For
Saniderm suits most people and most tattoo styles well. It’s particularly effective for large, dense blackwork pieces where the volume of plasma and ink produced is significant. It’s also useful for placements that are difficult to wrap conventionally: ribs, feet, behind the knee.
People with sensitive skin or adhesive allergies should test a small patch of Saniderm on an untattooed area before applying it to fresh work. Reactions are uncommon but not unheard of. A reaction will typically present as redness and irritation at the film’s edges within the first few hours.
Saniderm vs Traditional Wrap: The Honest Comparison
Traditional cling film wrap serves the same purpose for the first few hours: protecting the fresh tattoo from contamination while the artist’s client travels home. It is not breathable and should not be left on for more than two to four hours. Saniderm’s breathable film makes extended wear safe in a way that cling film does not.
Saniderm tattoo healing produces consistently good results across styles when used correctly. The investment in a proper supply of medical bandage is small relative to the investment in the tattoo itself.