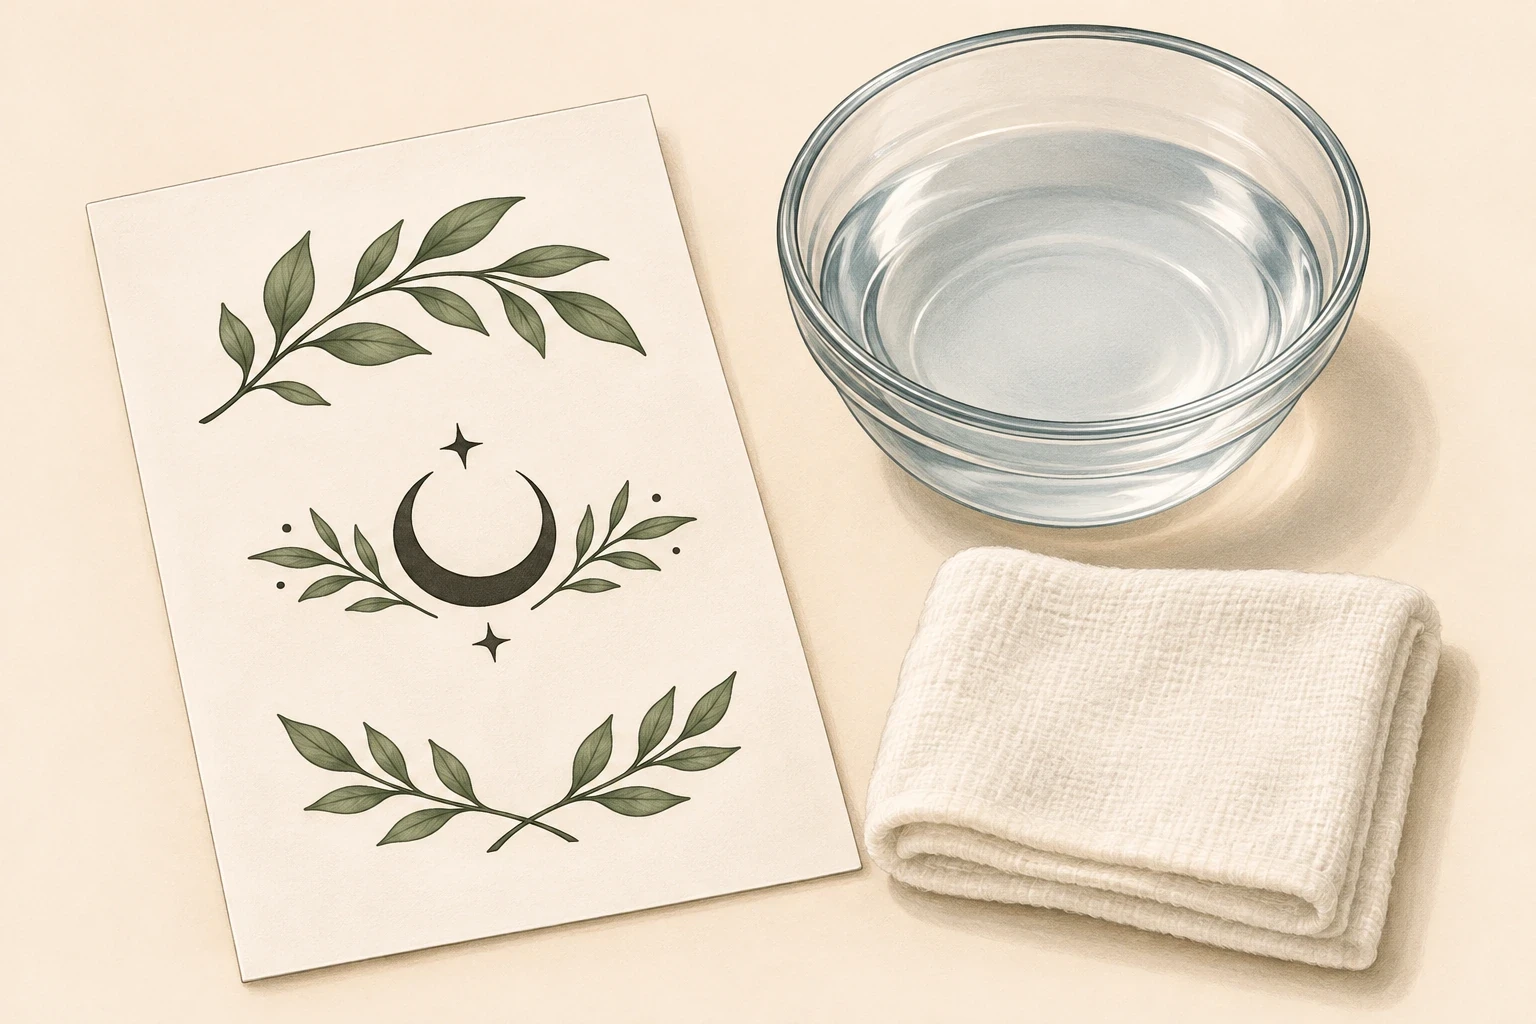
To apply a water-transfer temporary tattoo, start with clean, dry skin, remove the clear protective film, place the design facedown, and wet the paper backing while holding it still. Lift the backing gently after the time specified on the packet, then let the transfer dry before touching or covering it. These steps are for ordinary water-transfer decals; skin-staining products use their own instructions.
The most useful check happens before you open the packet: identify the product type. A ready-made decal, a printable transfer and a developing skin stain may all be sold as temporary tattoos, but they do not share one application time or wear period.
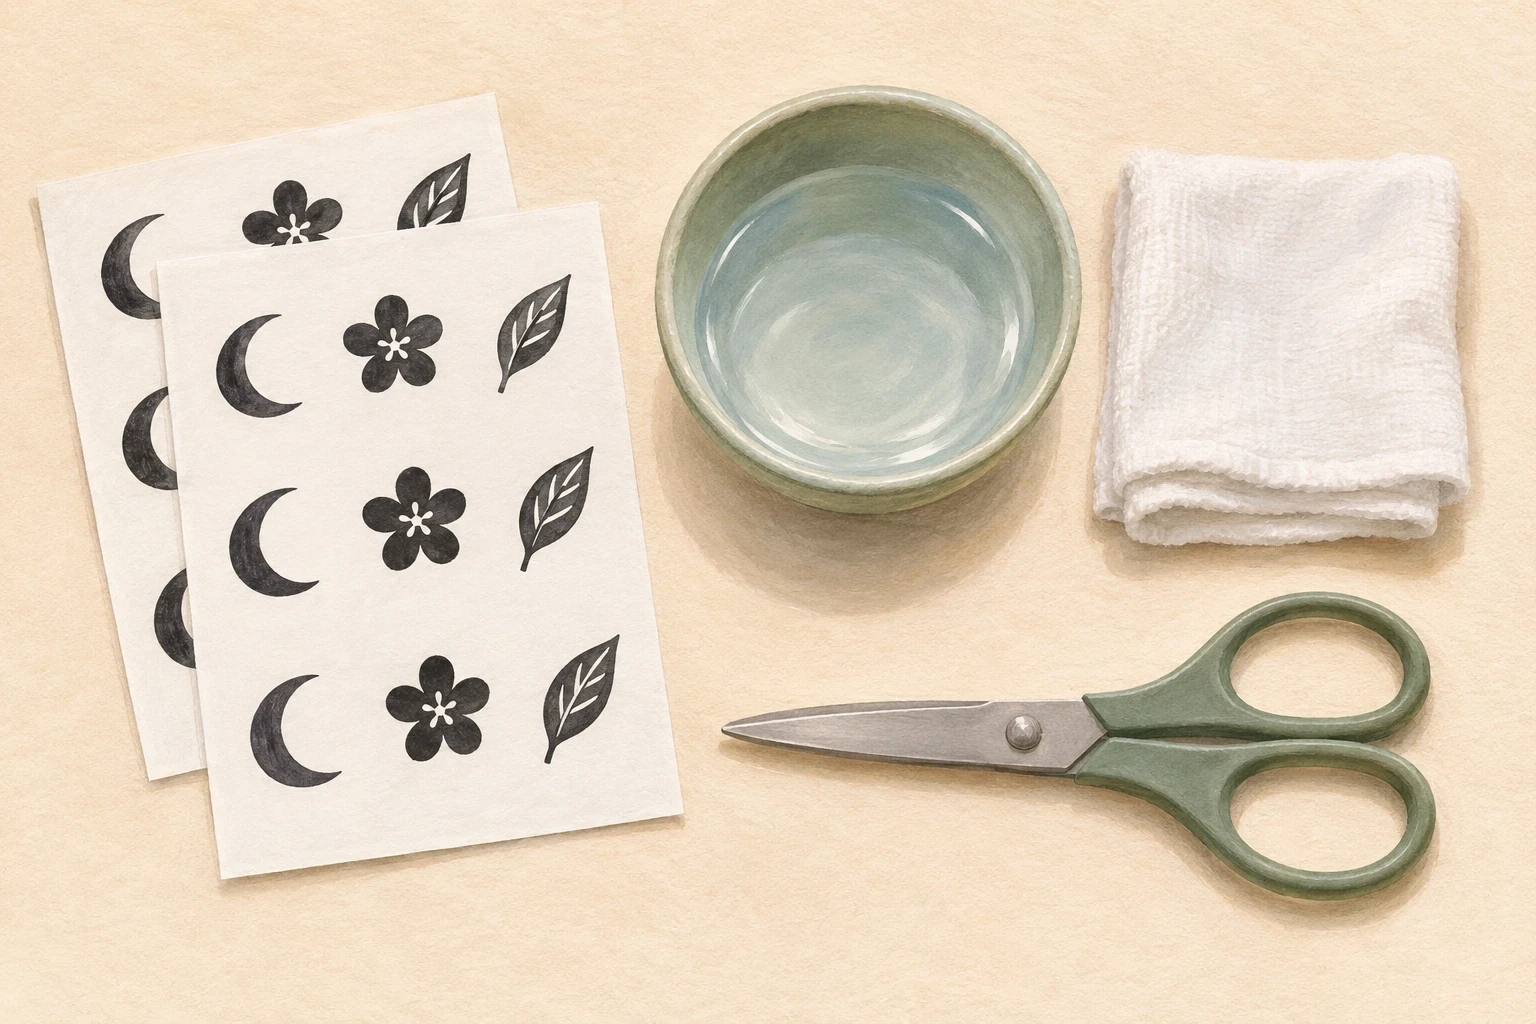
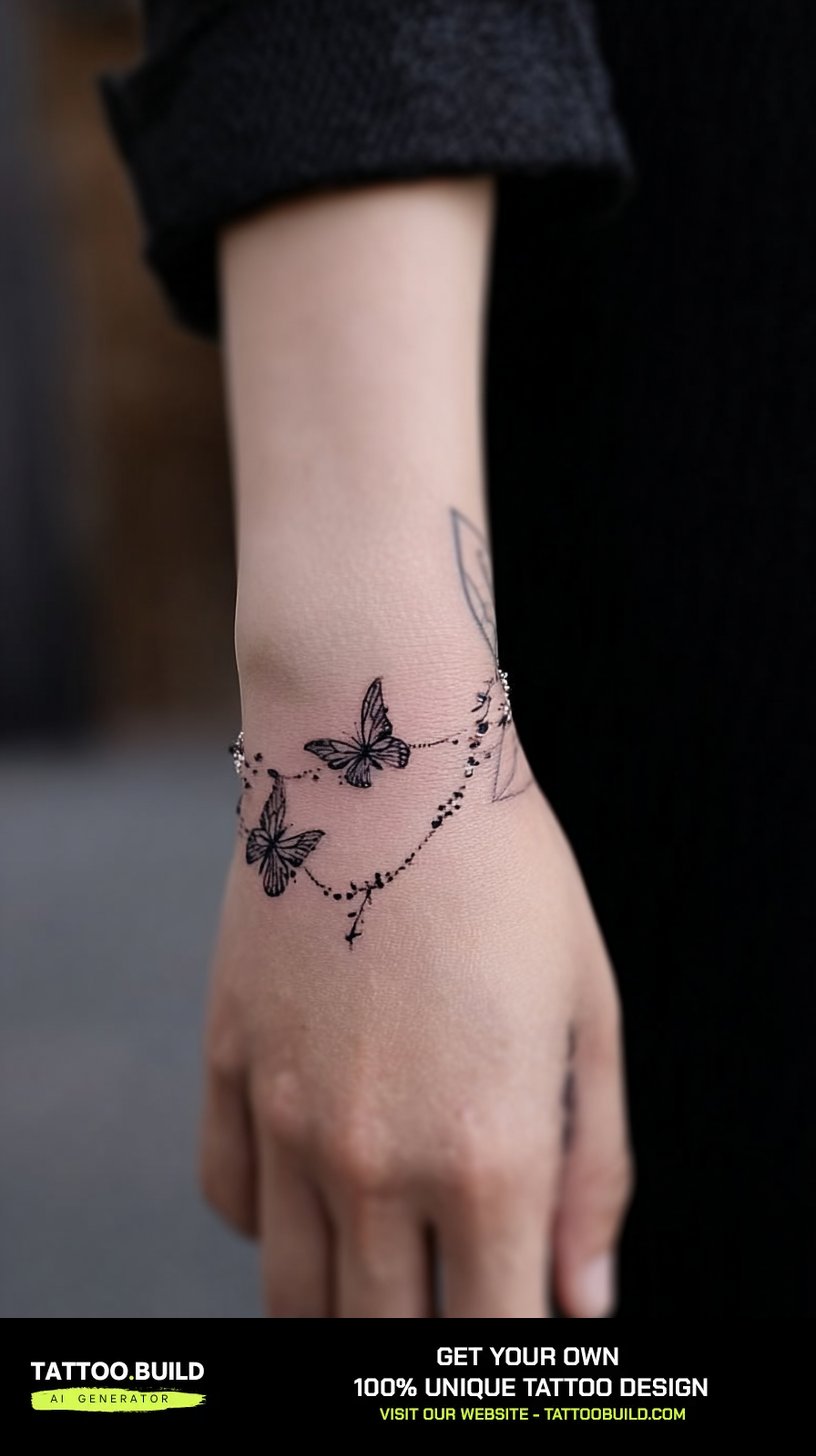
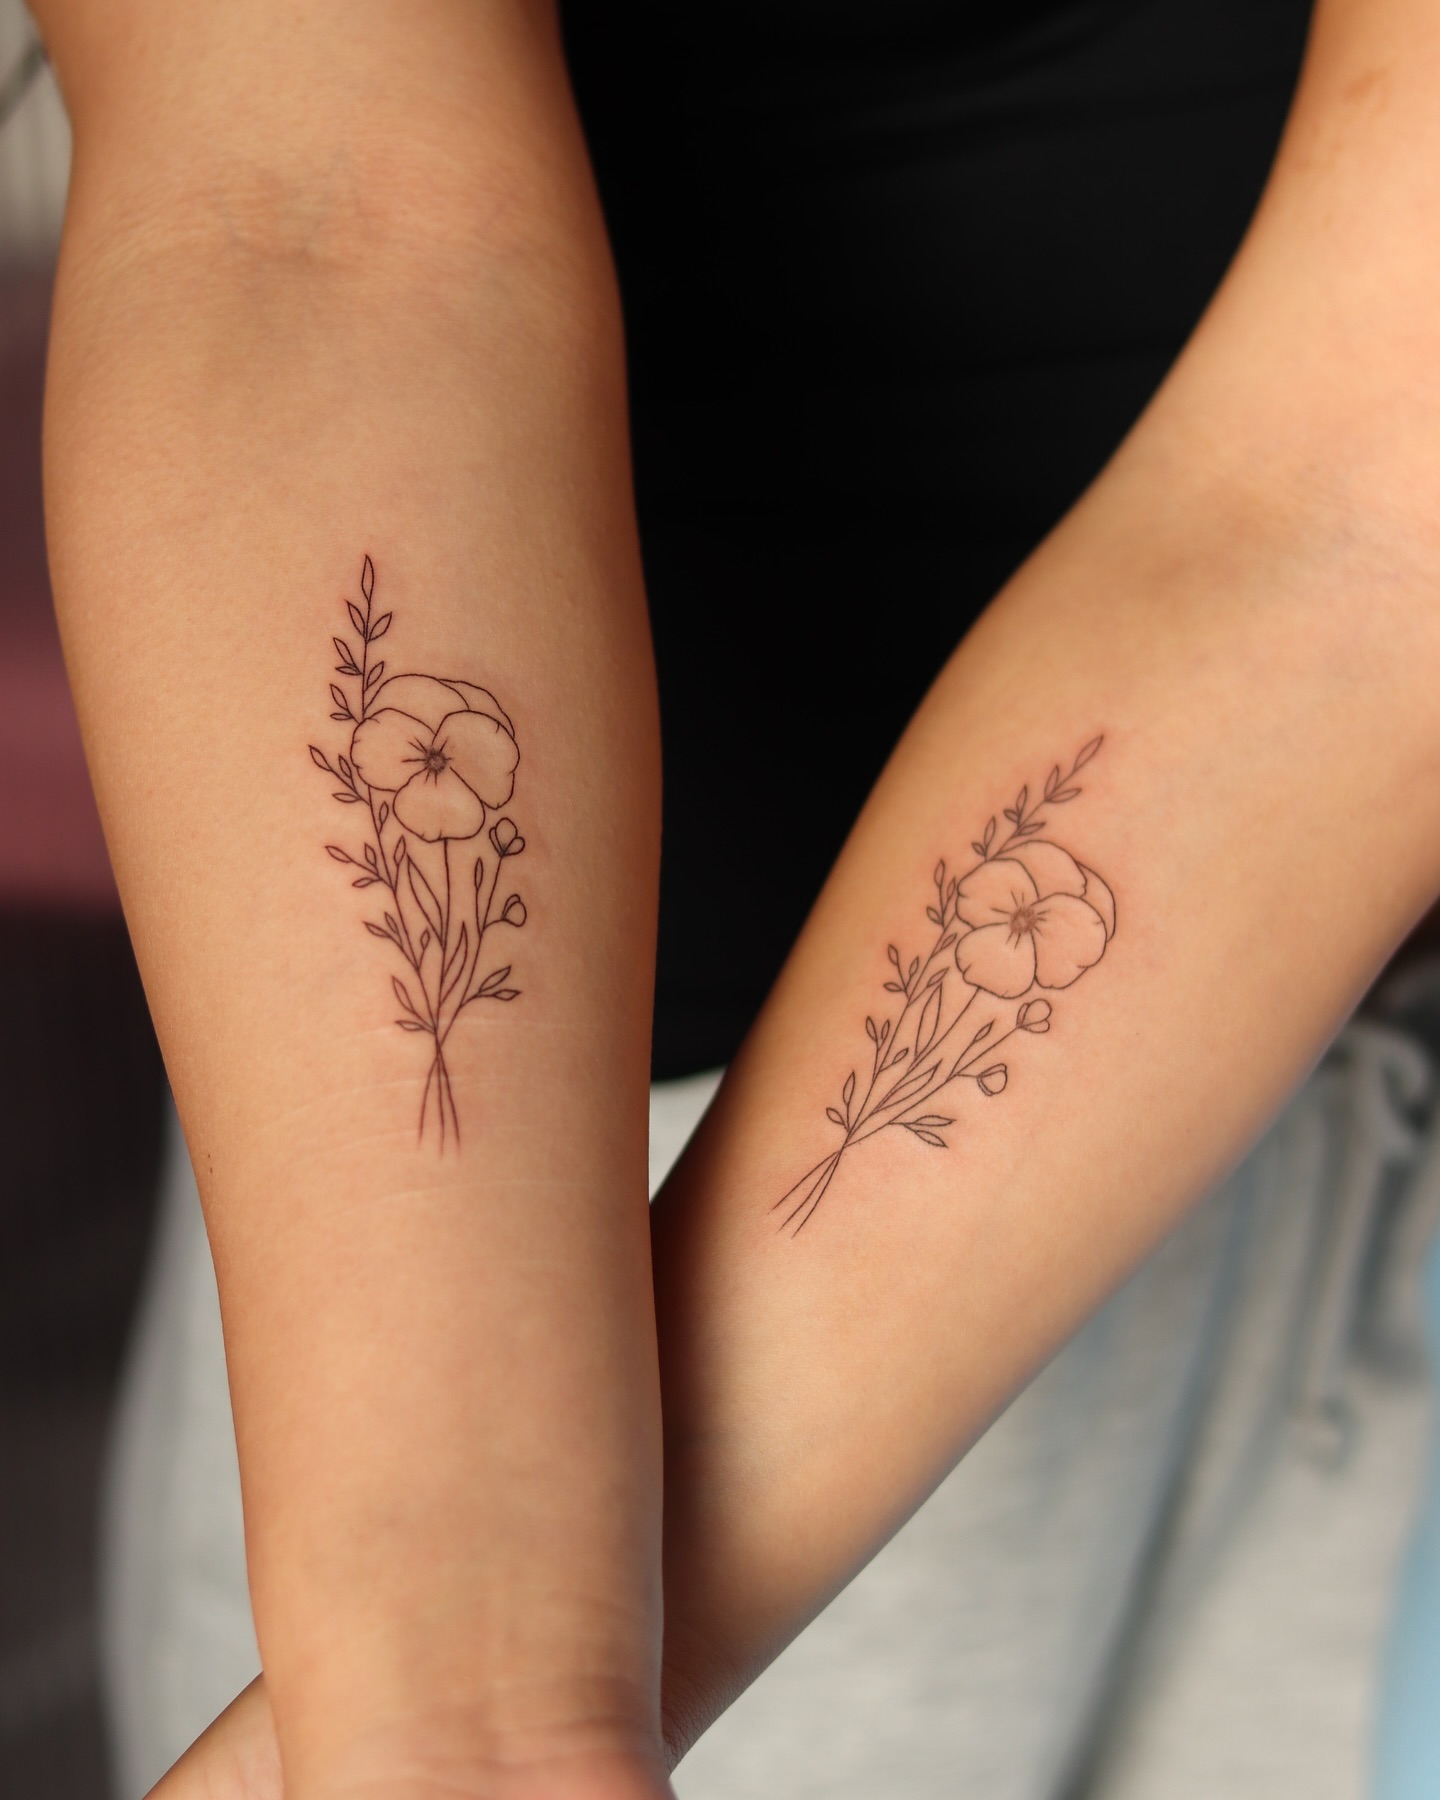
Image disclosure: All images are AI-generated educational illustrations, not photographs of real applications, client work or healed tattoos. They explain the sequence and cannot demonstrate a product's performance. Your product's directions take priority over the illustrations.
What to have ready
- A temporary tattoo intended for skin, with readable application directions and ingredient information.
- Clean water and a clean cloth or sponge, if the product is water activated.
- Scissors for trimming the paper, if the manufacturer permits it.
- A dry work surface and enough time to leave the transfer undisturbed.
Look at the transfer before separating any layers. Identify the decorative side, clear protective film and paper backing. Removing the wrong layer can leave the design unable to make contact with skin.
For one documented example, TemporaryTattoos.com's application FAQ describes removing the clear sheet, positioning the design facedown, wetting the backing and waiting 30 seconds. That timing belongs to its product instructions, rather than every temporary tattoo on sale. Sources checked 10 November 2026.
1. Prepare the skin and choose a flat position
Wash and thoroughly dry the application area. Keep lotion, oil and makeup away from the spot before applying the decal. Choose intact skin and follow the label’s placement and age restrictions. Do not apply over irritated or broken skin.
Rest the area in a comfortable position before you begin. Check the motif’s direction while it is still on the paper: decide which edge should face your wrist, elbow or the viewer. Avoid changing the position midway through the transfer.
2. Trim if needed, then remove the clear film
If the packet calls for trimming, cut out one motif on the table before bringing it to the application area. Keep enough paper around the design to handle it without folding the image. Then remove the clear protective sheet as directed.
Set the discarded film aside so it does not get confused with the backing you still need. The illustration separates the layers for clarity; the thickness, color and arrangement of your actual product may differ.
3. Place the design side against the skin
Position the exposed design facedown, leaving the paper backing facing you. Keep it flat and still. If you are uncertain which side touches the skin, pause and check the package rather than trying both orientations.
Take a moment to check alignment before adding water. A crescent, leaf or asymmetric motif can face the wrong direction even when the transfer itself works correctly. Once positioned, hold it in place instead of sliding it around to adjust it.
4. Wet the paper evenly and follow the packet’s time
Press a wet cloth or sponge against the backing so the whole paper area is dampened. Hold it in place for the manufacturer’s stated time. Keep the paper from shifting while it releases.
Timing differs between products. TemporaryTattoos.com’s application guide gives a 30–60-second example, while StickerYou’s instructions specify a minimum of 15 seconds. Use the directions supplied with your transfer, not the longest or shortest number you find online.
5. Lift the backing without dragging the image
Gently test an edge when the specified time has elapsed. Remove the backing slowly in the way the packet describes. If it is not releasing, keep the transfer in position and recheck the wetting and timing instructions rather than pulling harder.
A small paper corner is easier to control than a large sheet that bends across the whole arm. For a first attempt, work with one modest motif so you can see whether the paper has released before moving to a larger design.
6. Let it dry before clothing or rubbing touches it
Allow the transfer to dry as directed. If your product asks for a gentle rinse, do that step without scrubbing. Avoid immediately covering the damp image with a sleeve or touching it repeatedly to see whether it has set.
Compare the result with your original plan once it is dry. Note whether the placement and size suit you. A temporary transfer can help with that decision, but an illustration or surface decal cannot predict how permanent ink will heal.
How long do temporary tattoos last?
There is no single wear time across temporary tattoo types. The FDA's temporary tattoo fact sheet describes decal wear as ranging from a day to a week or longer. Treat that as a broad description, not a promise for your packet.
| Product type | Wear and timing |
|---|---|
| Classic decal | TemporaryTattoos.com lists 3–5 days for its classic products. Check the packet for the specific product. |
| Developing skin stain | The manufacturer’s pages give differing 7–10- and 7–14-day estimates, with approximately 24–48 hours for development. Follow the product’s own instructions. |
| Printed transfer | Use the paper manufacturer’s wear estimate and application directions. |
Those brand-specific estimates come from the manufacturer's general information and tattoo designer product information, checked 10 November 2026. They are not our test results or a guarantee for other brands. Judge the finish you have, rather than expecting a surface decal to behave like a developing stain.
If the transfer looks patchy or lifts
| What you notice | Check before the next attempt |
|---|---|
| The design stays on the paper | Confirm the clear film was removed, the design faced the skin and the backing was wetted for the specified time. |
| Only part of the design transfers | Look for a dry corner, a fold or movement during the hold. Start the next trial on a flatter area. |
| The motif smears or creases | Check whether the transfer shifted or was rubbed before drying. |
| The edge lifts quickly | Review skin preparation and friction from clothing, a watch or a skin fold. |
Change one part of the process at a time. Keep the next attempt small and retain the packet so you can compare what you did with its actual sequence. Do not add household glue, hairspray or random sealants to make a failed transfer stick.
Help the finish stay tidy
Follow the product’s washing and wear directions. Avoid rubbing the image with a towel, picking at an edge or repeatedly testing its adhesion. StickerYou notes that some oils, creams, makeup and sunscreen ingredients can affect adhesion over time. Choose a different placement if a product or item of clothing continually rubs the area; do not skip sun protection to preserve a decorative transfer.
When you want it off, use the manufacturer’s removal method. Our temporary tattoo removal guide covers the separate removal task. Avoid scraping or aggressive rubbing to save a damaged design.
Temporary does not mean reaction-free
The FDA has received reports of reactions to some decal tattoos and henna products. Read the ingredients and directions, and do not interpret the word temporary as a guarantee that a product suits every person. Avoid black-henna substitutes: the FDA warns that added PPD can cause dangerous skin reactions.
Stop using the product if irritation develops and seek medical advice for a reaction. Ask a doctor or pharmacist if you have concerns about a skin condition or ingredient. For children, follow the product’s age limits and supervise use. This guide explains application; it does not assess an individual’s medical suitability.
Frequently asked questions
Do I wet the skin or the paper?
For the water-transfer method described here, start with dry skin and wet the paper backing after the design is positioned. A different product may specify a different sequence, so check its directions first.
Why is my temporary tattoo backward?
Check whether you positioned the correct side against the skin. If you printed it yourself, the artwork may also have needed mirroring. Our guide to making printable temporary tattoos covers paper and print preparation.
Can I shower with a temporary tattoo?
Check your product’s water and aftercare instructions after it has dried. A claim about one brand’s water resistance does not establish the same result for every decal or developing stain.
Can I apply it over lotion?
The cited classic-decal instructions call for clean, dry skin free of lotion and oil. Prepare the spot as your packet directs; adding a cosmetic underneath changes the surface the transfer contacts.
Can I reapply a transfer that failed?
Do not assume a partly used transfer can produce a complete second image. Follow the manufacturer’s guidance, inspect a fresh piece and correct the preparation or positioning issue before trying again.
Will a larger design last longer?
Size alone is not a useful guarantee. Check the manufacturer’s estimate and choose a placement where the image can sit flat without constant rubbing. Plan for normal fading rather than promising a fixed lifespan.