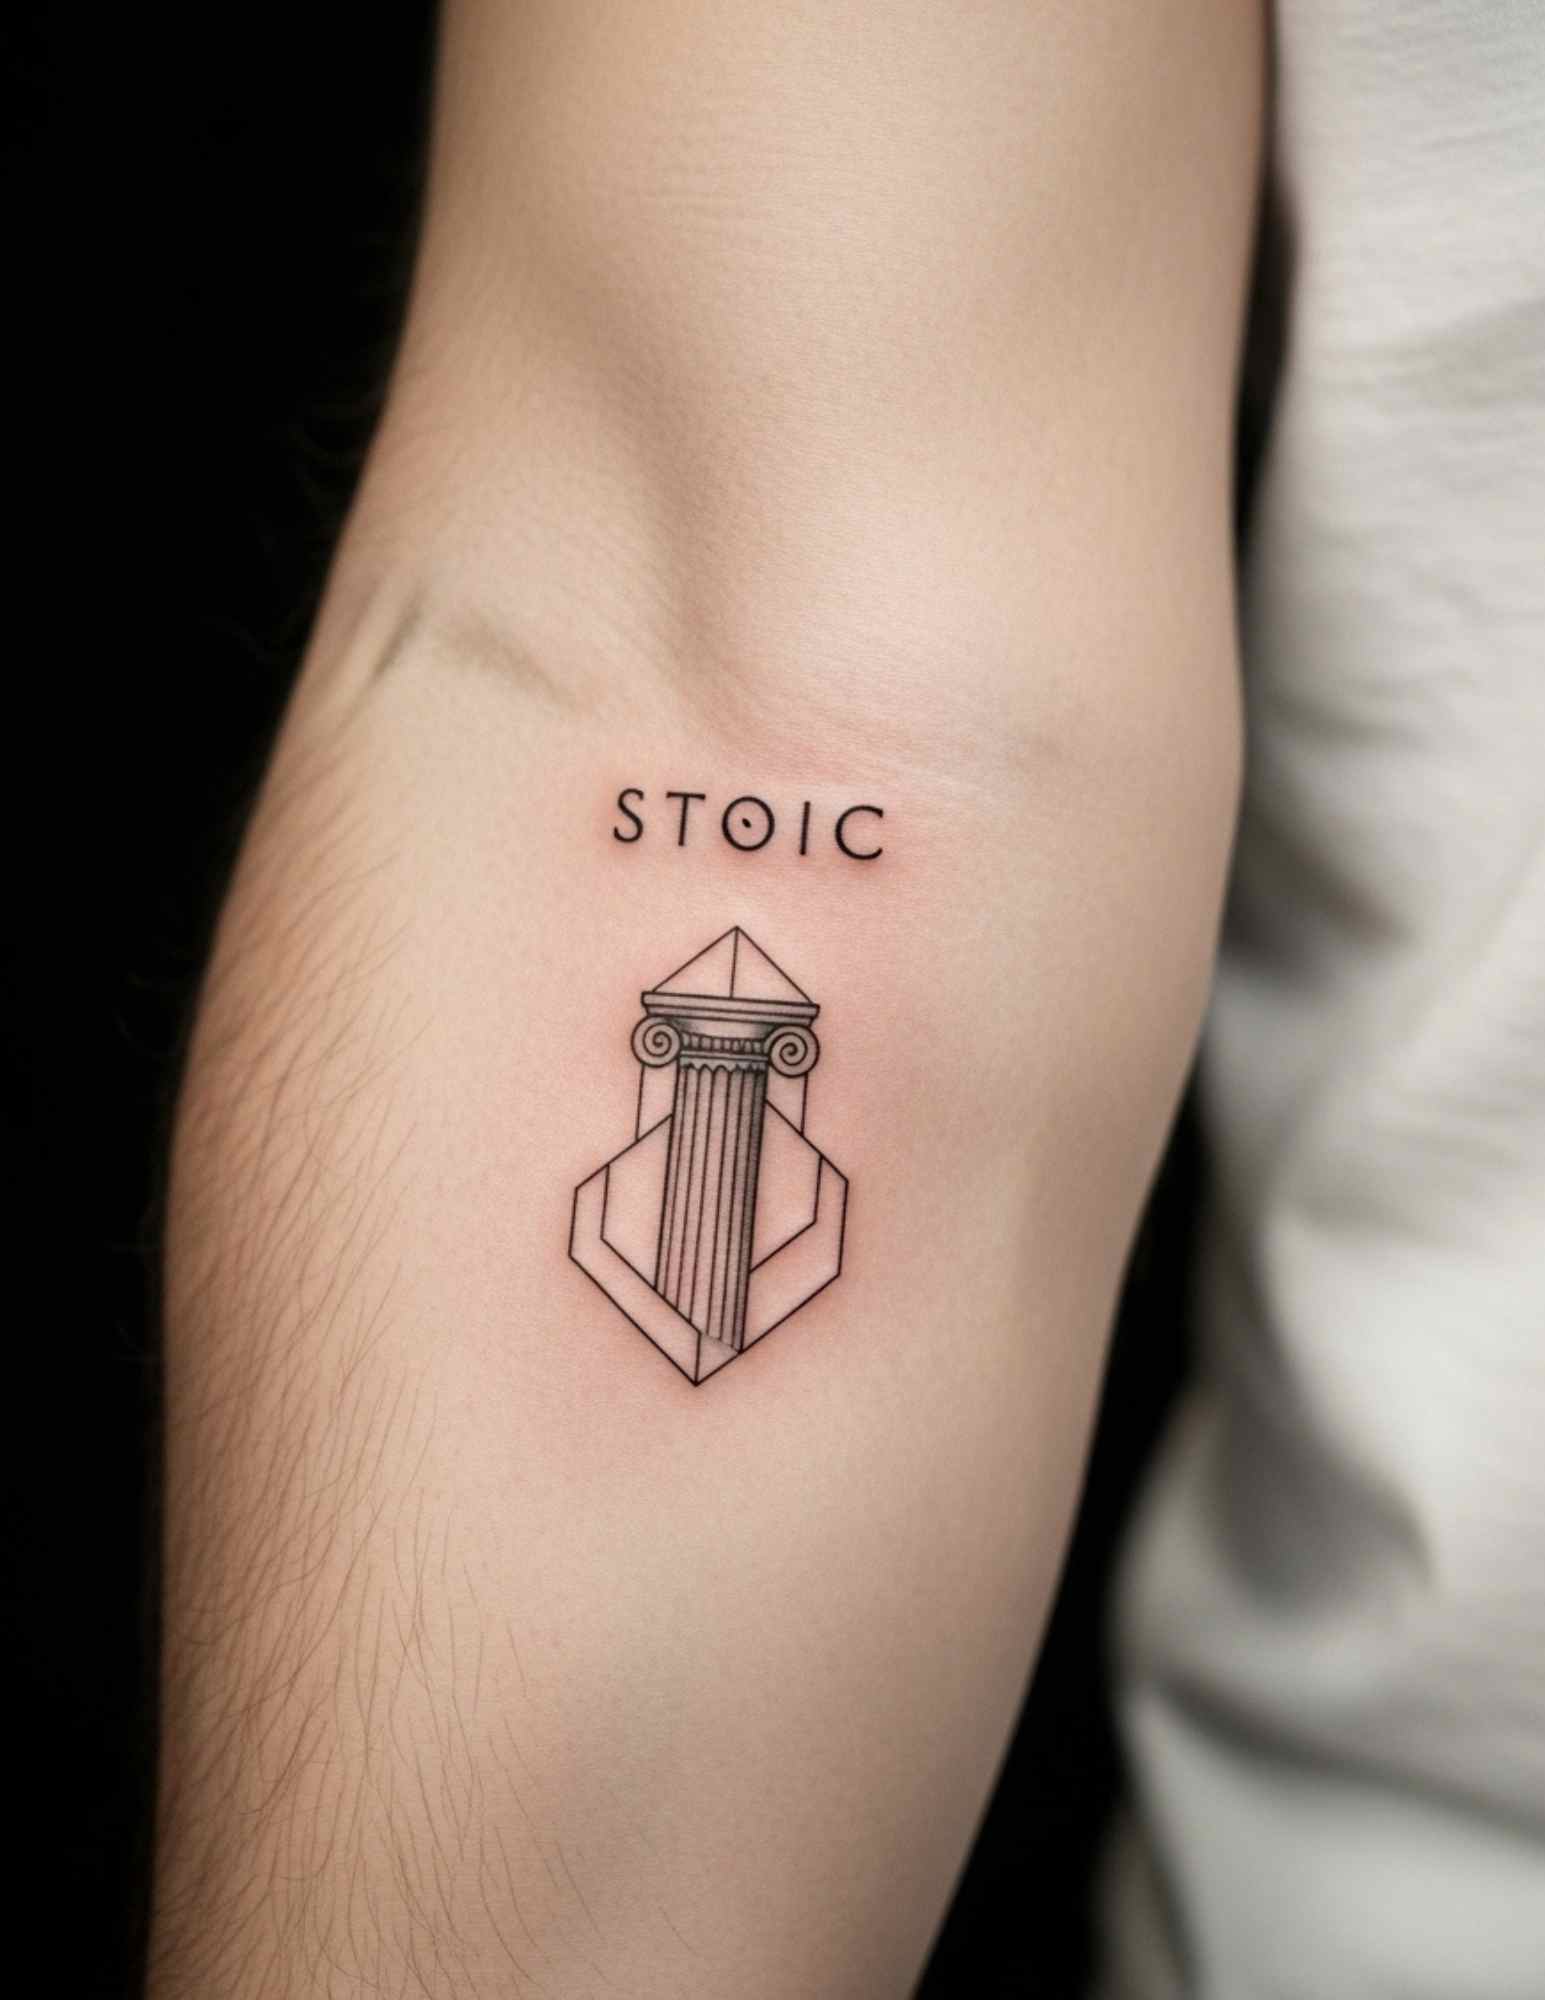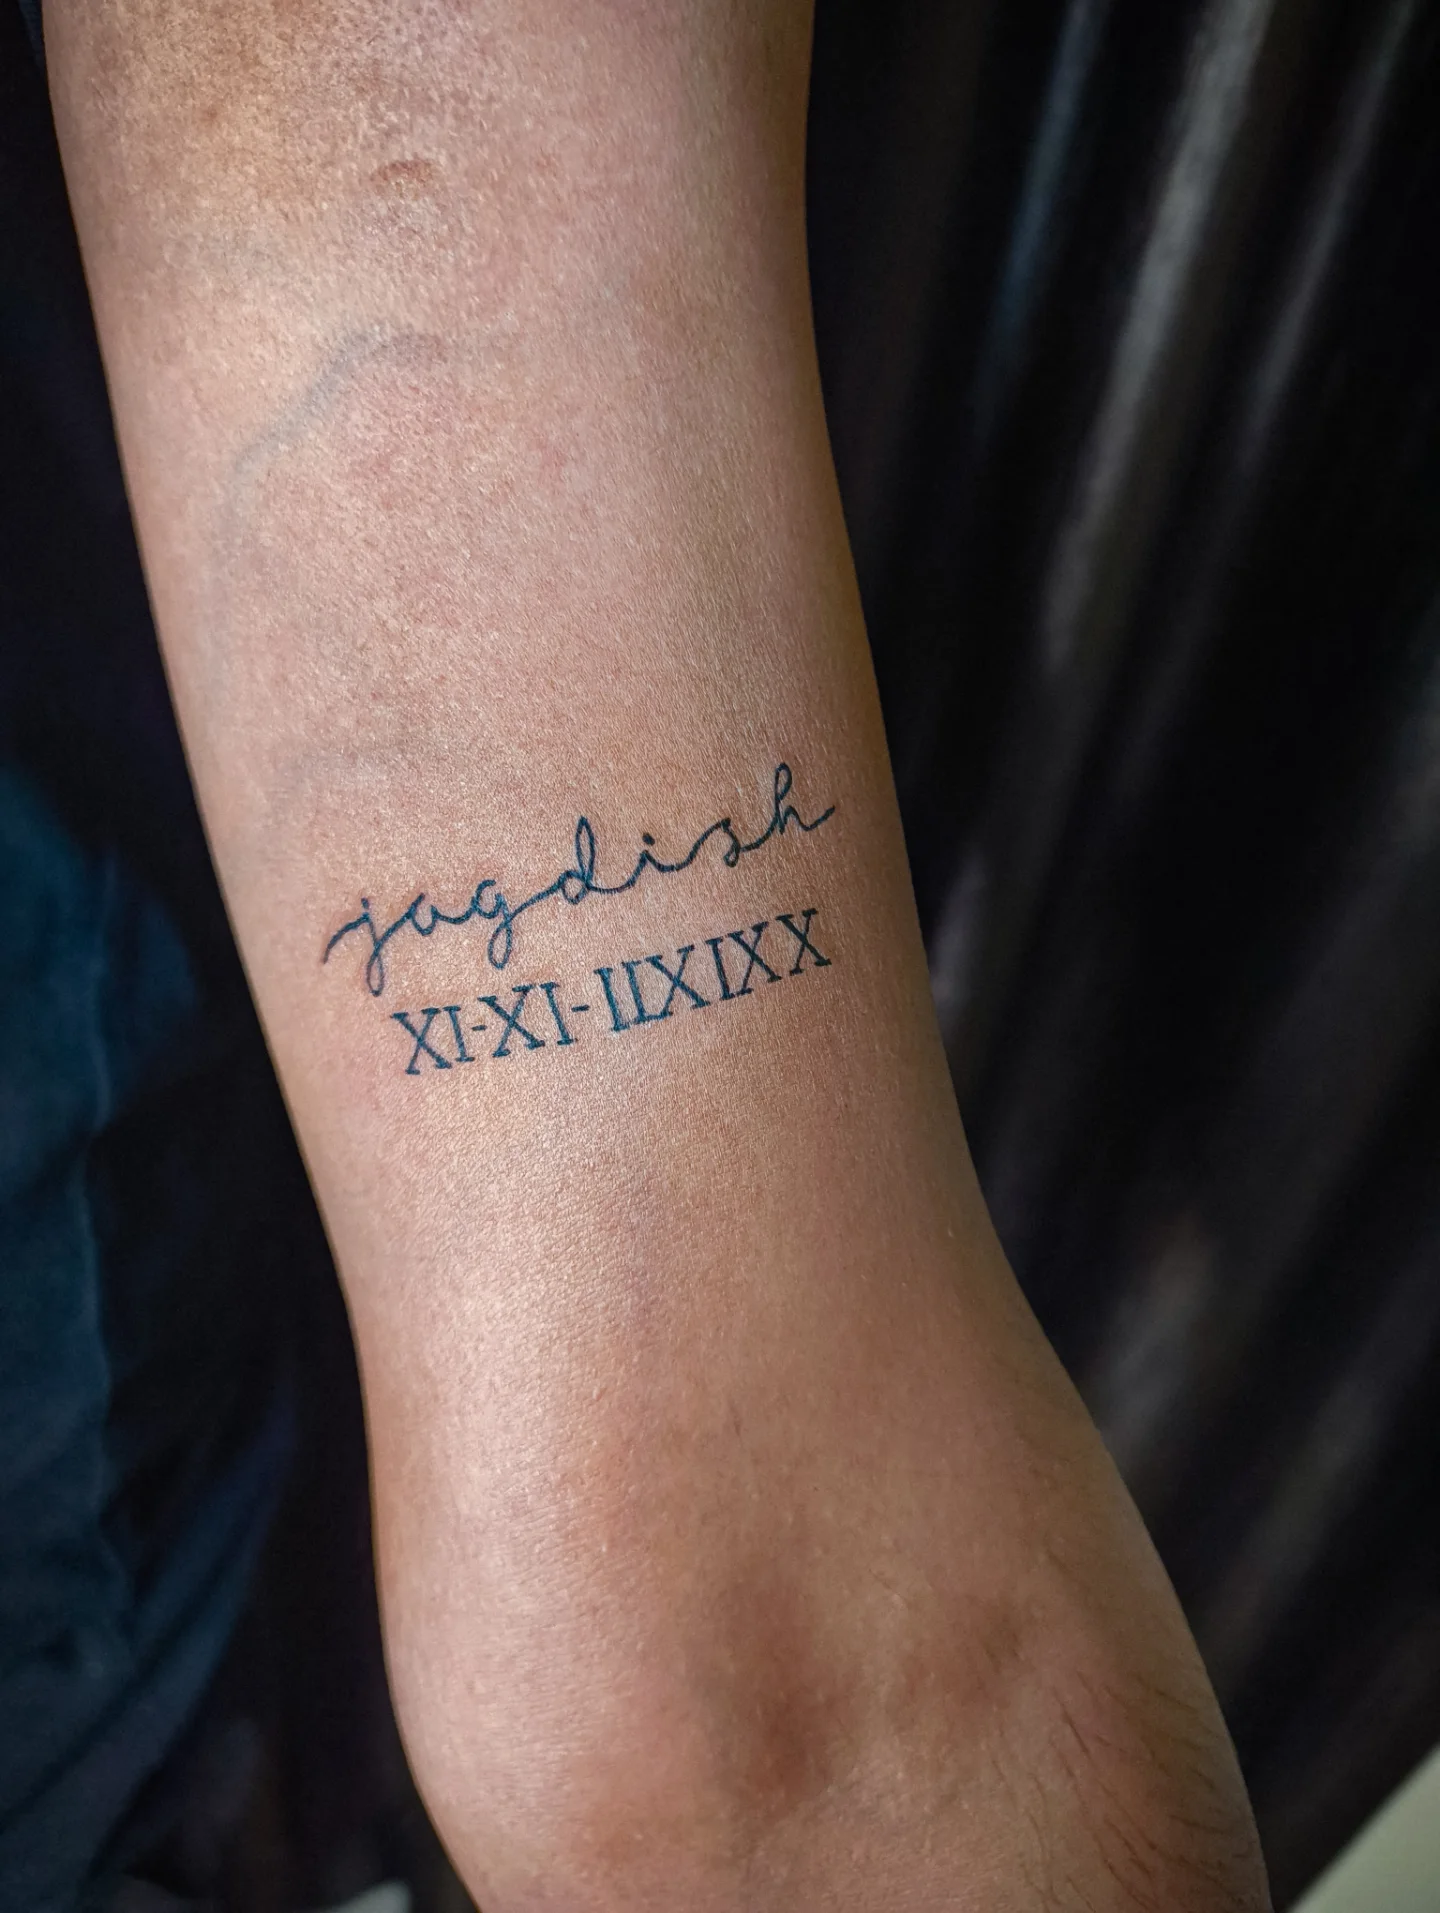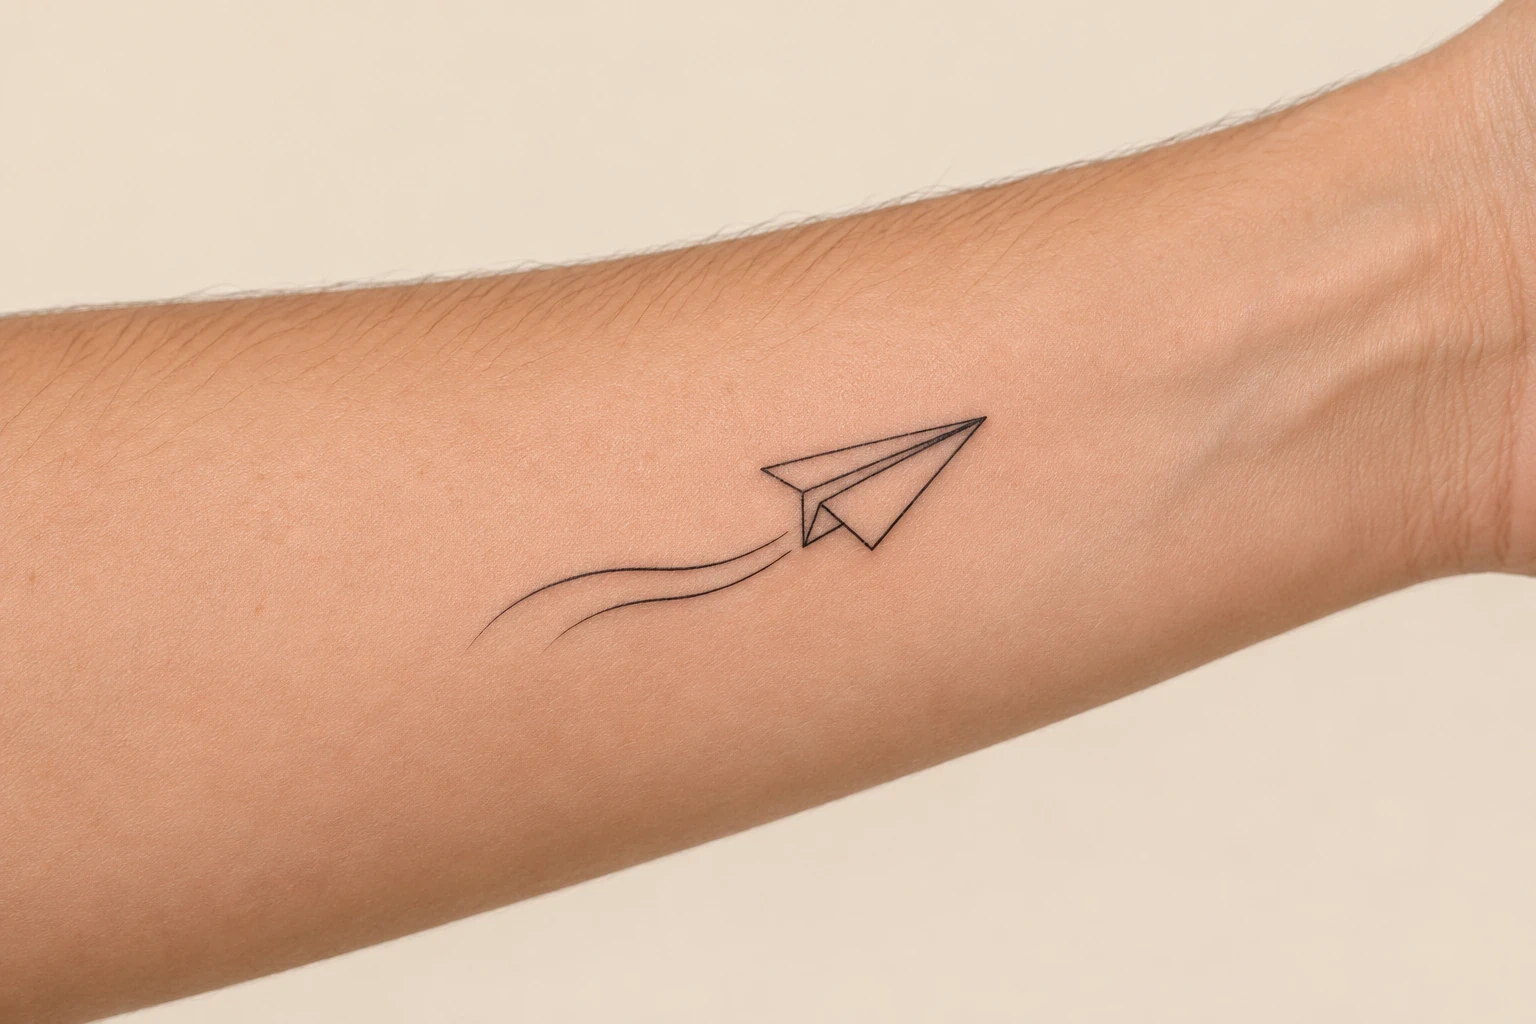
You can make temporary tattoos at home by printing your own artwork on purpose-made temporary tattoo transfer paper intended for skin, preparing any supplied adhesive layer, and applying the transfer according to its packet instructions. Match the paper to your printer before you start. This guide uses the printable, water-transfer method; the exact printing, drying and application directions depend on the kit.
If you are wondering how to make a non permanent tattoo to try a placement or finish a costume, begin with one small motif. A simple crescent, leaf or flower lets you judge the size before committing an entire sheet to a complicated design.
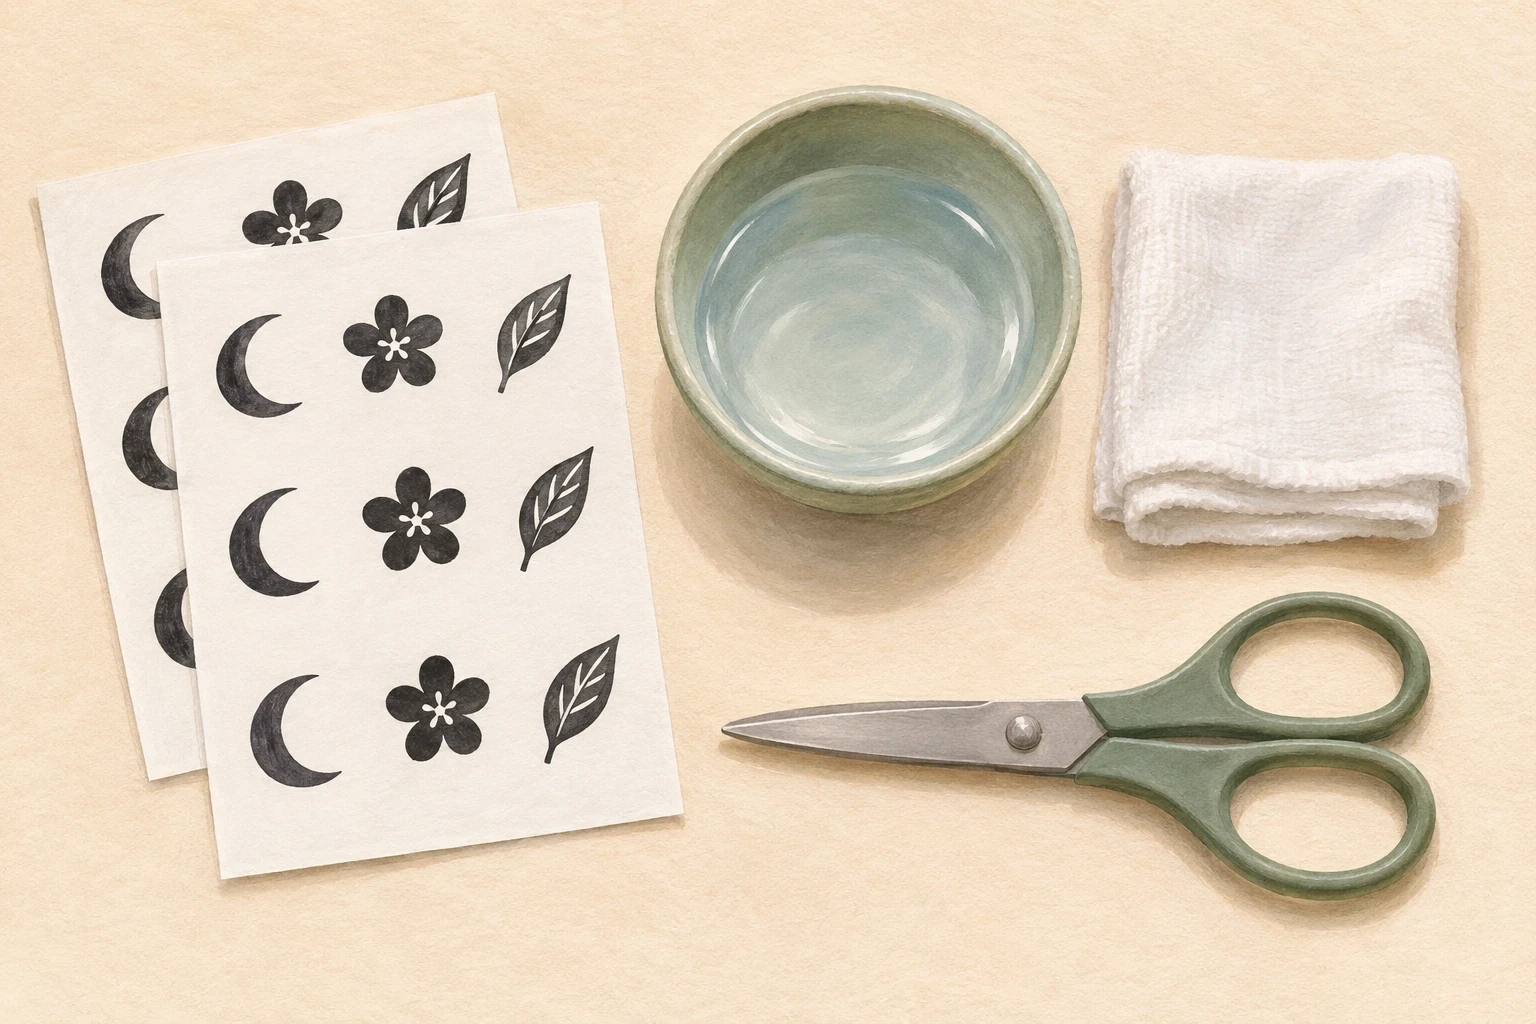
All images in this guide are AI-generated educational illustrations. They are not product tests, photographs of real clients, or evidence of a particular kit's results. Packaging instructions take priority over the illustrated examples.
What you need before printing
- Printable temporary tattoo paper clearly intended for skin, with its original instructions and any matching adhesive sheets.
- The printer type specified by the manufacturer.
- An original design file and a way to resize it.
- Scissors suitable for the paper, plus water and a clean cloth if the kit uses water transfers.
Read the complete packet before opening the sheets. Identify the printable sheet, the adhesive component if supplied, and the removable liners. Put them in separate places on your work surface so you do not accidentally feed an adhesive liner through the printer.
For a concrete product example, Silhouette's current tattoo-paper listing specifies an inkjet-printable surface and water-activated application. That does not establish compatibility for another brand or another paper variant. Check the product you actually have.
The steps below use the sequence in Silhouette's Print & Cut handbook as one documented example. Follow the current instructions supplied with your own paper.
1. Choose artwork that reads at its final size
Start with a simple shape and leave comfortable space around it. A black crescent or leaf is a practical first project because you can concentrate on size, orientation and placement without also judging a complicated color palette.
Print an ordinary-paper size proof first. Hold the paper near the intended placement without attaching it to skin, and view it from a normal distance. Use your own artwork or a design you have permission to reproduce; a temporary medium does not make another person's artwork yours.
2. Confirm the paper and printer match
Check the kit's specified printer, printable side and settings. Keep ordinary sticker paper and tattoo paper separate; they are different materials.
A quick preflight saves an avoidable mistake: identify the sheet before loading it, check the page dimensions in your design file, and inspect the printer preview. If you are uncertain which side to print, consult the manufacturer rather than guessing from the illustration.
3. Print the design and allow the specified drying time
Mirror artwork only if your transfer paper requires it. Print on the designated side and follow the kit's drying directions before handling the image.
Make the first transfer a test piece instead of printing dozens of copies. Leave enough room between motifs to cut each one out without reaching into its neighbor. Keep a copy of the final file so you can reproduce the size later.
4. Prepare the matching adhesive layer, if supplied
Some kits include a separate adhesive sheet. Silhouette's handbook describes aligning it with the printed page, then smoothing it down while removing its liner. Use your own kit's sequence.
Do not add household glue or substitute a random laminating film. Keep the remaining instructions beside the work area: the sheet preparation liner and the protective film removed before skin application serve different purposes. The illustration shows the idea of aligned layers, not a particular branded product.
5. Trim a single transfer
Cut out the prepared motif as directed by the kit. Keep the rest of the sheet ready for another attempt.
Plan your cut before starting. A simple rounded outline is easier to handle than a maze of sharp corners around every leaf tip. Keep fingers clear of the blades and do this work on a table, away from the application area.
6. Apply it using the packet's timing
For the Silhouette example, remove the protective layer, place the image facedown on skin and dampen the backing before removing it. Follow your packet's timing and skin-preparation directions.
Do not move the transfer around once you have positioned it. Compare the finished placement with your original size proof and note what you would change. An illustrated crisp result is a planning reference; actual appearance depends on the artwork, product and application.
Troubleshooting without wasting the next sheet
| What you notice | What to check next |
|---|---|
| The lettering faces backward | Compare the design file, print settings and packet's mirroring instruction. Make the next trial on ordinary paper before using another transfer sheet. |
| The design looks too busy | Enlarge the motif or remove a layer of detail. Judge it at its intended size, rather than while zoomed in on a screen. |
| The printed sheet smears | Pause and check the printable side, printer compatibility and specified drying time. Do not proceed with a damaged print. |
| The transfer does not release cleanly | Check that the correct protective film was removed and that you followed the kit's wetting and release directions. Do not compensate with craft glue or extra chemicals. |
Keep your first attempt small and record the design dimensions, paper variant and settings you used. That gives you something concrete to change on the next attempt. Alter one variable at a time: resizing and changing print settings together makes it harder to work out which change helped.
Temporary does not mean reaction-free
The FDA reports reactions to some decal temporary tattoos, including possible problems with dyes or adhesive-related ingredients. Read the ingredient and use information; do not treat a skin-use label as a guarantee against a reaction.
Avoid black-henna substitutes. The FDA warns that they may contain PPD, a hair-dye ingredient that can cause dangerous skin reactions. A homemade transfer project does not need henna, hair dye, perfume, hairspray or a permanent marker.
Use the product only where its label permits and on intact skin. Stop using it if irritation develops and seek medical advice about a reaction. For children, check age restrictions and supervise use. If a kit lacks clear skin-use directions or ingredient information, choose a different product rather than inventing a method.
Frequently asked questions
How do I make a non permanent tattoo without a printer?
Choose ready-made temporary transfers or a body-art product expressly intended for skin and follow its instructions. That is a different method from printable transfer paper. Do not assume an ordinary pen, craft stencil ink or homemade adhesive becomes suitable for skin because the mark will wash off.
Do I need to mirror the design?
Follow the paper's instructions. Check directional artwork especially carefully: lettering, asymmetric logos and a motif intended to face toward your wrist can reveal an orientation mistake that a simple symmetrical flower hides.
Can a temporary tattoo show how a permanent tattoo will look?
It can help you compare placement, approximate size and how a motif works with clothing. It cannot predict healed ink, a tattoo artist's linework or how a permanent tattoo changes with time. For small visual starting points, browse our minimalist tattoo ideas; for lettering, compare our initials tattoo ideas before making your own mockup.
How long will it last, and how do I remove it?
Use the wear-time and removal information for your specific product. This guide cannot promise a fixed number of days across different films and adhesives. Start with the manufacturer's removal directions; our temporary tattoo removal guide explains the broader options. Avoid scraping the skin to hurry the process.
Sources checked November 2, 2026: Silhouette's current product listing; its 2020 Print & Cut Perfection handbook, pages 21–22; and the FDA temporary tattoo fact sheet. The handbook documents one manufacturer's workflow, not instructions for every transfer kit.