A full sleeve is the most committed canvas in tattooing, and after sitting through one myself and watching a dozen friends build theirs, I have come to think of it less as a tattoo than as a long project. The single biggest predictor of whether a sleeve looks extraordinary or assembled is not the subject matter at all — it is whether the whole arm was composed as one design before the first needle touched skin.
Full sleeve tattoo ideas for women have moved well past the traditional associations of the form. What is being produced now ranges from botanically accurate plant studies to geometric compositions that treat the arm like an architectural surface.
If you are not sure you want the whole arm yet, that is worth taking seriously. Plenty of the women I have talked to started with a half sleeve and extended it two or three years later, and almost none of them regretted the slower route.
The 21 ideas below span the full spectrum of what is possible from shoulder to wrist, grouped by style family so you can see which direction actually suits you.
Which Sleeve Style Is Right for You?
Style choice affects far more than how the arm looks on day one. It changes how many sessions you sit, how the work ages, and how easily it can be extended later.
| Style | Typical build | How it ages | Best for |
|---|---|---|---|
| Fine line botanical | Several long sessions, often 4–8 | Softens fastest; thin lines spread over decades | Delicate, detailed, low-contrast arms |
| Japanese traditional | Many sessions across a year or more | Excellent; built to stay readable | One committed, coherent statement piece |
| Blackwork & geometric | Fewer sessions, longer sittings | Very well; bold weights hold shape | Graphic, contemporary, high-contrast looks |
| Black and grey realism | Long, technically demanding sessions | Good with a specialist; poor without one | Portraits, animals, photographic subjects |
| Neo-traditional colour | Moderate; colour packing adds time | Strong outlines hold; colour may need touch-ups | Bold, illustrative, character-led sleeves |
| Patchwork | Open-ended, added to over years | Varies by piece | Flexibility and changing taste |
What Actually Determines How a Sleeve Turns Out
A sleeve is almost never a single session. In my experience the realistic range is somewhere between four and fifteen appointments spread over months or years, depending on style, detail and how long you can sit.
Work with one artist throughout wherever you can. When that is impossible, make sure any addition is designed against the existing work rather than dropped beside it — a sleeve that looks assembled rather than composed is the most common failure mode I see.
Discuss negative space at the consultation, not halfway through. The skin you leave untattooed is doing as much compositional work as the skin you fill, and it is very hard to reclaim once it is covered.
Line weight matters more than most people expect. Every artist I have asked about longevity says the same thing: heavier lines and stronger contrast survive twenty years far better than hairline work, whatever the style.
Budget in stages rather than in total. Most studios charge by the session or the hour, and quoting a whole sleeve up front is guesswork for the artist as much as for you.
Botanical and Floral Full Sleeve Ideas
1. Botanical Study Sleeve
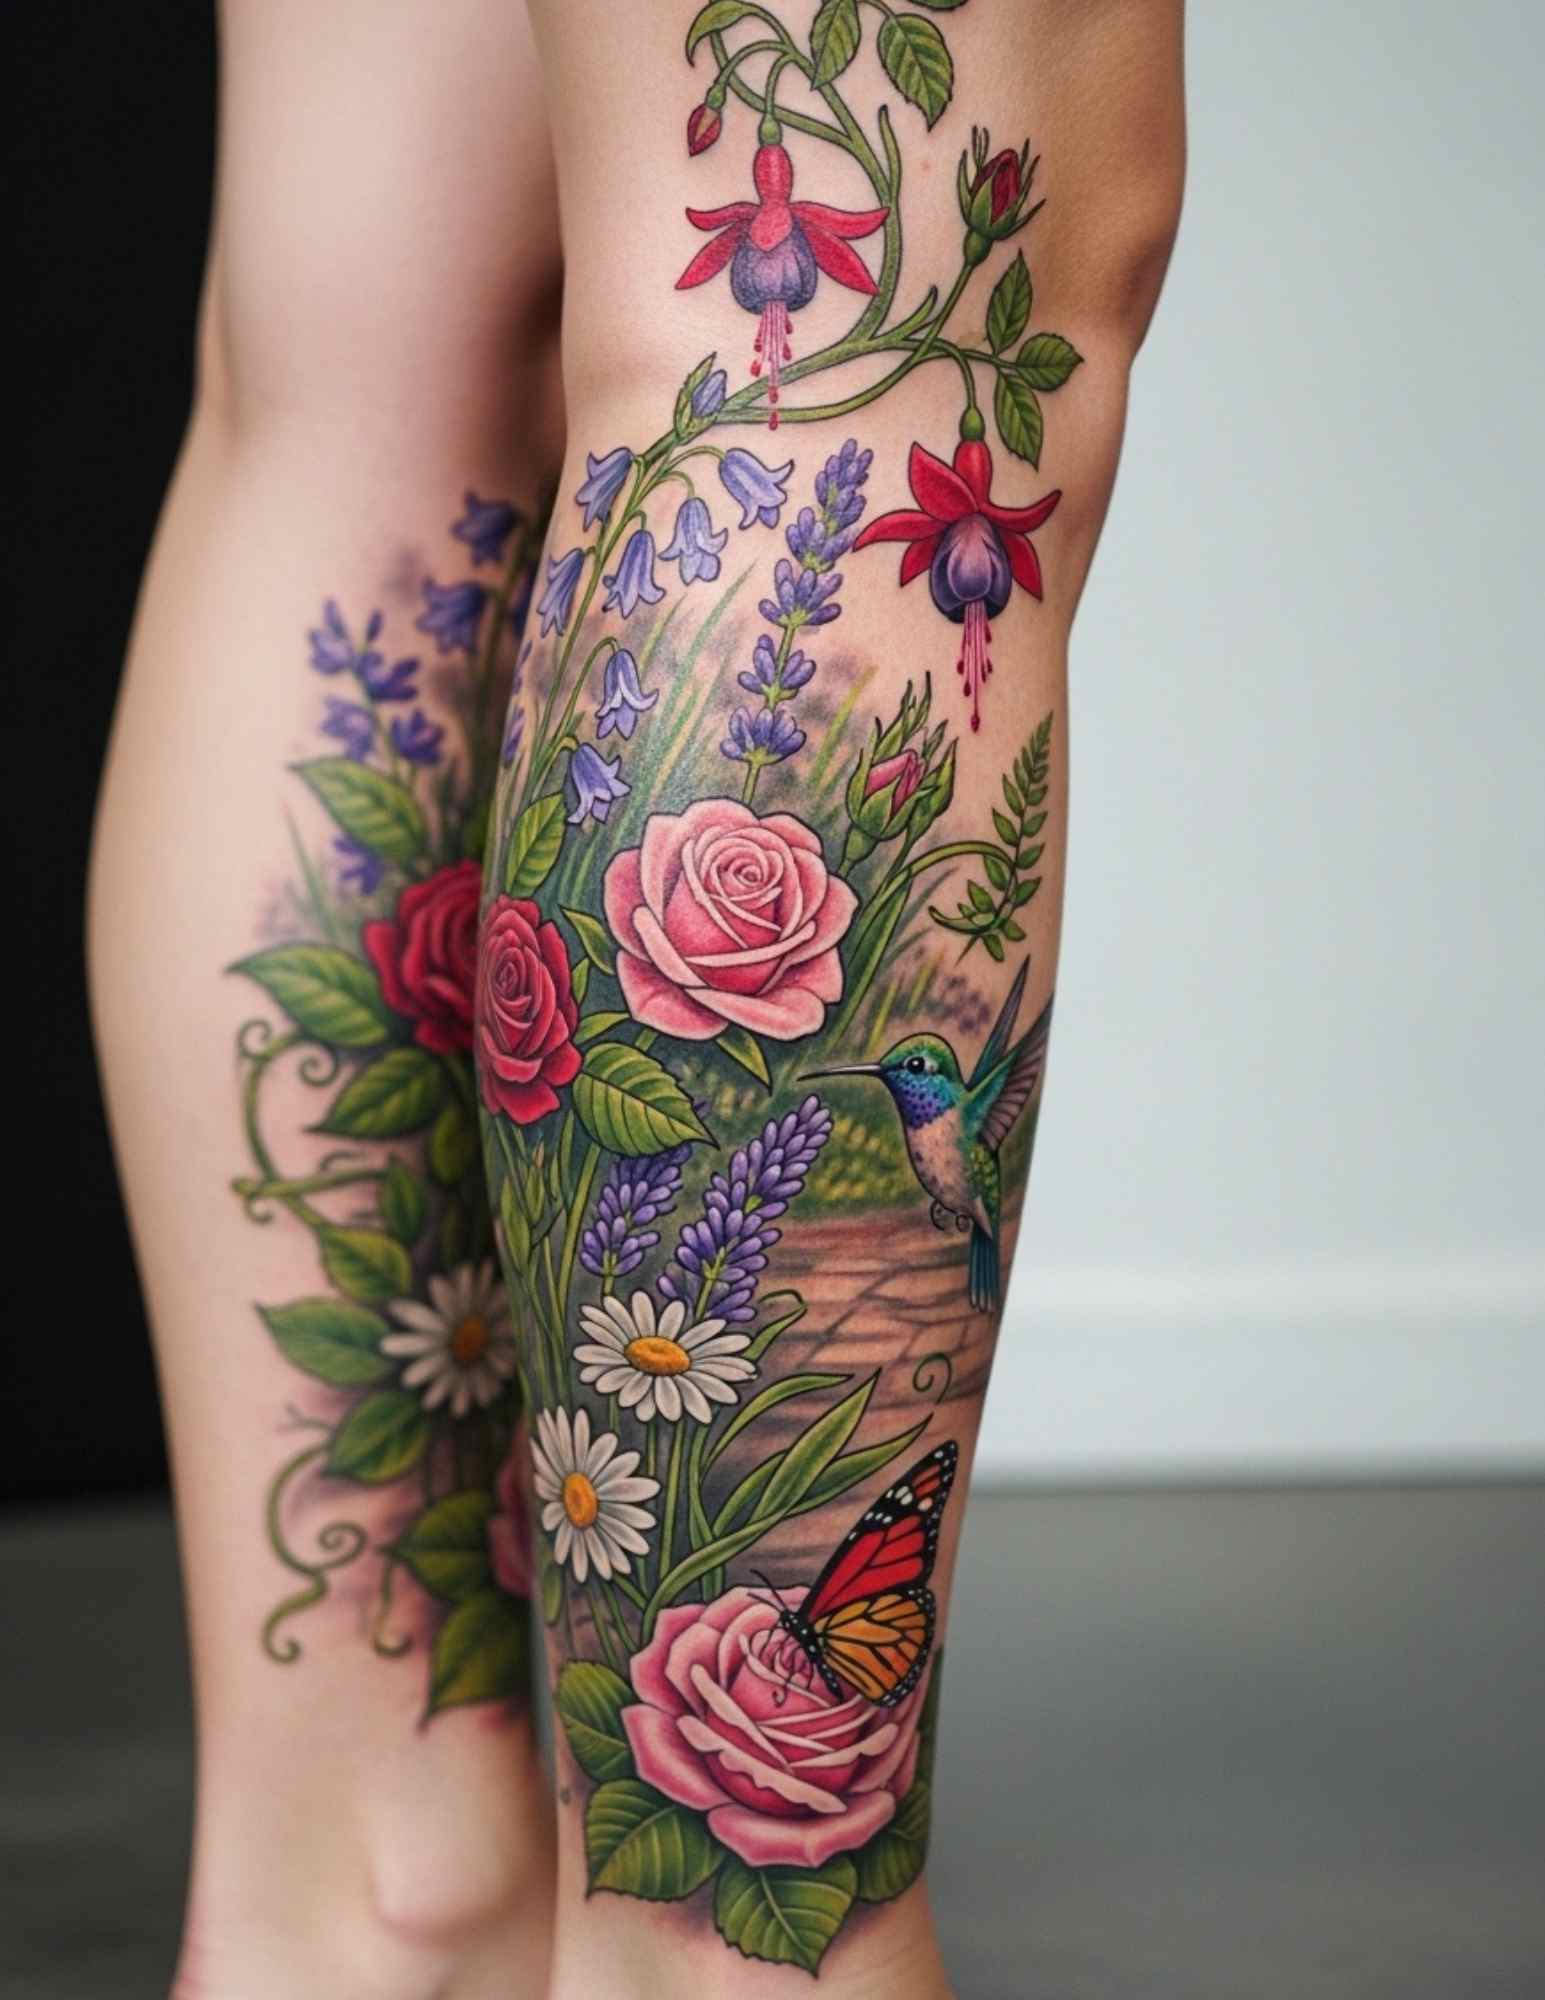
A full arm of botanically accurate plants — ferns, orchids, eucalyptus, wildflowers — rendered in fine line or light blackwork reads less like a tattoo and more like a pressed herbarium brought to life on skin.
This style rewards artists with an illustration or botanical drawing background. When I look through portfolios for this, I ignore the tattoo photos first and look for whether the artist can actually draw a plant.
Ask for healed photos specifically. Very fine botanical work is the style most likely to look different at two years than at two weeks, which is worth knowing before you commit the whole arm. The same logic applies to fine line sleeves generally.
2. Dark Floral Blackwork
Black roses, dead flowers and shadow-heavy botanicals in bold blackwork carry far more weight and drama than their fine line counterparts.
The darkness contrasts with the inherent softness of the floral subject, and that tension is the whole aesthetic. It also ages unusually well, because the style relies on solid black rather than delicate gradients.
If you want the drama without committing the full arm, a floral half sleeve in the same style is a reasonable first stage.
3. Floral and Skull Combination
Flowers growing from or around skulls has deep roots in memento mori imagery — beauty and mortality in one composition.
Updated with fine line rendering and botanically specific flowers rather than generic roses, it reads as contemporary rather than derivative. The specificity is what saves it.
4. Snake and Botanical
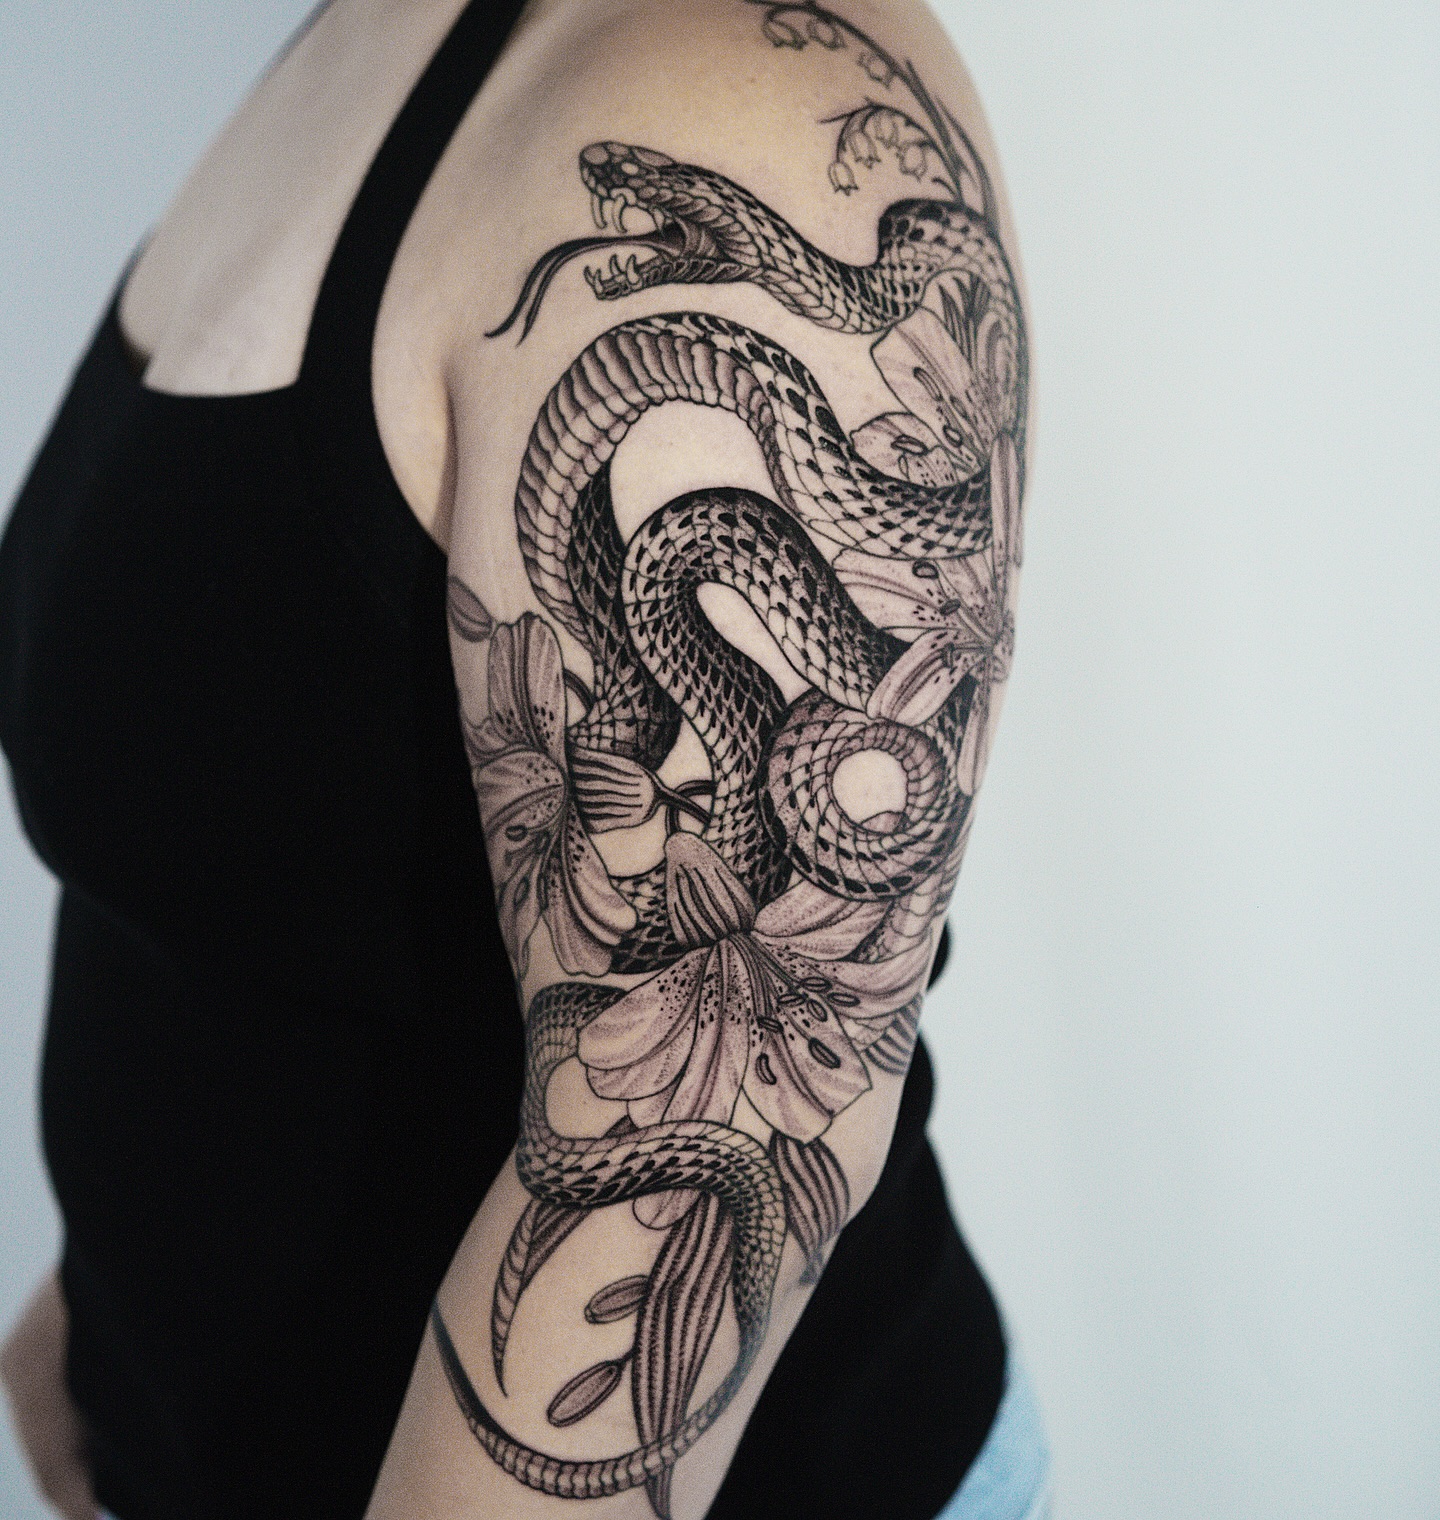
A large snake winding through flowers, leaves and roots uses the serpent’s body to create movement through the whole sleeve.
The snake connects elements that would otherwise sit in isolation, which is why artists reach for it so often in long-format designs. Few subjects are as compositionally useful.
There is a lot of range in how literal or stylised the animal can be — worth browsing snake tattoo ideas for women before you settle on a direction.
Illustrative and Narrative Sleeves
5. Japanese Traditional Sleeve
Japanese tattooing developed the sleeve format into its highest expression over centuries, and it still sets the standard for compositional coherence.
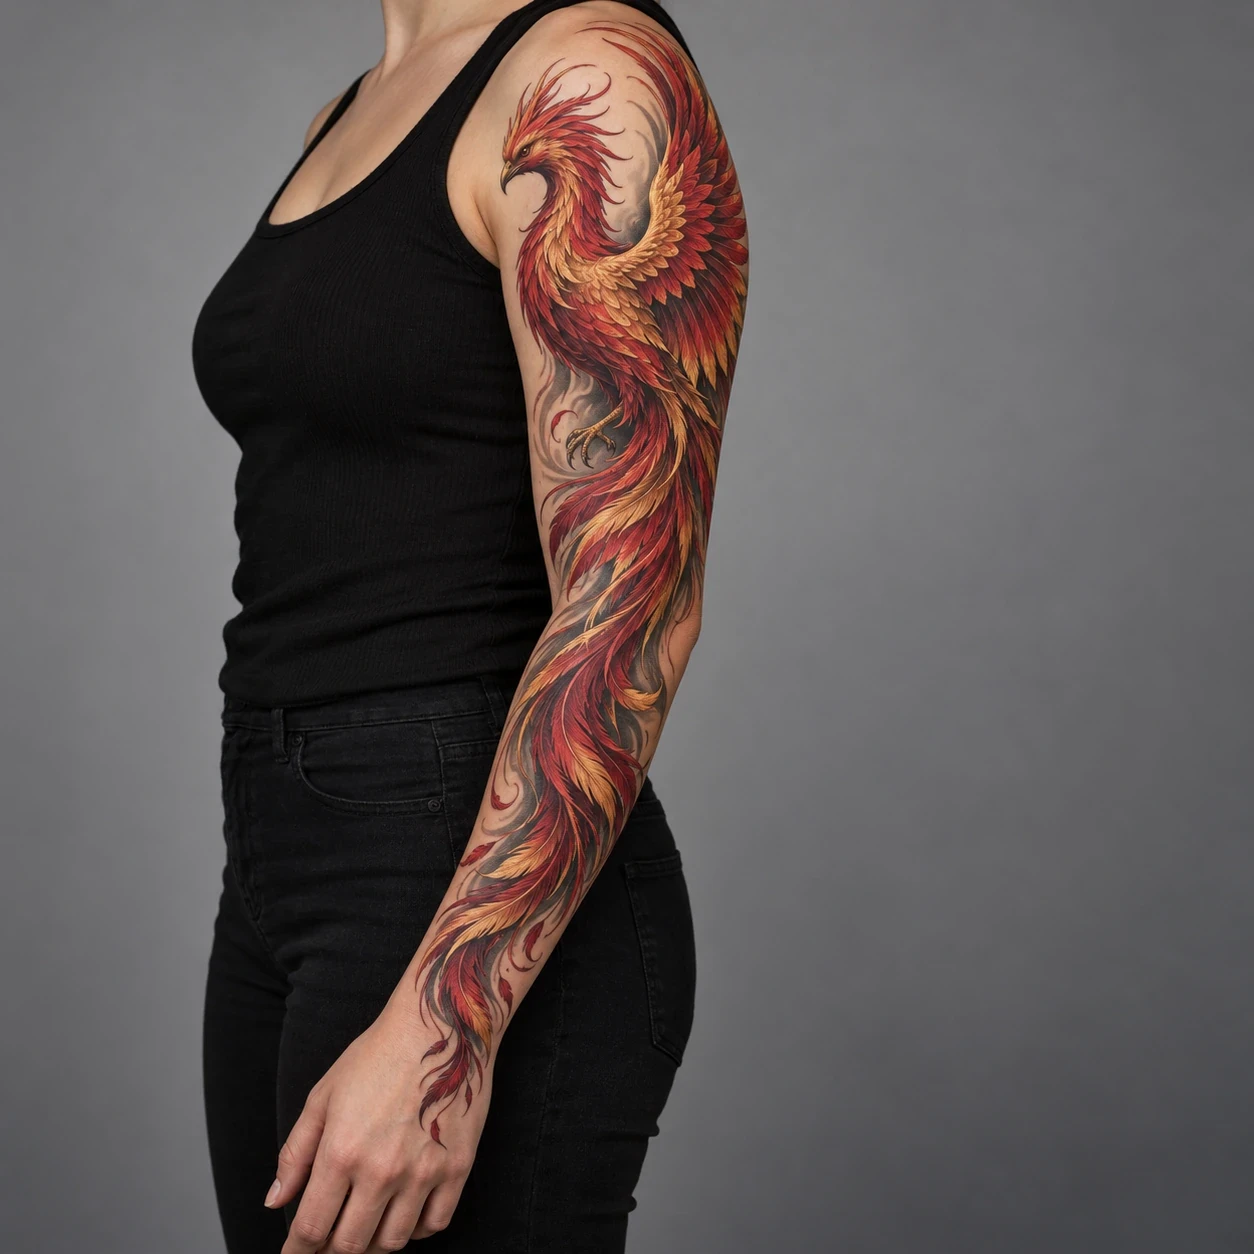
A proper Japanese sleeve has a central subject — dragon, koi, phoenix or peony — surrounded by wind, water and cloud elements that carry the eye around the arm.
Find a specialist. Japanese tattooing has a specific grammar, and an artist unfamiliar with it produces something that looks inspired by the style rather than rooted in it. This is the one style where I would travel and wait rather than settle locally.
6. Illustrative Animal Sleeve
A composition built around a central animal — wolf, fox, owl, bear — extended with habitat elements and secondary figures creates a narrative sleeve rather than a gallery of separate images.
Each section reveals new detail as you move around the arm. In my experience these are the sleeves strangers ask about most, because there is something to actually read.
7. Neo-Traditional Character Sleeve
Neo-traditional work brings a rich colour palette, decorative borders and a bold graphic quality that suits character-based compositions particularly well.
A sleeve of figures, creatures and symbolic objects in this style has the feel of illustrated narrative art. The heavy outlines also mean it holds up visually as the colour softens over the years.
8. Realism Portrait Sleeve
A realism sleeve uses portrait-quality rendering of animals, people or natural subjects with near-photographic precision.
Artist selection is everything here. Poor realism is more obviously poor than almost any other style, and there is nowhere for a weak passage to hide.
Look at healed examples, not fresh ones. Realism settles differently from outlined styles, and a portfolio of day-one photos tells you very little about how the work will look at year five.
Geometric, Ornamental and Blackwork Sleeves
9. Blackwork Geometric Sleeve
A sleeve built from triangles, diamonds, linework grids and solid black fills is architectural rather than illustrative.
High contrast, visually striking, and notably age-resistant thanks to the bold line weights. It suits people who want something that reads as designed rather than decorative.
10. Mandala and Ornamental Sleeve
A large circular mandala on the shoulder or upper arm, extended with ornamental linework down to the wrist, gives the sleeve a focal anchor and a natural flow.
The mandala carries the weight and the ornamental filigree provides the connective tissue between sections. There are more layout variations here than most people realise — mandala sleeve layouts differ a lot in where the anchor sits.
11. Sacred Geometry Sleeve
The Flower of Life, Metatron’s Cube and Vesica Piscis are usually treated as standalone symbols.
As a full sleeve, with each form connecting to the next in a continuous progression, they create something with real conceptual depth. Precision is non-negotiable — a wobbly circle in this style is impossible to ignore.
12. Dotwork Mandala Sleeve
Dotwork across a full sleeve creates a texture nothing else replicates, with shading built entirely from stippled density.
It is slow. Expect noticeably longer sessions than solid blackwork of the same coverage, because every gradient is being built dot by dot.
13. Low-Poly Geometric Animal
Animals constructed from polygon facets rather than organic curves sit somewhere between technical illustration and fine art.
A low-poly wolf or geometric deer as the centrepiece, with geometric linework filling the surrounding space, is one of the more distinctly contemporary full sleeve tattoo ideas for women on this list.
Soft, Painterly and Atmospheric Sleeves
14. Watercolour and Fine Line Fusion
Fine black linework for structure, with loose watercolour washes bleeding between elements, produces a sleeve that reads as painted rather than tattooed.
The linework is doing essential work here. Watercolour without a black structure underneath tends to lose definition as it ages, and the outlines are what keep the composition legible.
15. Softly Shaded Black and Grey
A sleeve built entirely in black and grey without defining outlines relies on gradients and tonal variation alone for its structure.
Done well it achieves something closer to pencil drawing than conventional tattooing. It is time-intensive and technically demanding, and it is the style I would most strongly recommend seeing healed before booking.
16. Abstract Expressionist
Loose, brushstroke-inspired tattooing is a newer development in the form, built from gestural marks, smeared edges and deliberate visual noise.
It departs entirely from tattooing’s traditional relationship to clean line and defined shape, so it needs an artist actively working in this style rather than one adapting a conventional approach to it.
Landscape, Celestial and Cultural Sleeves
17. Moon Phases and Celestial Elements
A sleeve built around the moon’s phases, extended with stars, planets and constellation linework, moves from shoulder to wrist as one continuous narrative.
The individual elements are simple, which makes this one of the more approachable full sleeve concepts to build gradually.
18. Fine Line Landscape
A panoramic landscape in single-needle linework — mountains dissolving into forest dissolving into coastline — treats the whole arm as one continuous horizon.
The scale of the subject suits the scale of the canvas in a way smaller placements never manage. Ask about line weight, though: single-needle work at this size is the most likely of any style here to need touching up down the line.
19. Sunset and Nature Wrap
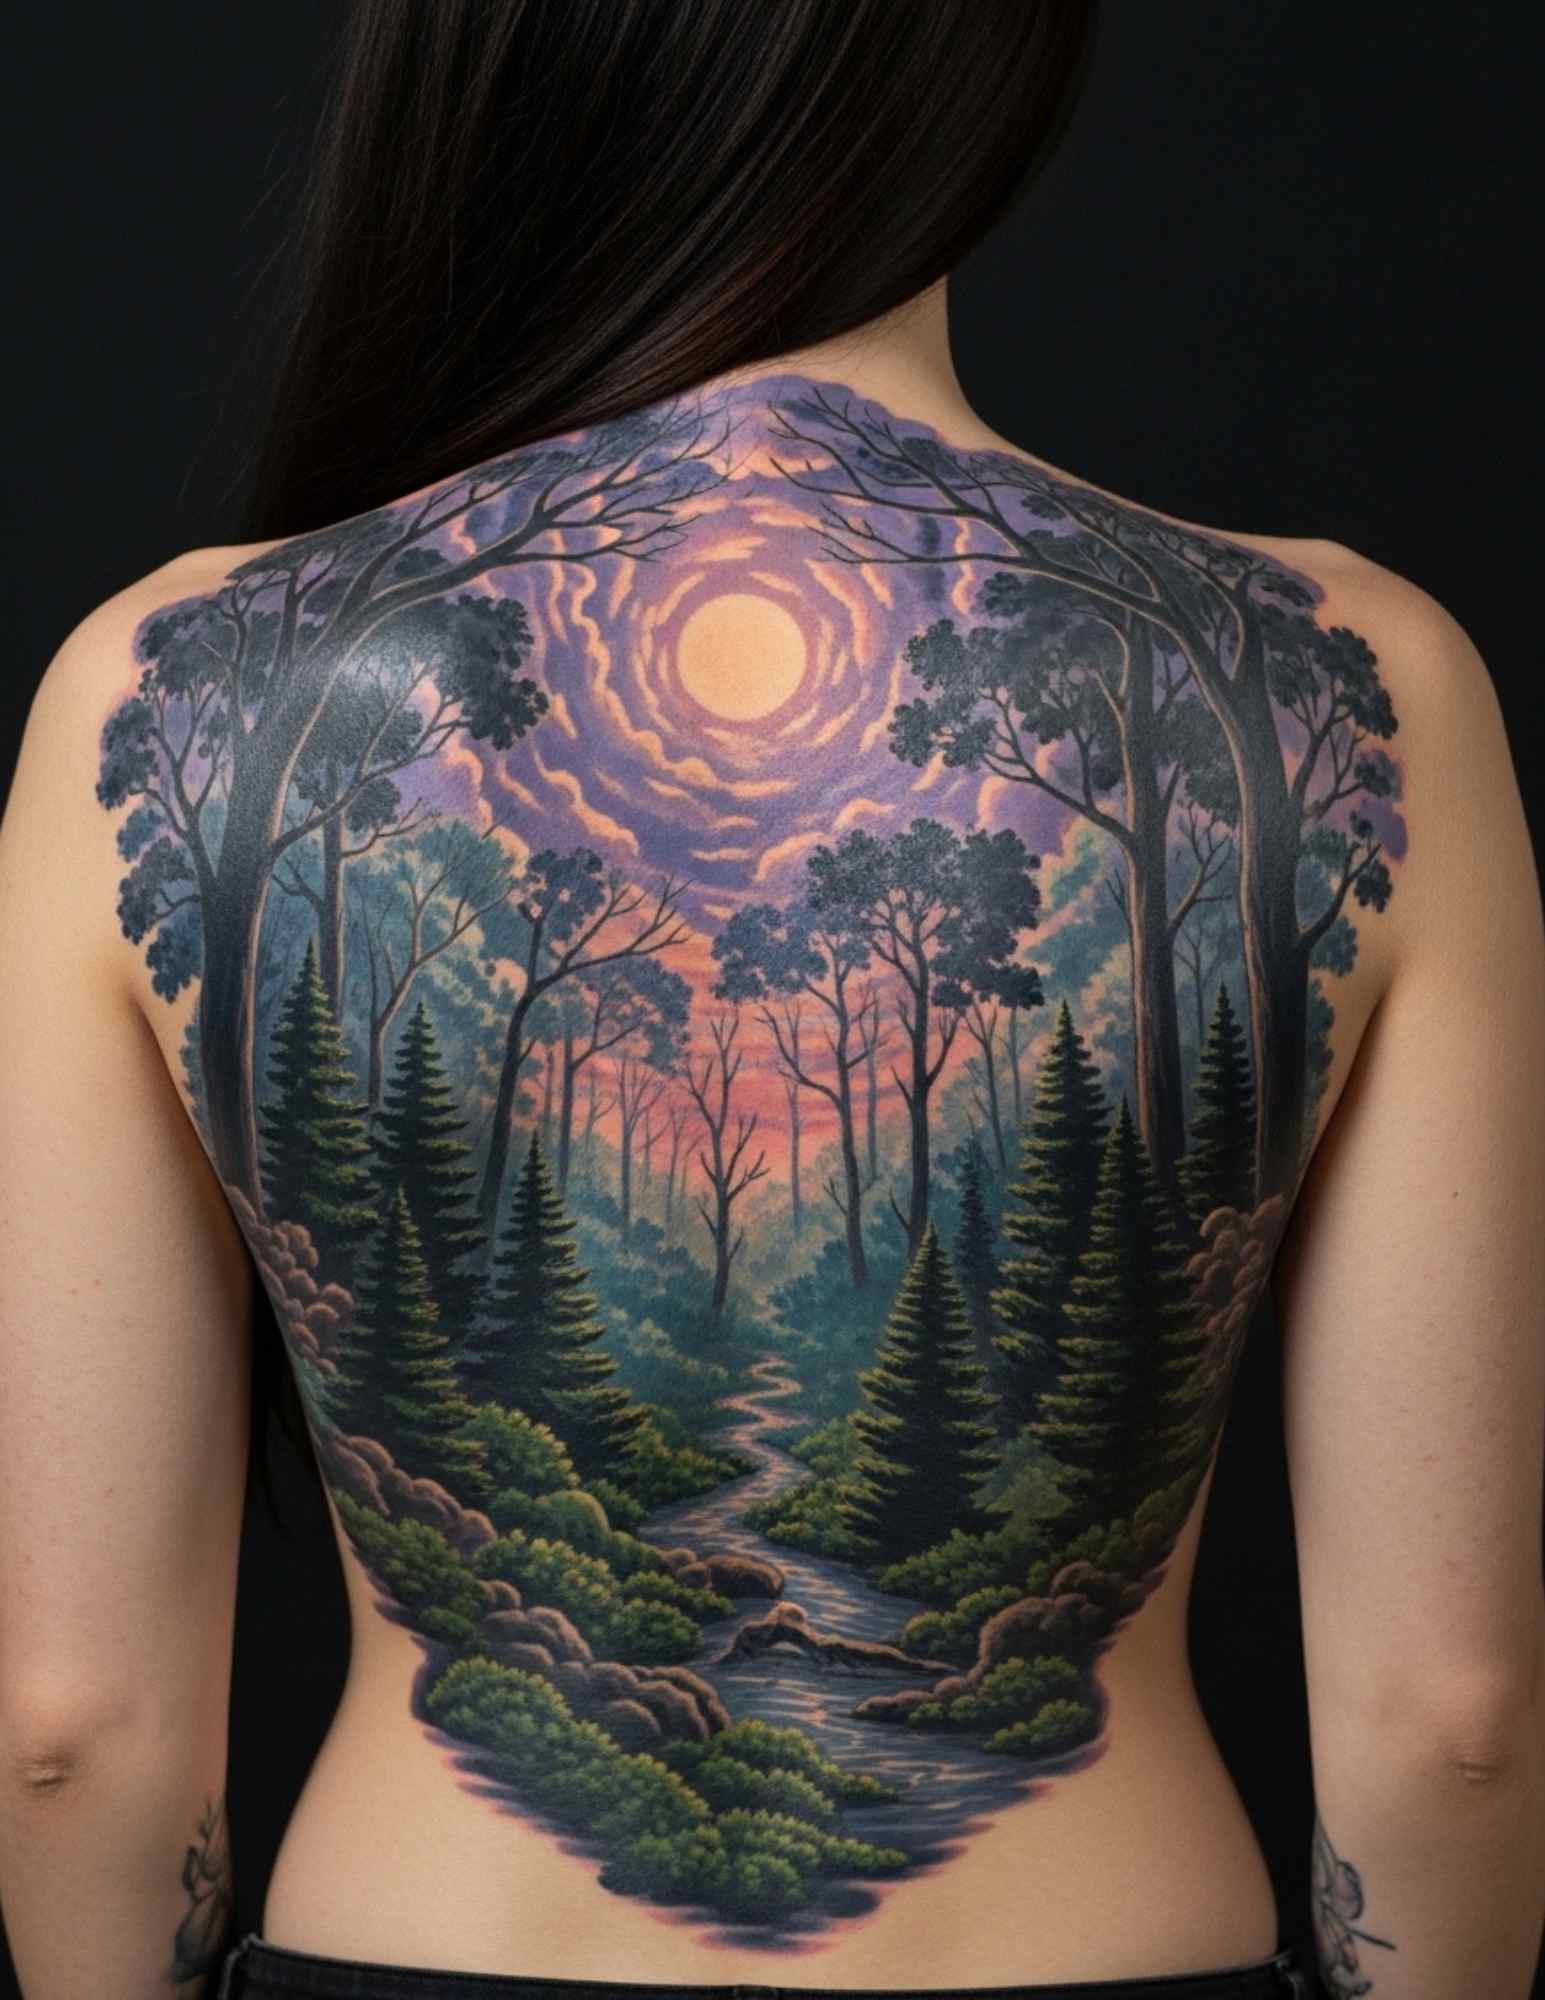
A landscape that wraps the full circumference of the arm, with a sunset visible from one angle and night sky from another, treats the sleeve as a three-dimensional object rather than a flat surface.
Very few designs use the roundness of the arm this deliberately, and it is the detail people notice when you turn your wrist over.
20. Cultural Pattern Sleeve
Traditional patterns from Polynesian, Maori, Aztec or Celtic traditions build meaning into every element when the wearer has a genuine connection to the source.
Research the specific symbolism before designing, and work with an artist from or trained within that tradition where possible. These are communicative patterns, not decorative ones, and the difference matters to the communities they come from.
If a Full Sleeve Is Too Much Commitment Right Now
21. The Patchwork Approach
Rather than one unified composition, patchwork places distinct pieces beside each other with clear space or borders between them.
Each section is self-contained, so the arm can be built over years without a master plan. Keep the style choices consistent and it still reads as coherent; mix fine line, colour realism and traditional and it will not.
Start With a Half Sleeve
Shoulder to elbow is roughly half the commitment, half the cost and a fraction of the chair time, and it can be extended later if the design was planned with that in mind.
Tell your artist at the consultation that you may extend it. The composition they draw is different if they know the forearm is coming.
Move the Idea to Another Placement
The same concepts translate to the leg, and a half leg sleeve is easier to cover for work while still giving you a large canvas.
Single statement pieces are the other route — a rose sleeve panel or a forearm-only design can scratch the itch without a multi-year commitment.
Practical Advice Before and Between Sessions
Eat properly and hydrate before a long sitting. Sessions on a full sleeve routinely run three to six hours, and the difference between a good session and an unbearable one is often just blood sugar.
Follow the aftercare your artist gives you rather than advice from the internet, including this page. Studios differ on wraps and ointments for defensible reasons, and your artist knows what they put in your skin.
Watch for spreading redness, swelling that worsens after a few days, heat, pus or fever. Those are signs of possible infection and warrant a doctor rather than a forum thread — the American Academy of Dermatology has straightforward guidance on tattoo aftercare and when to seek help.
Sun exposure is the main thing that degrades a healed sleeve. Once it is fully healed, sunscreen on the arm does more for the tattoo’s lifespan than any product marketed specifically at tattoos. The US Food and Drug Administration also publishes a plain-language fact sheet on tattoo inks and reactions worth reading before your first session.
Never attempt tattooing or ink removal at home. Both carry real infection and scarring risk, and removal in particular belongs with a licensed professional.
Common Mistakes and How to Avoid Them
Booking the forearm first is the mistake I see most often. Starting at the shoulder gives the artist room to plan the flow downward; starting at the wrist boxes them in.
Leaving the gaps until the end is the second. Connective elements are what make a sleeve read as one design, so plan them early — sleeve filler ideas are a design decision, not an afterthought.
Choosing an artist by price is the third. On a project this size, a cheaper hourly rate that needs reworking costs far more than the difference.
Still not sure what you want on the arm? Working through full sleeve design drawings before your consultation makes the conversation with your artist far more productive.
Frequently Asked Questions
How long does a full sleeve tattoo take?
Most full sleeves take multiple sessions spread over months or years rather than weeks. In my experience four to fifteen appointments is the normal range, depending on style, detail and how long you can comfortably sit. Dense colour, dotwork and realism sit at the slow end, while bold blackwork moves faster. Your artist can give a realistic estimate once the design is drawn.
How much does a full sleeve tattoo cost?
Cost varies enormously by region, artist demand and style, so any single figure would be misleading. Most artists charge by the hour or by the session rather than quoting the whole arm up front. Ask for the session rate and a rough session count at the consultation, then budget in stages. Travelling to a specialist usually costs more but is often worth it for styles like Japanese traditional.
Does a full sleeve hurt more in some places?
Yes, and fairly predictably. The inner arm, elbow ditch, armpit area and wrist are generally reported as the sharpest, while the outer upper arm and forearm are usually the easiest. Pain tolerance is individual, though, so treat this as a rough map rather than a rule. Breaking long sessions up helps more than any numbing product.
Can I mix styles in one sleeve?
You can, but it works best when the mixing is deliberate. A patchwork sleeve mixes subjects while keeping line weight and colour approach consistent, which is why it still reads as coherent. Mixing fine line, colour realism and bold traditional in one arm rarely looks intentional. If you want variety, agree on the unifying element with your artist first.
Should I use one artist for the whole sleeve?
Wherever possible, yes. One artist keeps line weight, shading style and composition consistent across the arm, which is exactly what separates a designed sleeve from an assembled one. If your original artist becomes unavailable, bring the new one full photographs of the existing work and ask them to design against it. Some artists will decline to add to another’s sleeve, and that is a reasonable position rather than a red flag.
Quick Summary
- Design the whole arm before the first session — composition, not subject matter, is what separates great sleeves from assembled ones.
- Pick a style family first: botanical, illustrative, geometric, painterly or landscape. It determines session count, cost and how the work ages.
- Use one artist throughout where you can, and brief any new artist against photographs of the existing work.
- Agree on negative space and connective filler at the consultation, not halfway through.
- Heavier line weights and stronger contrast age better than hairline work in every style.
- Judge artists on healed photographs, especially for realism, fine line and soft black and grey.
- Start at the shoulder and work down so the artist can plan the flow.
- Follow your artist’s aftercare, protect the healed arm from sun, and see a doctor for signs of infection.