A Japanese-inspired neck tattoo works best when the subject and placement are planned together. A flower can fill the side of the neck, a crane can open across the nape, and a wave can follow the neck’s lower edge. Those are different compositions, even when they share the same drawing style.
These 16 Japanese neck tattoo ideas compare bold flowers, masks, animals and simpler botanical shapes. Use them to decide on a silhouette, a palette and an area of coverage before asking an artist to create a fitted drawing. The focus is on complete subjects that remain understandable without a large sleeve or back-piece background.
Image disclosure: All images are AI-generated tattoo concepts. They are not real or healed client photographs, and they do not represent an artist’s portfolio. These are modern Japanese-inspired interpretations; an experienced artist should review the subject, cultural references and placement before tattooing.
Choose the neck area before the motif
Start by marking the boundaries you want: one side below the ear, a compact nape piece, a lower band-like composition or a centered design at the front base of the neck. Decide whether the drawing should be visible above your usual collar and whether you want hair to cover part of it in everyday wear.
View a proposed stencil with your head facing forward, then gently turned in each direction. A design that looks centered in one photograph may read differently while you move. Bring pictures showing your normal hairstyle, collar height and any existing shoulder or chest tattoos so the artist can plan the whole surrounding area.
Our Japanese tattoo designs guide offers a wider motif overview. For less coverage, compare the open compositions in our minimal Japanese tattoo ideas. Choose the subject you actually want rather than filling the neck simply because space is available.
1. A red peony on the side of the neck
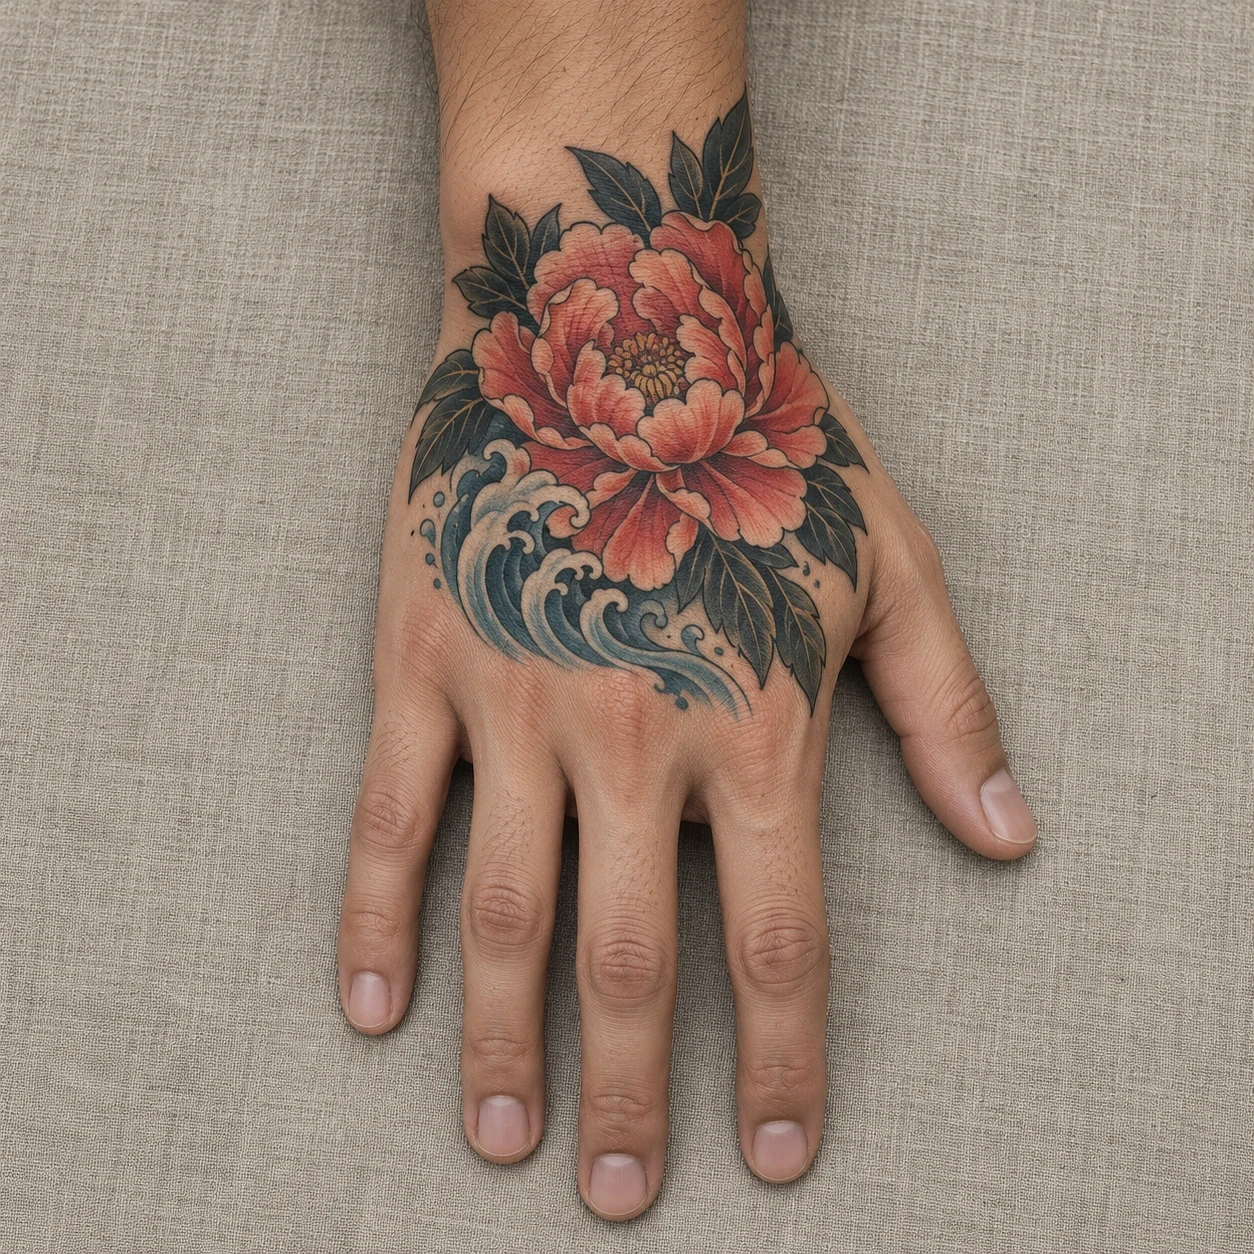
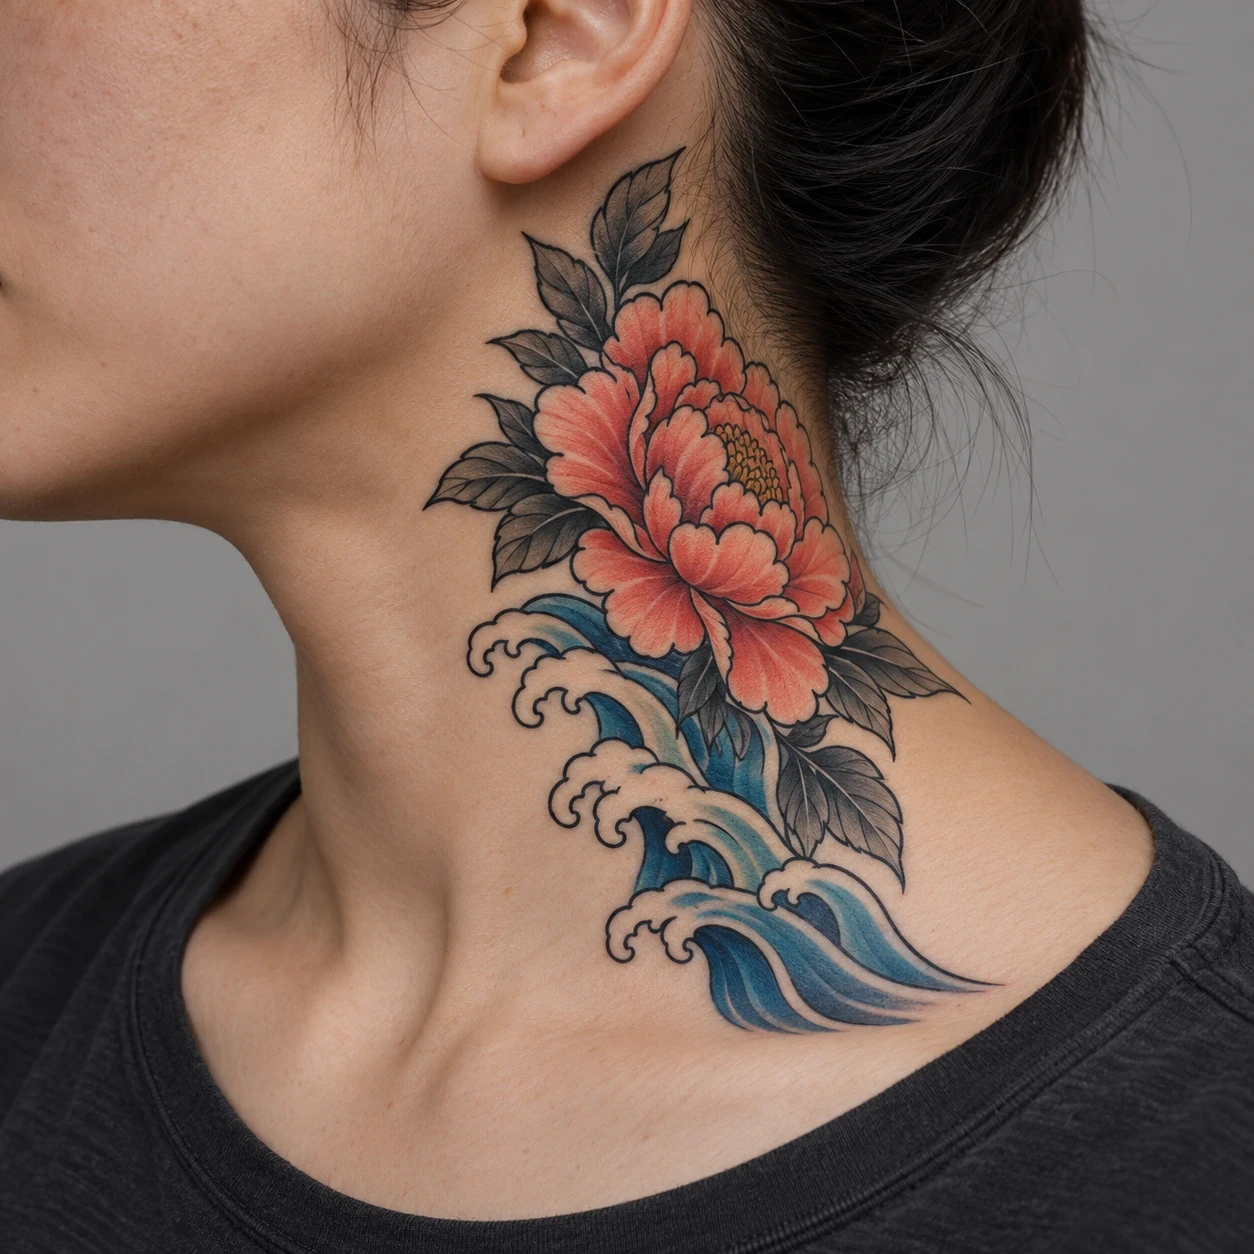
A rounded peony puts a clear flower shape between the ear and shoulder. Red petals make the main subject easy to separate from the grey leaves. The outline can sit as one standalone piece without needing a dark background across the entire neck.
Check the outer leaves as carefully as the flower center. They determine how close the design reaches toward the jaw, hairline and collar. Ask the artist to move or remove a leaf if it makes the main bloom look squeezed into the available area.
2. An upright golden chrysanthemum
Long pointed petals give this chrysanthemum a taller outline. Golden color and dark leaves create a strong focal point while keeping the palette limited. The upright arrangement offers a different use of the side of the neck from a wide flower centered at the base.
Decide where the top and bottom petals should end before adding interior detail. An artist can reduce the number of small divisions without losing the flower’s character. Review the drawing at its intended size, rather than judging every line in an enlarged image.
3. Cherry blossoms across the nape
A short branch with three pink blossoms spreads gently across the back of the neck. Gaps between the flowers leave visible skin and keep the piece lighter than a filled background. The branch gives the separate blossoms a shared structure.
Bring a reference photograph with your hair in the position you normally wear it. Ask where the branch should sit relative to the hairline and collar. Keeping its ends deliberate is more useful than extending it until it touches every boundary.
4. Maple leaves with curved black accents
Red pointed leaves and a few dark curves make a diagonal side-neck composition. Each leaf remains its own shape, while the supporting lines connect their direction. The design can suggest movement without adding a second large subject.
Have the artist check which leaf is dominant and how the others follow it. Leave enough space to see their outer points. If the arrangement becomes busy, simplify the supporting curves before adding more small veins or extra leaves.
5. A curved koi and blue water accents
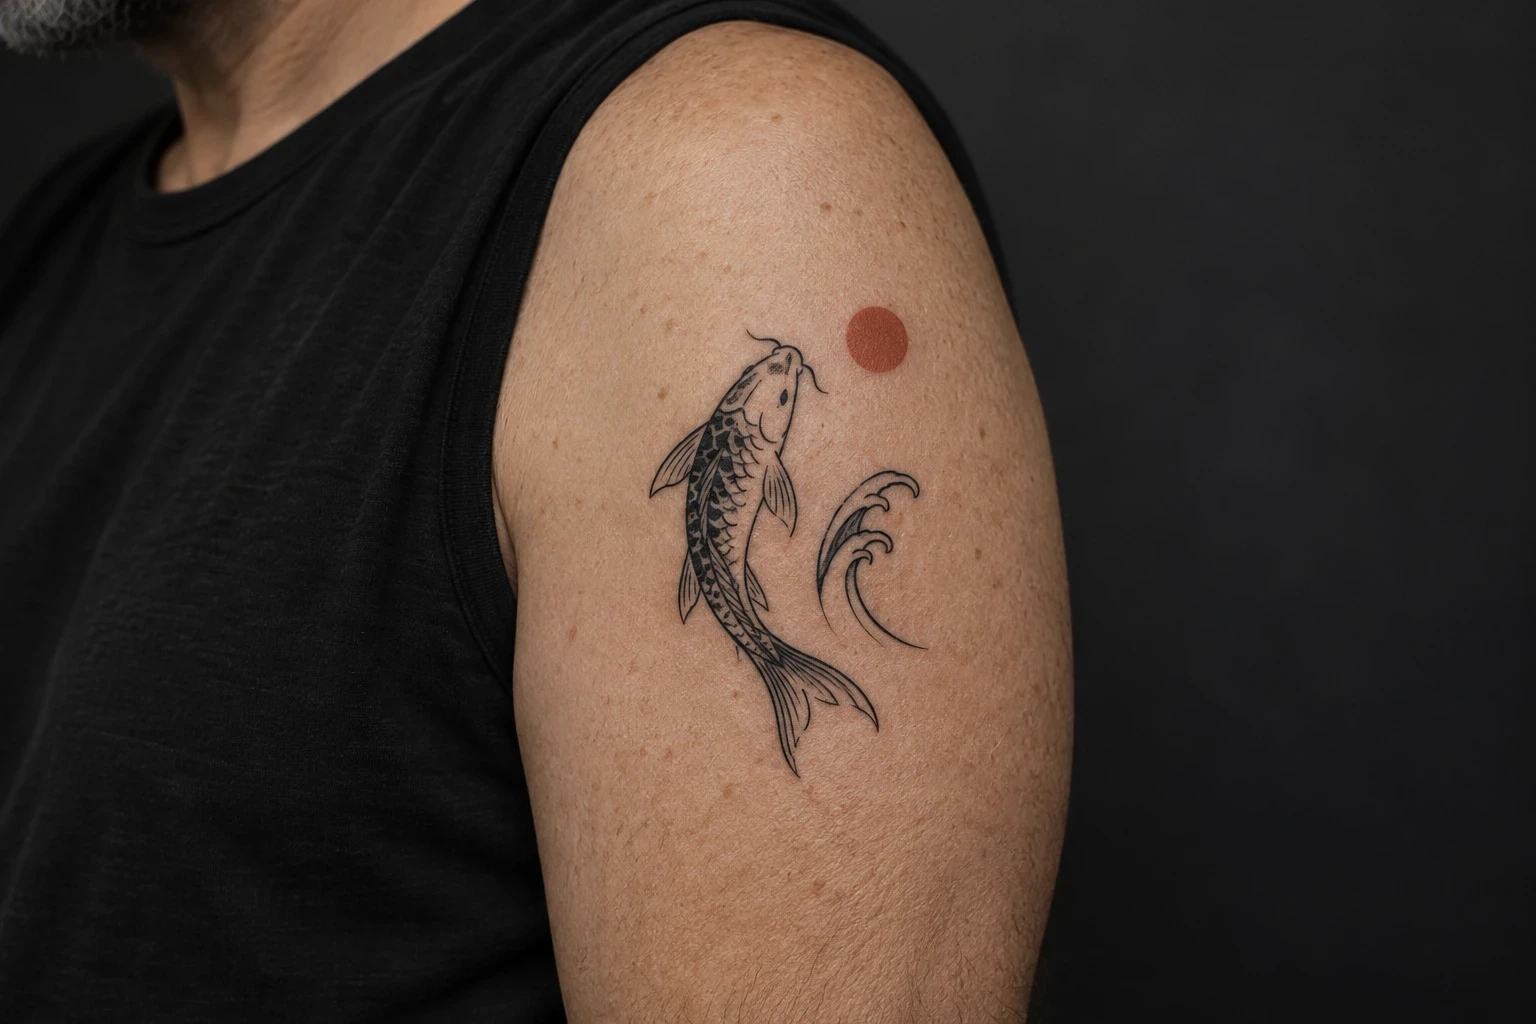
A koi uses a head-to-tail curve to organize the neck’s vertical space. Orange and black body markings contrast with restrained blue water. Keeping one fish as the main subject makes the design easier to resolve than a tightly packed pair.
Review the complete fish before approving its scale pattern. The head, fins and tail should connect clearly and remain inside the chosen boundary. Choose its direction on a stencil; do not assume that an upward or downward angle gives every koi tattoo one fixed meaning.
6. A dragon head with grey shading
A dragon head concentrates the idea into a face instead of trying to fit a long coiling body on the neck. Horns and whiskers give the outline character, while small red accents draw attention to the expression. Grey shading separates the larger forms.
Ask the artist to resolve the muzzle, jaw and horn connections before refining scales. The whiskers need space around their ends. If you want a full dragon rather than a head study, discuss whether the composition should continue onto a larger body area.
7. A compact red oni-inspired mask at the nape
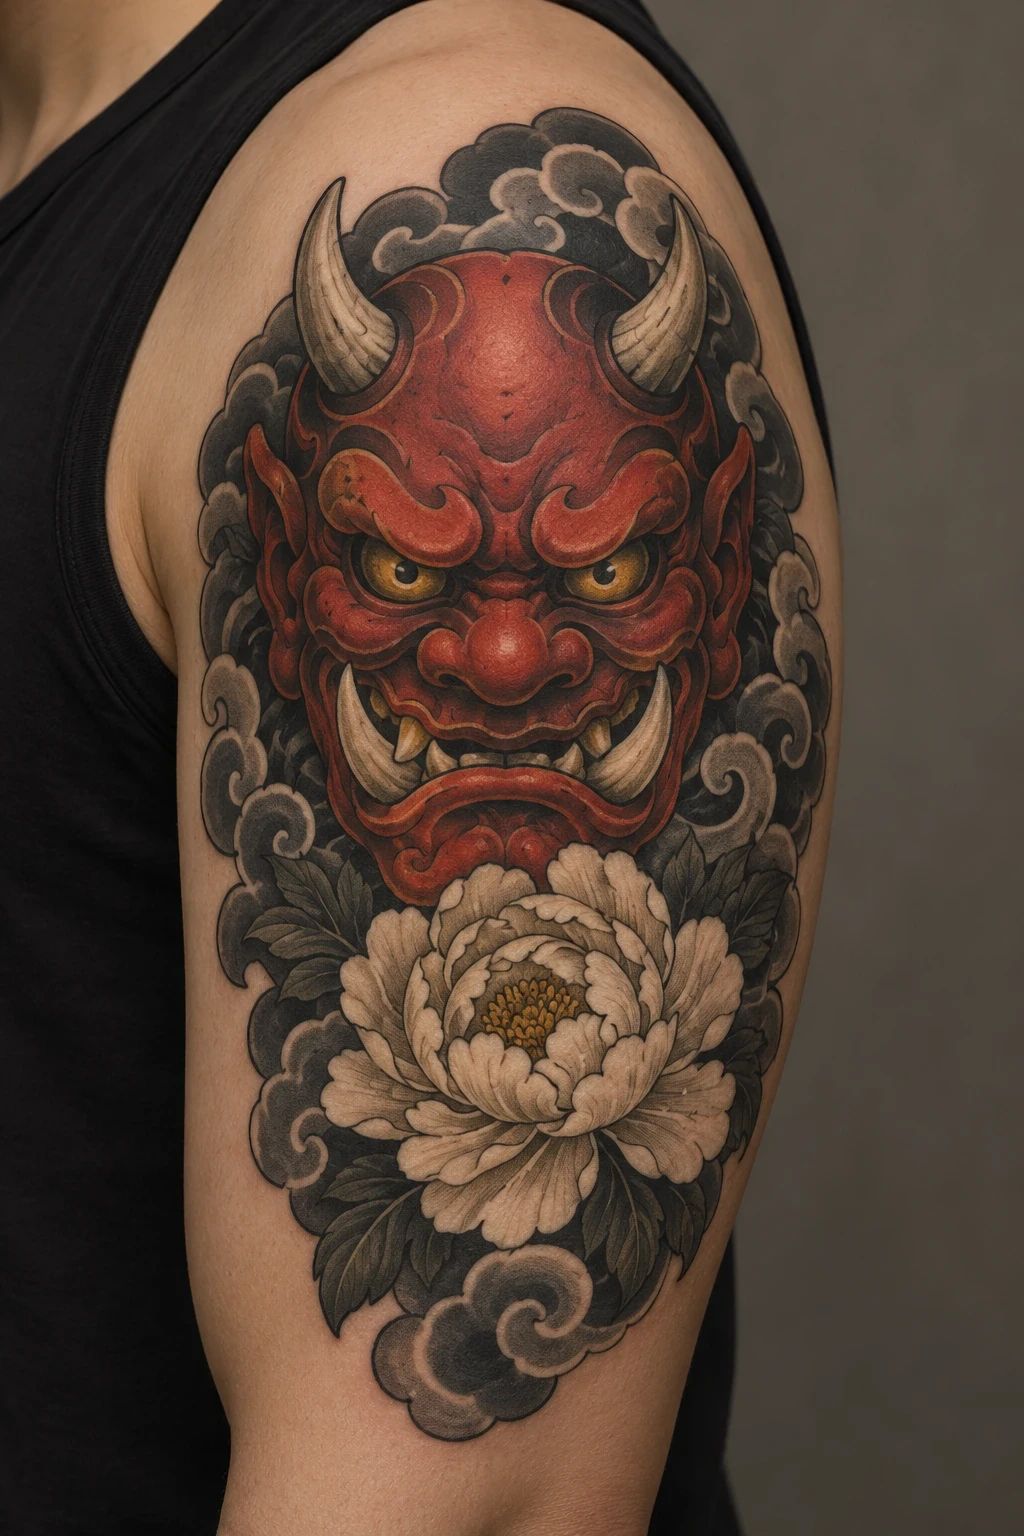
A centered mask creates a strong nape design with a clear top and bottom. Red color, short horns and lower tusks make the face the main feature. A compact arrangement leaves room between the outer mask and the hairline.
Choose a specific mask reference with the artist rather than treating every horned face as interchangeable. Our Japanese oni mask tattoo ideas show more framing directions. Keep the nape version focused if a larger reference contains flowers and background work you do not need.
8. An ivory hannya-inspired side-neck mask
A narrow ivory mask produces a more vertical arrangement than the broad red oni concept. Red details around the eyes and a dark mouth define the expression. The long horns make the upper boundary an important part of the placement.
Give the artist a reliable theatrical or art reference to work from. Ask them to check the mask’s features and leave clear space around the horn tips. The generated concept is a starting point, not a substitute for understanding which kind of mask you want.
9. A crane opening its wings at the nape
A crane uses its wings to make a broad shape across the back of the neck. White areas, black wing tips and a small red crown create a restrained palette. The neck and trailing legs give the bird a central direction.
Begin with the bird’s silhouette and ask the artist to simplify feather details where needed. The wings, body and legs should connect coherently in the drawing. Check the full width below the hairline so neither wing becomes an afterthought hidden around the neck’s edge.
10. A slender bamboo stem behind the side of the neck
Bamboo offers a narrower composition with open skin around the stem and leaves. Black and grey marks keep attention on the joints and tapered leaf shapes. The slight diagonal can follow the rear side of the neck without requiring a large central panel.
Choose which leaf clusters are necessary to explain the plant. A few well-placed leaves can provide enough variation. Have the artist review where each branch joins the stem and where the uppermost mark stops near the hairline.
11. Golden ginkgo leaves on a small branch
Fan-shaped ginkgo leaves introduce a soft, scalloped outline. A short branch connects the golden shapes while the surrounding skin keeps the composition open. This is a useful comparison if you like botanical work but do not want a large flower head.
Set the relative leaf sizes before choosing fine veins. One larger leaf can lead the eye, with smaller leaves supporting it. Ask the artist to preserve the notched fan shapes and reduce small marks that do not help the overall drawing.
12. A blue wave along the neck base
A broad wave can use the lower edge of the neck as its direction. Blue bands and pale foam create contrast while the horizontal sweep changes the feel from the more upright side-neck concepts. The full outline needs a clear beginning and end.
Show the artist your usual collar height when planning this placement. Decide how much you want visible above clothing. If the wave is intended to join larger work, compare its direction with the background arrangements in our Japanese full sleeve tattoo ideas before settling the connection.
13. A folding fan with red blossom accents
A half-open folding fan gives the design a broad geometric outline with a single pivot. Cream panels and dark ribs keep the object readable, while red blossoms add decoration without needing a full scene across the fan.
Check how the fan’s arc sits when your head faces forward. The ribs should meet coherently at the pivot, and the blossoms should remain secondary to the outline. Leaving the panels free of writing keeps the design focused and avoids adding unverified characters.
14. A compact mountain and water scene at the nape
A blue mountain with a pale snowcap above simple water curves creates a small landscape. The limited elements help distinguish the scene without a crowded collection of buildings, trees and clouds. A centered nape placement gives the mountain a clear axis.
Use the image as a composition reference rather than a literal view of one location. Let the artist change the mountain-to-water proportions for your available space. If you want a detailed landscape, discuss a larger placement instead of compressing every feature into the neck.
15. A snake beside a red peony
A snake and flower combine a long curved subject with a rounded one. Black and grey shading keeps the snake connected, while a red peony creates a separate focal color near the base. Clear space between the subjects prevents the petals from concealing the body route.
Trace the snake from head to tail before adding scales or extra leaves. Agree on where the flower belongs in relation to that path. The artist may need to enlarge, simplify or reposition either subject to keep the pair readable on your neck.
16. A black and grey chrysanthemum at the front neck base
A centered black and grey flower uses open petal channels against dark shaded areas. The lower-front placement creates a more symmetrical direction than the side-neck designs. The flower’s outer boundary matters as much as its internal pattern.
Ask the artist to check the stencil with your shoulders relaxed and your head level. Decide how far the flower should reach toward the collarbones before refining the petals. Treat the open-skin sections as planned shapes, and avoid using extra black simply to fill the remaining gaps.
Compare side-neck, nape and neck-base layouts
Side of the neck
A side-neck design is easiest to judge with references from several angles. Photograph the proposed stencil facing forward and in profile, with your head level. A flower may read as a full circle from one angle and a narrower shape from another. Let the artist fit the outline instead of relying on the proportions of a single concept image.
Decide where the upper edge belongs relative to the ear and jaw. At the lower edge, choose whether the drawing should end on the neck or continue toward the shoulder. Leaving a visible skin margin can make a standalone subject feel complete without extra background marks.
Nape and back of the neck
The nape offers a useful center line for a mask, bird or small landscape. A branch or wave can stretch across it instead. Check the composition with hair up and down and with the collars you normally wear. A small centered design and a wider piece that reaches around the sides create different levels of visibility.
For other motifs in the same area, compare our back-of-the-neck tattoo designs. Use the comparison to judge coverage rather than to assume a placement belongs to one gender.
Lower neck and front base
A lower-neck composition needs a deliberate relationship to the collarbones, clothing and any nearby tattoos. Have the artist check symmetry with your shoulders relaxed. A design that looks centered while you lift your chin may appear different when your head returns to its normal position.
Before booking, consider how visible the finished placement will be during your usual day. Review any workplace or uniform requirements that apply to you. If you want a less exposed alternative, ask the artist to compare the subject on the upper back or shoulder before committing to the neck.
Build the reference around a clear subject
Tell the artist whether you want a modern Japanese-inspired illustration or a composition developed within their Japanese tattoo practice. Motif pairings, background treatment and the direction of a drawing deserve discussion. Adding a mask, wave or flower does not by itself establish that every detail follows a particular tradition.
For masks, use a reliable reference. The Ohtsuki Noh Theatre’s mask guide describes hannya through a woman’s jealousy, anger and sadness. That theatrical background helps identify the subject, but it does not impose a universal meaning on a wearer’s tattoo. Ask your artist to review the face and horns rather than reproduce an AI concept unchanged.
For animal designs, check the head-to-body connections before the surface pattern. The koi needs coherent fins and a tail; the crane needs a readable neck, wings and legs; the snake needs one complete body route. For flowers, prioritize the outline and petal groups. The generated images are useful visual briefs, not ready-to-tattoo stencils.
Keep the personal meaning specific to you. You can choose a flower for its shape or a wave for the composition without assigning it a fixed life story. If you want Japanese writing, verify the exact text and character forms with a fluent reader separately. None of these concepts needs lettering to be complete.
Plan the appointment and aftercare
Ask the artist for written aftercare instructions and discuss how they apply to your hairstyle, collars, necklaces, shaving and regular activities. Bring those questions before the appointment so you can plan around the advice they give for your actual placement. Avoid using an inspiration image to judge healing stages or expected skin reactions.
Once the tattooed skin has healed, sun protection matters when the neck is exposed. The American Academy of Dermatology notes that UV light can fade some tattoo inks and recommends broad-spectrum, water-resistant sunscreen with SPF 30 or higher before going outdoors, reapplied at least every two hours. Follow the artist’s instructions for the fresh tattoo.
The AAD advises seeing a dermatologist if tattooed skin develops a reaction or changes. Ask a clinician about skin concerns. Sources were checked on 17 October 2026; this inspiration guide does not provide an individual healing plan.
Japanese neck tattoo questions
Which Japanese-inspired motifs suit the neck?
Start with subjects that have an identifiable outline: a single peony, chrysanthemum, wave, branch or compact mask. A fish or bird can work as a more directional composition, but it needs enough space for the whole subject. The artist’s fitted drawing matters more than a list of supposedly ideal motifs.
Can a Japanese neck tattoo be small?
A small design needs a simpler drawing. A few leaves or a short blossom branch asks less space of the placement than a detailed dragon face. Ask the artist what they would remove or enlarge for your preferred size instead of shrinking every mark in a large reference.
Is the side or back of the neck better?
Choose based on the shape, orientation and visibility you want. A side-neck piece reads strongly in profile; a nape design can use a center line or a wider horizontal arrangement. Check both on your own neck with normal hair and clothing before deciding.
How painful is a neck tattoo?
Experiences vary, so a numerical pain score would not predict your appointment. Discuss the exact area, session length, breaks and any concerns with your artist. Ask a medical professional about health questions rather than relying on an inspiration article.
What will a Japanese neck tattoo cost?
Ask for a quote based on the finished drawing, size, color and placement. Confirm what the appointment and any touch-up policy include. These generated concepts are not fixed booking specifications, so this guide does not invent a standard price.
What references should I take to the artist?
Bring one or two preferred concepts, photographs of your neck from several angles and pictures of any nearby tattoos. Describe the subject, palette and amount of coverage you want. Ask to see the artist’s healed work in comparable placements and styles before approving the final drawing.