Most tattoo regret does not come from a bad artist — it comes from a design decision made in a hurry. After a decade of sitting in studios, talking to artists and getting my own work done, that is the single pattern I see over and over.
The tattoo itself takes a few hours. The decision that leads to it deserves a few weeks.
This guide walks through how to choose a tattoo design step by step, in the order the decisions actually need to be made: purpose first, meaning second, style and placement after that, and the artist last.
Follow it and you arrive at your consultation with a clear brief instead of a screenshot folder. If you want to go further and sketch the concept yourself first, our guide on how to design your own tattoo pairs well with everything below.
Which Tattoo Style Is Right for You?
Style is the decision people rush most, so it is worth putting the main options side by side before anything else.
The table below reflects what artists I have worked with consistently say about how each style behaves over years, not how it looks the day it is finished. For a deeper breakdown of each one, see our full guide to tattoo styles explained.
| Style | Best suited to | How it tends to age | Good first tattoo? |
|---|---|---|---|
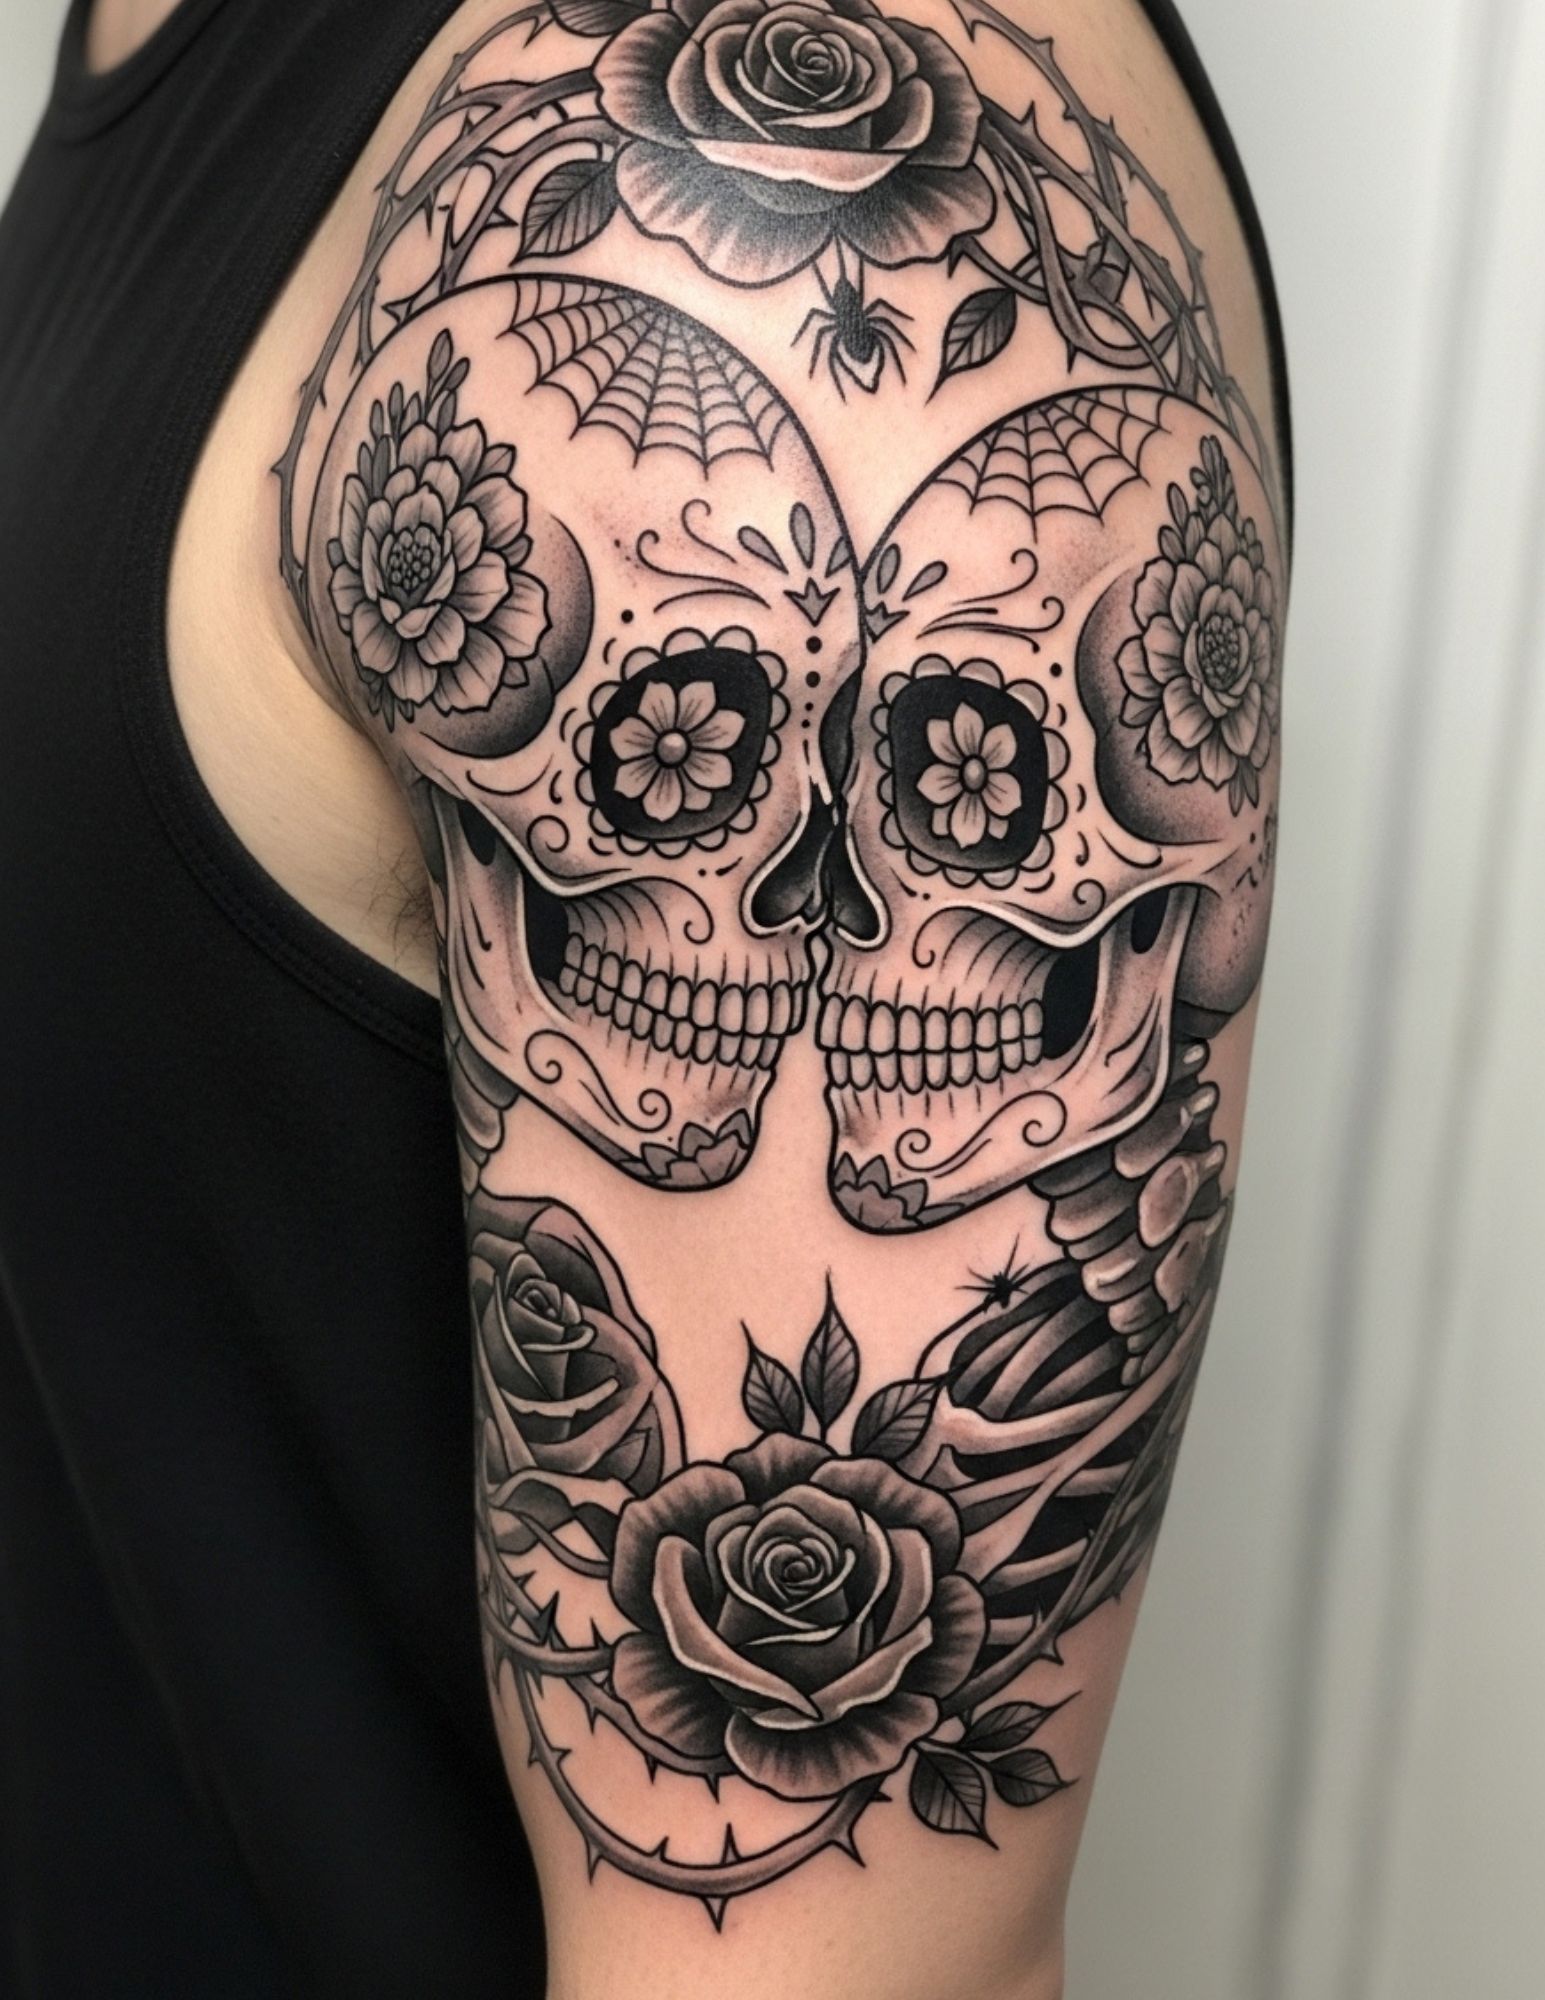
| American traditional | Bold icons, animals, roses, nautical imagery | Excellent — heavy outlines hold shape for decades | Yes |
| Japanese traditional | Large flowing pieces: sleeves, backs, thighs | Excellent, but usually needs a multi-session plan | Only as part of a bigger plan |
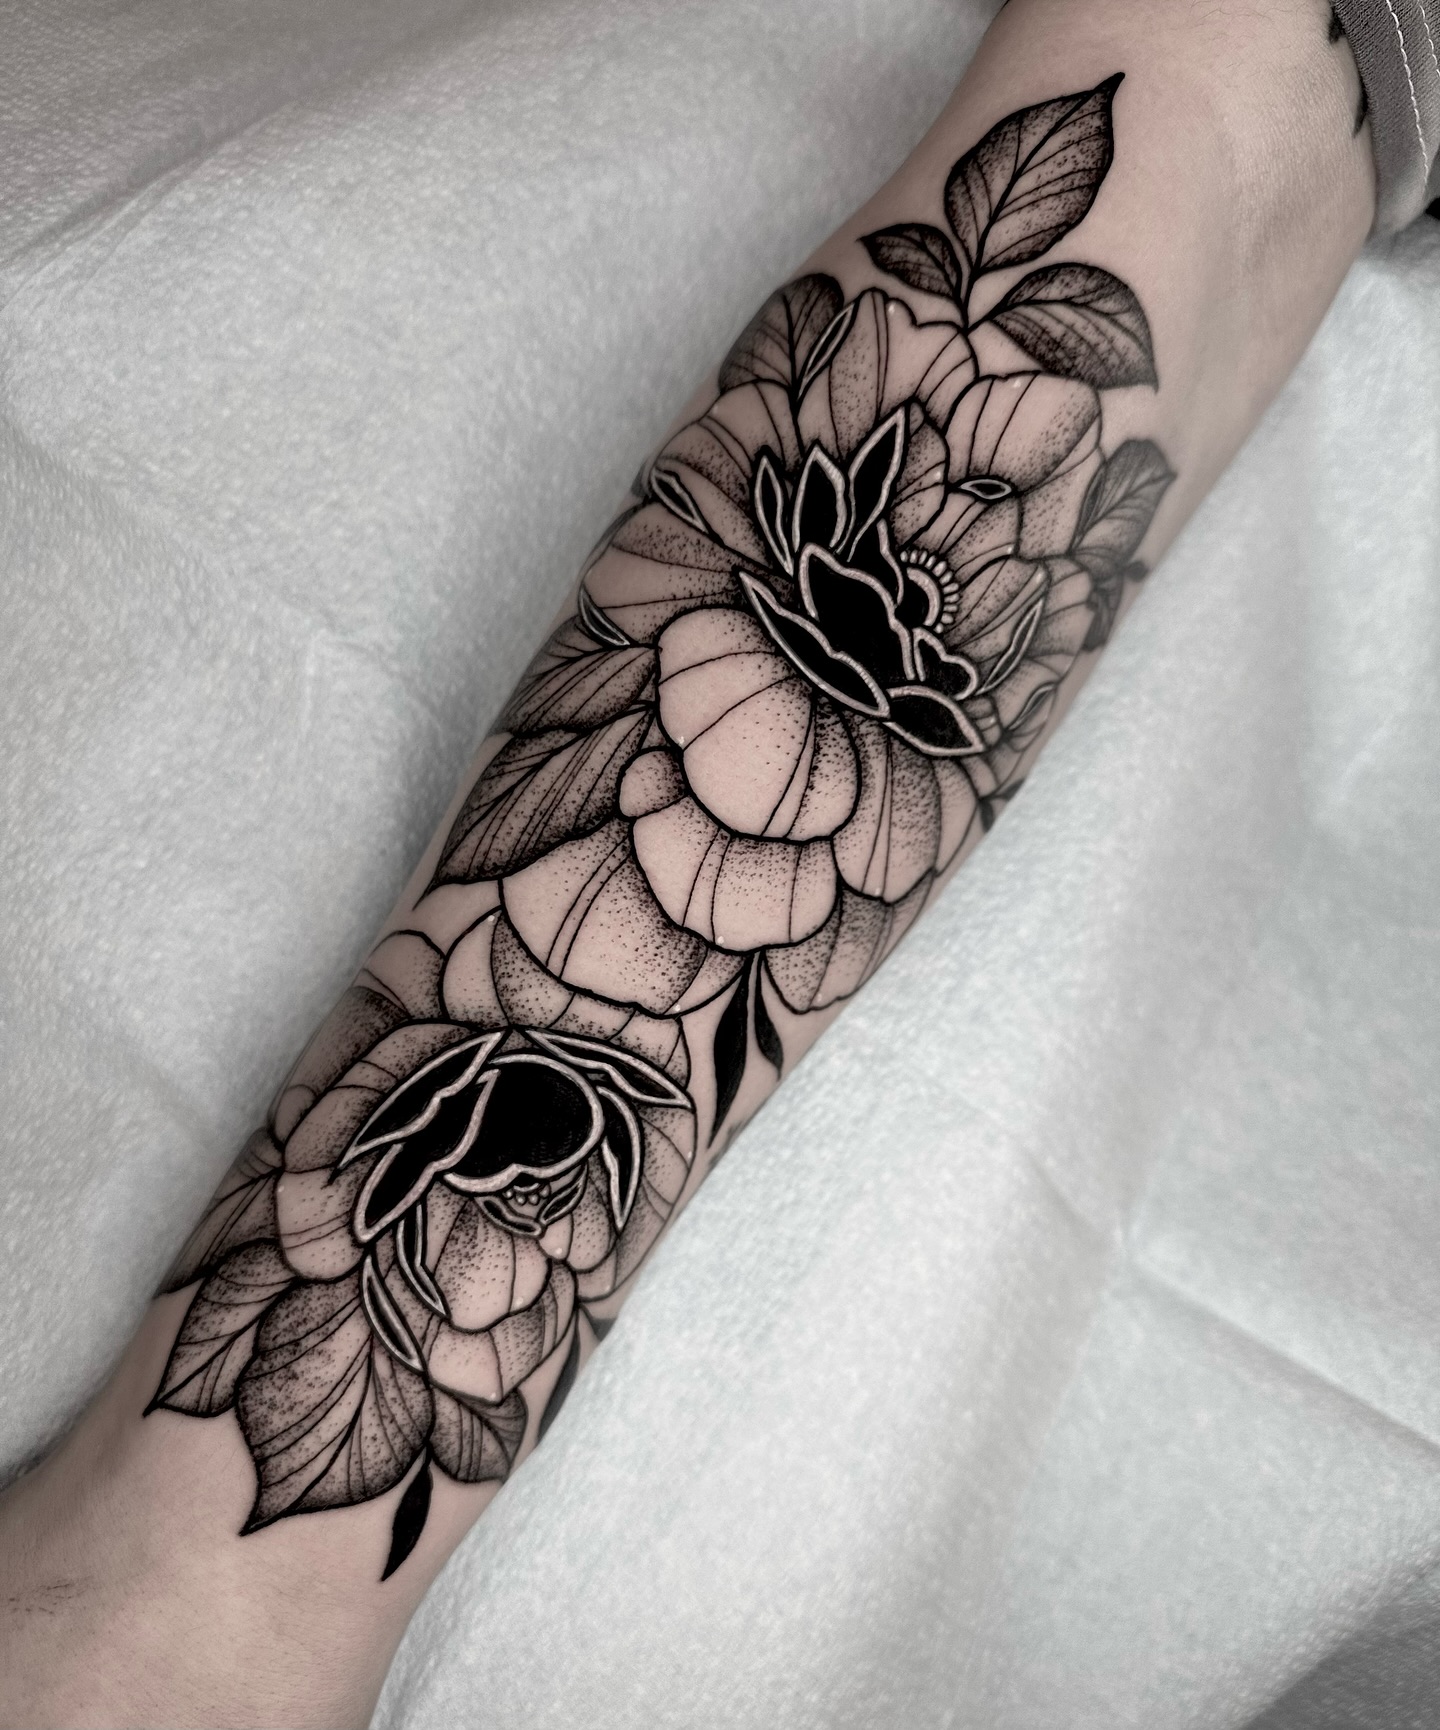
| Blackwork | Graphic shapes, ornamental patterns, heavy contrast | Very well — solid black stays readable | Yes |
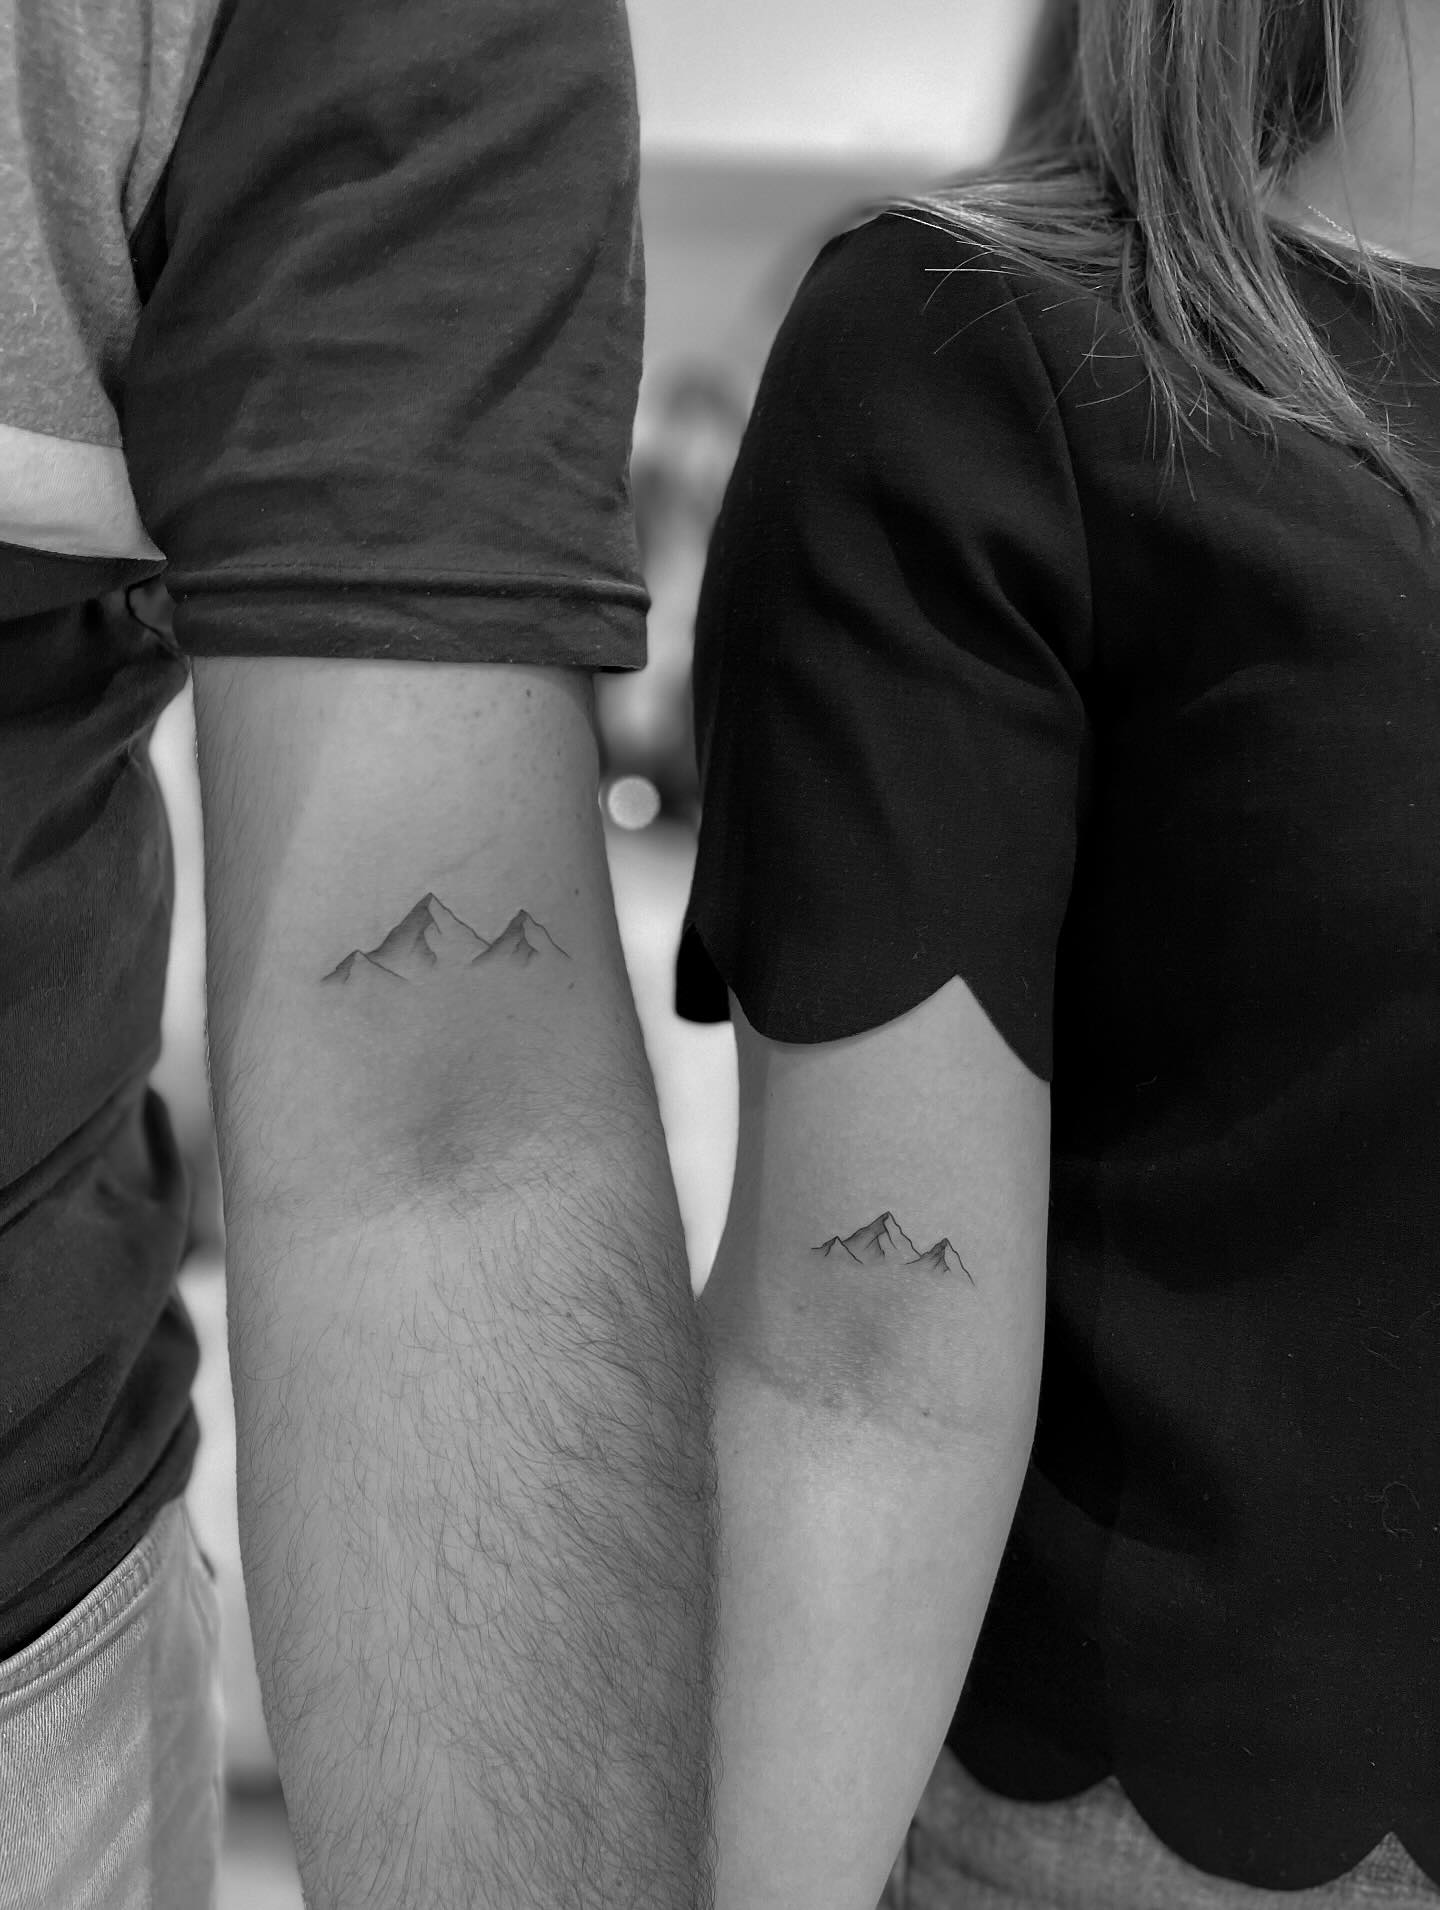
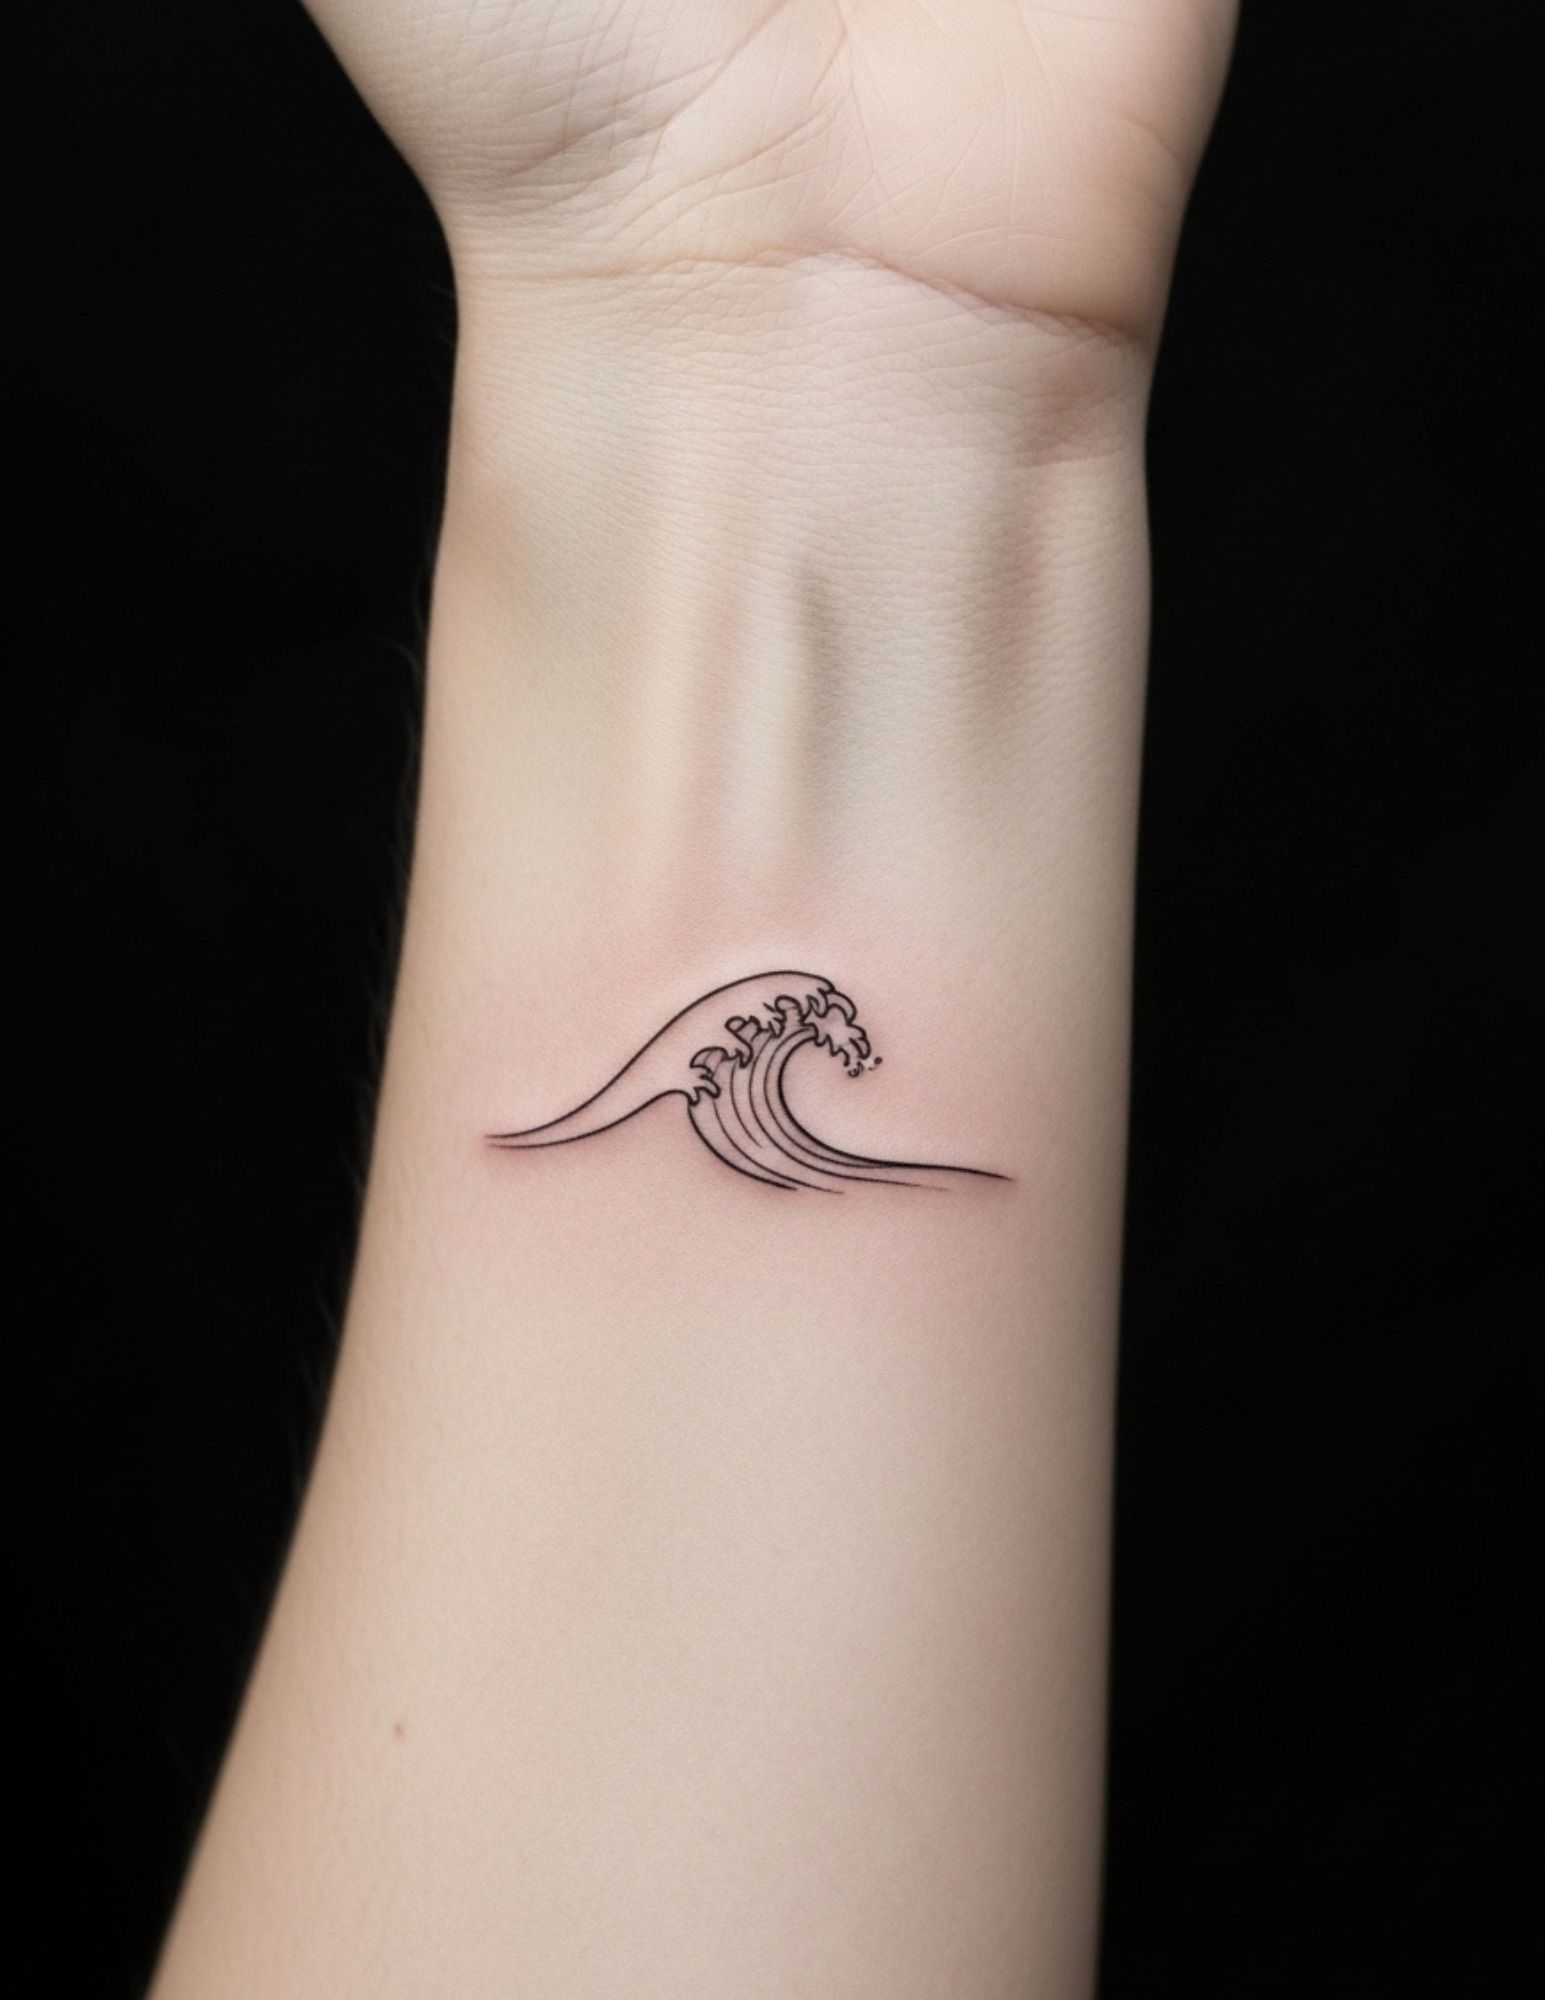
| Fine line | Small delicate imagery, script, botanicals | Softens fastest; may need a touch-up in a few years | Yes, if the artist is a specialist |
| Black and grey realism | Portraits, animals, detailed scenes | Gradual contrast loss; quality depends heavily on the artist | Not usually |
| Neo-traditional | Illustrative subjects with colour and depth | Good — bold enough to hold, softer than traditional | Yes |
| Geometric / ornamental | Symmetrical placements: forearms, spine, chest | Good, though crisp linework shows blur first | Yes |
Why the Design Decision Matters More Than the Appointment
A tattoo is one of the few purchases where the research phase is longer than the delivery and cannot be redone afterwards.
Removal exists, but it is slow, expensive and imperfect. Laser sessions are typically spaced six to eight weeks apart and a full removal often runs into double digits in session count, which is why choosing well the first time is far cheaper than fixing it later.
In my experience the people who are happiest with their tattoos years later are not the ones who found the prettiest reference image. They are the ones who could explain, in a sentence, why that image and not another.
Every artist I have asked says the same thing about their favourite clients: they arrive with a clear intention and loose visuals, not a rigid picture they want copied exactly.
That is the target. Know what you want it to do, and leave the artist room to make it work on your body.
How to Choose a Tattoo Design: The Eight-Step Process
Step 1: Decide What the Tattoo Is For
Before you think about what it will look like, decide what job it is doing. This one question filters out most bad ideas early.
Commemorative tattoos mark a person, a date, a loss or an achievement, and they need personal specificity to work. Expressive tattoos say something about who you are, so they need to survive changes in how you see yourself.
Purely aesthetic tattoos — you simply want something beautiful on your arm — should be judged on composition, placement and longevity rather than meaning. Symbolic or protective pieces need you to actually understand the symbol.
None of these motivations is more legitimate than the others. But knowing which one you are working from changes every decision that follows, including how much you should be willing to spend and how large the piece needs to be.
Step 2: Research the Meaning Before You Commit
If you are drawn to a symbol, spend an hour on its history first. Many popular tattoo symbols carry meanings tied to specific living cultures and traditions.
The hamsa has deep significance in Jewish and Islamic tradition. Polynesian tribal patterns belong to cultural systems with their own rules about who wears what. The unalome comes out of Buddhist practice.
This is not an argument against those designs. It is an argument for knowing what you are wearing permanently, and for asking an artist from that tradition when the symbol comes from one.
The same applies to script. I have seen more than one badly transliterated phrase that the wearer only discovered years later, so always have non-English text checked by a fluent speaker before it goes on skin. If you want ideas that carry weight without needing translation, our list of small meaningful tattoo ideas is a good starting point.
Step 3: Test the Idea Against Time
The most common source of regret is choosing something that made sense at one specific moment in life without asking how it reads later.
Relationships end. Interests shift. What feels like the centre of your identity at 22 can feel like a historical footnote at 42.
That does not mean only generic designs are safe — the specific ones are usually the best ones. It means running a simple test: would I still be glad this was here in twenty years?
In my experience, nature, animals, ornamental patterns and personal symbols age well psychologically. Partner names, band logos and anything tied to a passing cultural moment age least well.
Step 4: Match the Subject to a Style
Styles are not interchangeable skins over the same idea. The same subject rendered in traditional and in fine line produces two genuinely different tattoos with different lifespans.
Traditional American tattooing uses heavy outlines and a limited palette, which is why century-old examples still read clearly. Japanese traditional applies similar structural logic at a much larger scale.
Blackwork relies on solid black and high contrast and holds its integrity for a long time. Fine line produces delicate detail at small sizes but demands a specialist, because thin lines placed too close together can blur into each other as they settle.
Pick the style before you pick the artist, then look only at artists who specialise in it. If this is your first piece, our round-up of first tattoo ideas shows what tends to work well at that stage.
Step 5: Choose Placement With Your Whole Life in Mind
Placement changes visibility, pain, cost, healing and the shape the design has to take.
A composition built for a flat inner forearm rarely transfers cleanly to a curved shoulder, and a fine line piece that holds on the upper arm can soften faster on a palm-side wrist where the skin turns over more.
Sun exposure matters more than most people expect. UV light fades ink over time, so forearms, hands and the back of the neck take more of a beating than ribs, inner arms and upper backs. Long-term sunscreen on healed work is the cheapest preservation there is.
Then there is the practical side: hands, neck and face still carry real social and professional consequences in many fields, and that is worth thinking through honestly rather than optimistically. Bony, thin-skinned areas also hurt more, and our tattoo pain management tips are worth reading before you commit to ribs or a spine piece.
Step 6: Find the Right Artist, Not the Available One
The artist matters as much as the concept. A strong idea in the wrong hands produces a mediocre tattoo you cannot return.
Judge portfolios on healed photographs rather than the glossy shots taken ten minutes after the session, because healed work is the only honest evidence of how someone’s linework settles.
When I have booked well, it has always been with an artist who pushed back on part of my brief. An artist who accepts every request without comment is usually not designing, just executing.
Check the studio too: licensing displayed, single-use needles opened in front of you, gloves changed, surfaces wrapped. Our guide on how to find a tattoo artist covers vetting in detail.
Step 7: Live With the Design Before You Book
Once you have a direction, sit with it. Print it, tape it somewhere you pass daily, and let a few weeks go by.
This is not indecision. It is the cheapest test available for whether something that looked right on a screen still looks right in week three.
When I tested this on my own second piece, two elements I had been sure about quietly dropped out during that month — and the finished tattoo is better for it.
If your enthusiasm is unchanged after four weeks, book with confidence. If something has started to nag, investigate it before it becomes permanent.
Step 8: Brief the Artist Properly at the Consultation
Bring references to communicate direction, not to be copied line for line. Three or four images beat thirty.
Bring photographs of the placement on bodies built like yours, be explicit about size in centimetres or inches, and say whether you are open to the artist scaling the piece up.
Say what the piece means to you if meaning is part of it, and name the things you definitely do not want — colour, script, heavy shading — because constraints help more than vague enthusiasm.
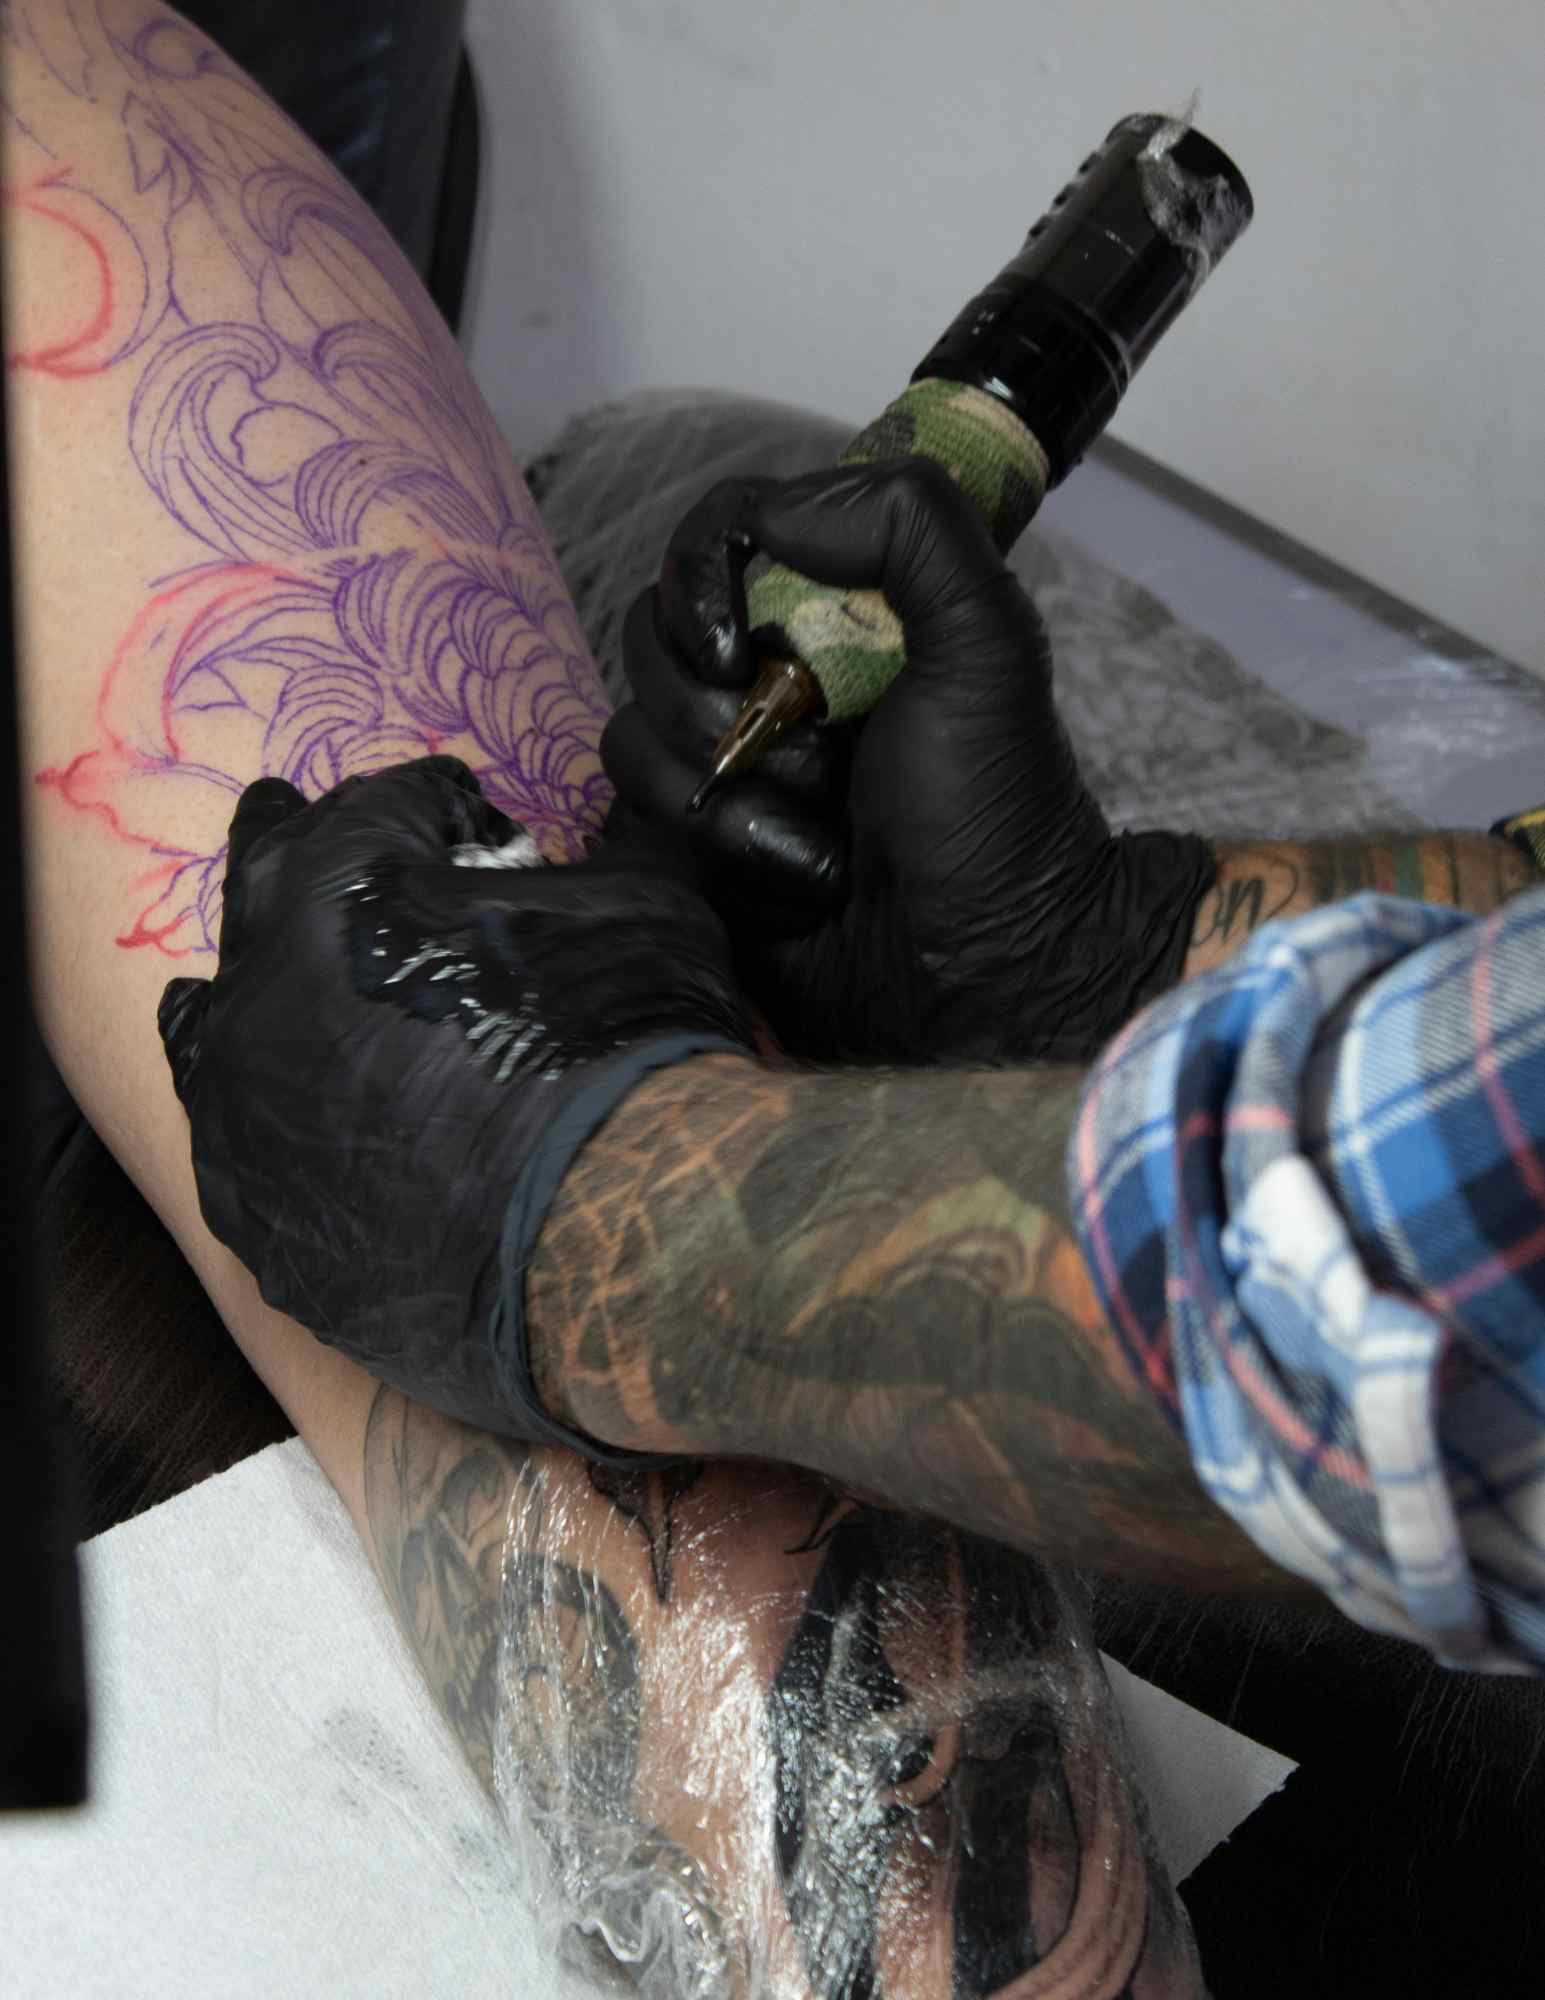
Ask to see the stencil placed on your skin and take a moment with a mirror before the first line goes in. Adjusting angle or size at that point is normal and costs nothing.
Alternative Routes to a Design You Trust
The eight-step process is not the only way in. Three shortcuts work genuinely well depending on what you are after.
Pick From an Artist’s Flash
Flash is pre-drawn work an artist already wants to tattoo. It is usually cheaper, faster to book and technically stronger, because they have drawn and refined it on their own terms.
The trade-off is that the design is not unique to you, which matters much less than people expect once it is healed and on your arm.
Give the Artist a Theme, Not a Picture
Some of the best work I have seen came from a brief as loose as “moths and moonlight, black and grey, forearm, no script.”
Handing over the aesthetic decisions to a specialist you have carefully chosen is not laziness. It is the whole reason you chose a specialist.
Mock It Up Digitally First
Sketching or overlaying a concept on a photo of your own arm answers scale and placement questions quickly, and a few tattoo design apps make that easy.
Treat the result as a conversation starter rather than a finished design — an app cannot judge how linework will settle in skin, and your artist can.
Practical Tips Before You Book
Budget for quality rather than shopping for the lowest quote. Good artists price by time and demand, and a cheap tattoo you dislike is the most expensive one you can buy — see our breakdown of how much a small tattoo costs for realistic numbers.
Eat properly beforehand, sleep, hydrate, and skip alcohol the night before. Sessions go better when your body is not already under strain.
Plan the healing window around your life. Most tattoos look settled on the surface within a couple of weeks, though the deeper skin keeps repairing for longer, and swimming, saunas and direct sun should wait until your artist says otherwise.
Follow the aftercare your artist gives you rather than advice from the internet, including this article. If you develop spreading redness, heat, pus or a fever, that is a matter for a doctor, not a forum — the US FDA and the American Academy of Dermatology both publish plain-language guidance on tattoo risks and healing.
Common Mistakes and How to Avoid Them
Booking the appointment before the concept is settled. The deposit creates pressure to decide, and decisions made under pressure are the ones people regret.
Asking an artist to copy someone else’s tattoo exactly. Most will decline, and the ones who agree are rarely the ones you want.
Sizing a detailed design too small. Detail needs room, and cramming a realistic portrait into five centimetres guarantees it will muddy as it ages.
Assuming removal is a simple undo. Laser removal is a long, costly course of treatments with variable results, as our guide to laser tattoo removal costs lays out. A well-planned cover-up is often the more realistic fix.
And never attempt DIY tattooing or home removal. Both carry real infection and scarring risk, and neither is worth the money saved.
Frequently Asked Questions
How long should I think about a tattoo design before getting it?
A month of living with the concept is a reasonable minimum for anything permanent and visible. That window is long enough for novelty to wear off and for genuine doubts to surface, but short enough that you are not stalling forever. For larger pieces, several months of back-and-forth with the artist is normal. If you still want it unchanged at the end of that period, that is the strongest signal you will get.
Should I choose the design or the artist first?
Choose the subject and rough style first, then find the artist who specialises in exactly that. Working the other way round tends to force your concept into whatever a particular artist happens to do best. The exception is when you already love a specific artist’s body of work — in that case, bring them a theme and let them design within their own style. That approach often produces the strongest results.
Is it a bad idea to get someone’s name tattooed?
Names of children, parents and people who have died are generally considered safe because the relationship does not change. Romantic partners’ names are the classic regret, simply because relationships can end while the tattoo cannot. If you want to mark a partner, artists often suggest a shared symbol, a date or matching imagery instead. Those read as personal without becoming awkward if circumstances change.
How do I know if my design is too detailed for its size?
Ask the artist directly, and trust them if they say it needs to be bigger. As a rough test, print the design at actual size and look at it from arm’s length — if fine details already disappear on paper, they will disappear faster in skin. Ink spreads slightly over the years, so lines that sit very close together tend to merge. Scaling up by even twenty percent often solves the problem entirely.
What if I change my mind after the stencil is applied?
Say so immediately — that is exactly what the stencil stage is for. Repositioning, resizing or reprinting a stencil is routine and most artists expect at least one adjustment. It is far better to spend an extra twenty minutes there than to sit through hours of work you are unsure about. If your doubts are about the design itself rather than its placement, it is entirely acceptable to stop and rebook.
Quick Summary
- Decide what the tattoo is for — commemorative, expressive, aesthetic or symbolic — before you look at any images.
- Research the meaning and origin of any symbol or script, and have non-English text checked by a fluent speaker.
- Test the idea against time by asking whether you would still want it in twenty years.
- Choose a style based on how it ages, not only on how it photographs the day it is done.
- Pick placement with sun exposure, pain, healing and your working life all in mind.
- Find an artist who specialises in your style, and judge them on healed photographs.
- Live with the design for about a month before booking the appointment.
- Brief the artist clearly, then check the stencil in a mirror before the first line goes in.