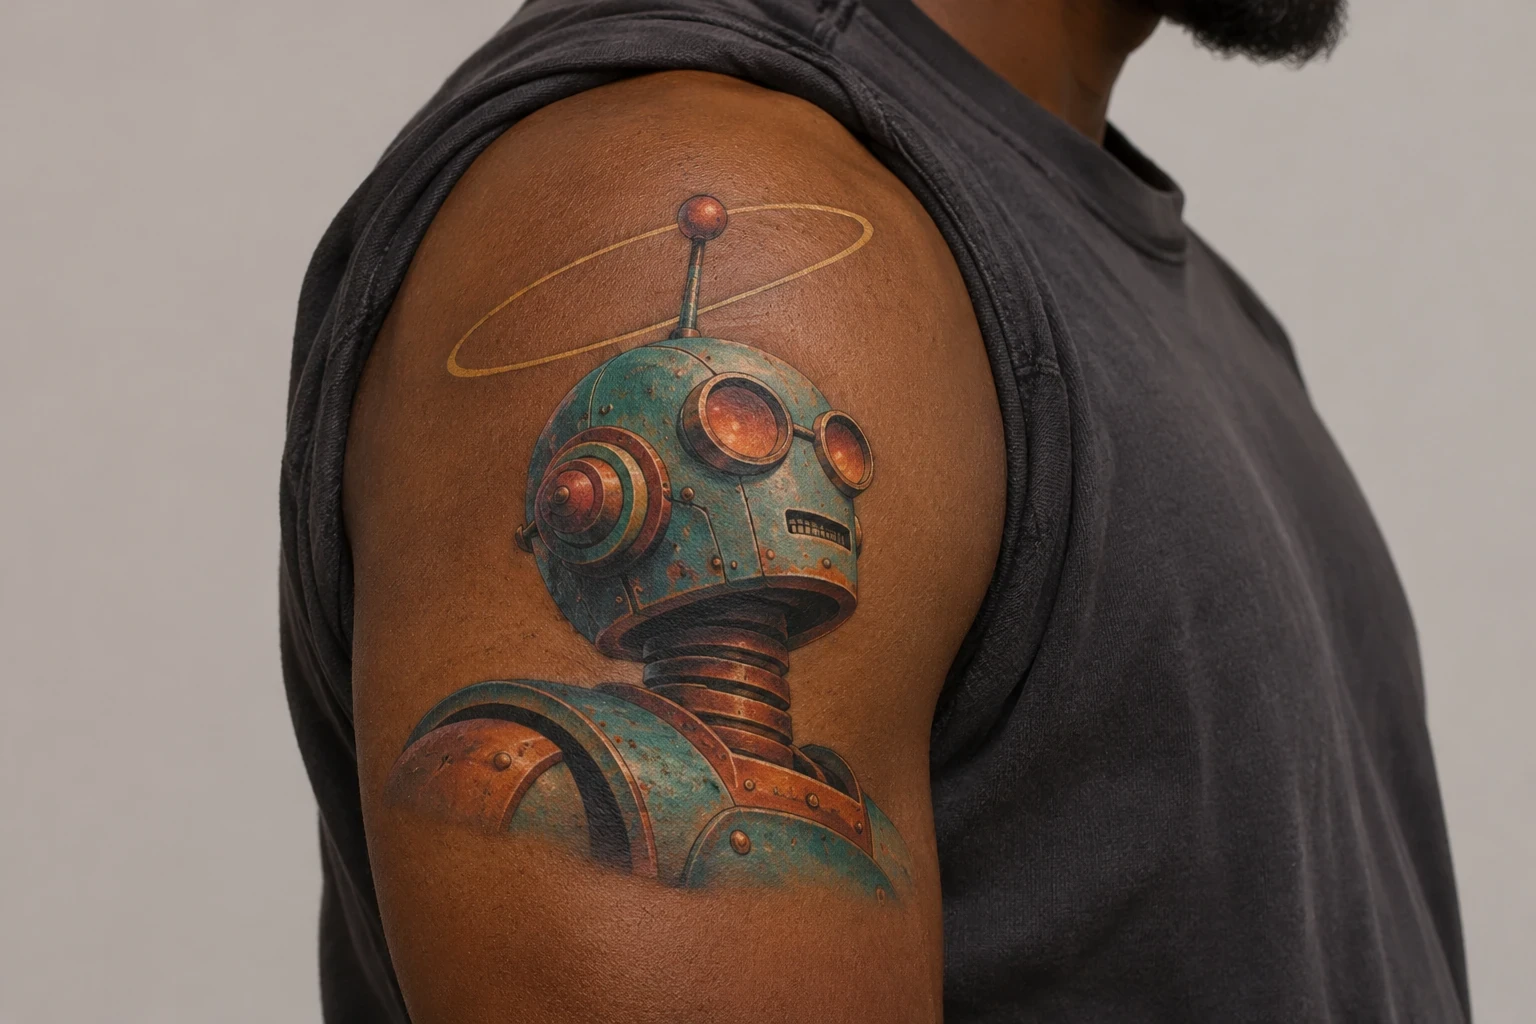
A robot tattoo can start with the way a toy stands, the face of a machine you’ve imagined, or a tiny detail like a winding key. These robot tattoo ideas range from tin toys and pixel bots to mechanical animals and half-human portraits. Pick what makes the machine recognizable first. Then decide how much space to give its joints, lenses and moving parts.
Image disclosure. All 23 designs and the separate cover are AI-generated tattoo mockups shown on fictional adults. They depict imagined placements and ink.
Choose the silhouette before adding the hardware
Compare the shape at a glance. A tin toy has a boxy stance, a rover has a low wheelbase, and a mechanical bird reads first by its wings. Once that shape is clear, one exposed spring or bright lens can add more character than a field of tiny gears. If you like the look of metal parts fitted into the body, the biomechanical tattoo gallery has examples focused on that style.
1. Tin toy with a red chest panel
A square head, a bright chest panel and bulky joints give this robot its tin-toy shape. Put it upright on the outer calf to keep the legs from wrapping around the sides. See how much detail you can remove from the face while keeping its curious expression.
2. Wind-up robot with a brass key
The key is the part that tells the story. Set it behind one shoulder in a three-quarter view so you can see both its loops and the face of the robot. The device has a real-world cousin in the Smithsonian’s wind-up automaton, which uses clockwork to imitate walking and move its eyes.
3. Eight-bit robot
Ask your artist to choose a single unit size and keep each block aligned to it. One row of open skin between the eyes and the bottom of the face can keep the expression readable. On the inner forearm, try the stencil with your hand relaxed and again with your palm open.
4. Single-line robot helmet
Two dark lenses and a short antenna can carry the whole design. Make each lens a little stronger than the helmet outline so the eye goes to the face first. A small outer-arm placement also leaves space for a longer antenna if you later decide to add one.
5. Robot holding a red heart
The red heart is the only bright part of the design, so leave a clear gap between its point and the robot’s feet. Tilt the head slightly if you want the pose to feel more affectionate. A compact version fits the forearm without needing a background.
6. Robot tending a sprout
The open space between the robot’s hand and the leaf is the most useful part of the composition. Let the arm point to the sprout without touching it. A little green is enough to draw the eye past the robot itself.
7. Rover beneath a sliver of moon
Give the rover a low silhouette and a camera mast you can pick out above the body. On a calf, a narrow ridge can anchor the wheels while the crescent keeps the top of the scene open. Avoid putting dark rock texture directly behind every tire.
8. Robot dog with a curved antenna
Favor one side view to show the square paws and segmented legs. Set the tail well back from the rear leg so the silhouette reads at a glance. The Smithsonian’s Aibo collection record offers a real robotic dog to look at if you’re collecting references for the stance.
9. Clockwork hummingbird
Let the wings show a few broad metal segments and keep the gears inside the body. A sharp, thin beak balances those heavier parts. On the shoulder, try the stencil facing inward and outward to see which direction feels more natural.
10. Mechanical bee
Keep the wing veins lighter than the leg joints so the wings feel almost transparent. Amber lets you pick out the abdomen on the inner forearm without a background. An artist can simplify the smallest rivets if you want a shorter silhouette.
11. Robot gripper holding a bolt
A single hex bolt gives the gripper something to do and makes the scale of the fingers easier to read. Ask your artist to decide where the two pincers meet before shading the wrist assembly. You can angle the whole shape toward the wrist to make the bolt the endpoint.
12. Robot head as a technical drawing
A few broken construction lines can suggest a blueprint without crowding the head. Keep the lens heavier than the guides and leave out tiny measurements. This gives you room to choose a muted teal or plain black, depending on how prominent you want the lines to look.
13. Orb robot with antenna fins
The small fins and central lens keep a floating sphere from reading as a planet. Put the dots beneath it with progressively wider gaps to suggest lift. Check the stencil from the side of the calf to see how the sphere holds its shape around the curve.
14. Android portrait with a glass visor
Use one violet band to suggest the visor, and let the mouth and nose remain plain enough to recognize the face. Ask the artist to vary the weight of the panel seams so the face reads before the hardware. A larger upper-arm placement makes room for both edges of the visor.
15. Half-human cyborg portrait
A central axis down the face gives the eye a place to compare the human and mechanical halves. Try a single round lens, one cheek plate and a bit of open skin on the mechanical side. Keep the highlights around both eyes at similar heights so the two halves belong together.
16. Eye with a circuit halo
Start with the eye, then decide which traces actually help frame it. The circuit lines can end in larger dots so the shapes feel connected even when spaced out. Ask your artist to see the shoulder stencil from the front and slightly behind.
17. One-wheel delivery robot
An oversized wheel helps this robot look nimble. Add just a couple of motion marks if the tilt already shows movement. A small block of orange can separate the cargo compartment from the wheel without filling the gaps.
18. Deep-sea robot with cable tentacles
One pale light under the dome gives the drone a focal point. Space the hanging cables apart and taper a few at different heights. Choose a spot where the thin ends can fall down the arm in a single direction.
19. Robot head reclaimed by moss
Put a soft green patch of moss along the hardest edge of the robot’s shell. The curved seedling can then lean into the open space above. Leave the eye and a side panel visible so the head still reads as a machine.
20. Robot stepping through a portal
Keep the orange doorway thin and the figure mostly black. The forward foot should interrupt the doorway’s bottom edge so the pose feels like a step. Give the opening room on the calf if you want the little robot to feel isolated in the frame.
21. Robot repair station
Use the workbench line to anchor the head and leave the wrench just outside it. A short loose wire can give the scene its repair-shop character. On a narrow forearm, stack the tools above the head rather than spreading the scene wider.
22. Robot hand lifting a chess knight
Leave open skin around the horse’s ears and the bends in the metal fingertips. If the piece feels crowded, remove a joint line before making the knight smaller. Try the composition with the mechanical wrist entering along the natural line of the arm.
23. Robot seam and signal
Give the simple signal arcs most of the breathing room. The small dot and panel seam can sit below them as an optional color accent. This is a useful choice if you want a robot reference made from parts you’d actually draw on a quick sketch.
Check where the design bends
Ask your artist to show the stencil with your arm at rest and then bent. See which edge rolls out of sight first. On a broad shoulder you can keep more of a wide face or a pair of wings visible. For a narrow forearm, try a tall robot or a line of smaller parts that follows the length of the arm. If you want a miniature robot, the fine-line tattoo gallery offers more examples of how a few marks can carry a design.
Give your artist a starting point
Choose one detail you want to recognize from across the room, such as the rover’s camera, the robot dog’s ears, or the heart a little tin toy holds. Bring a reference for that detail and a separate example of the linework you like. Ask your artist to show you healed examples of similar line weights and shading. For an early sketch of an original robot, try describing its shape, gesture and placement in the Tattoo Build studio.
Robot tattoo questions
What makes a small robot tattoo readable?
Try a strong head shape, one or two eyes and a single feature such as a key or antenna. Print it at roughly the size you’d wear. If the eyes and the outline run together when you hold it at arm’s length, ask your artist to open up those gaps.
How can I make a robot design feel more personal?
Give it a job or a gesture connected to you. A small gardener, a machine playing chess, or a bot holding a particular flower gives the piece a story that an ornamental gear on its own might not convey.
What colors suit a vintage robot tattoo?
Pick one main color and one accent. Teal and copper can suggest an old painted toy, while a gray body with a red chest panel keeps the design bold. Ask your artist to compare the palette on your skin in daylight before settling on it.