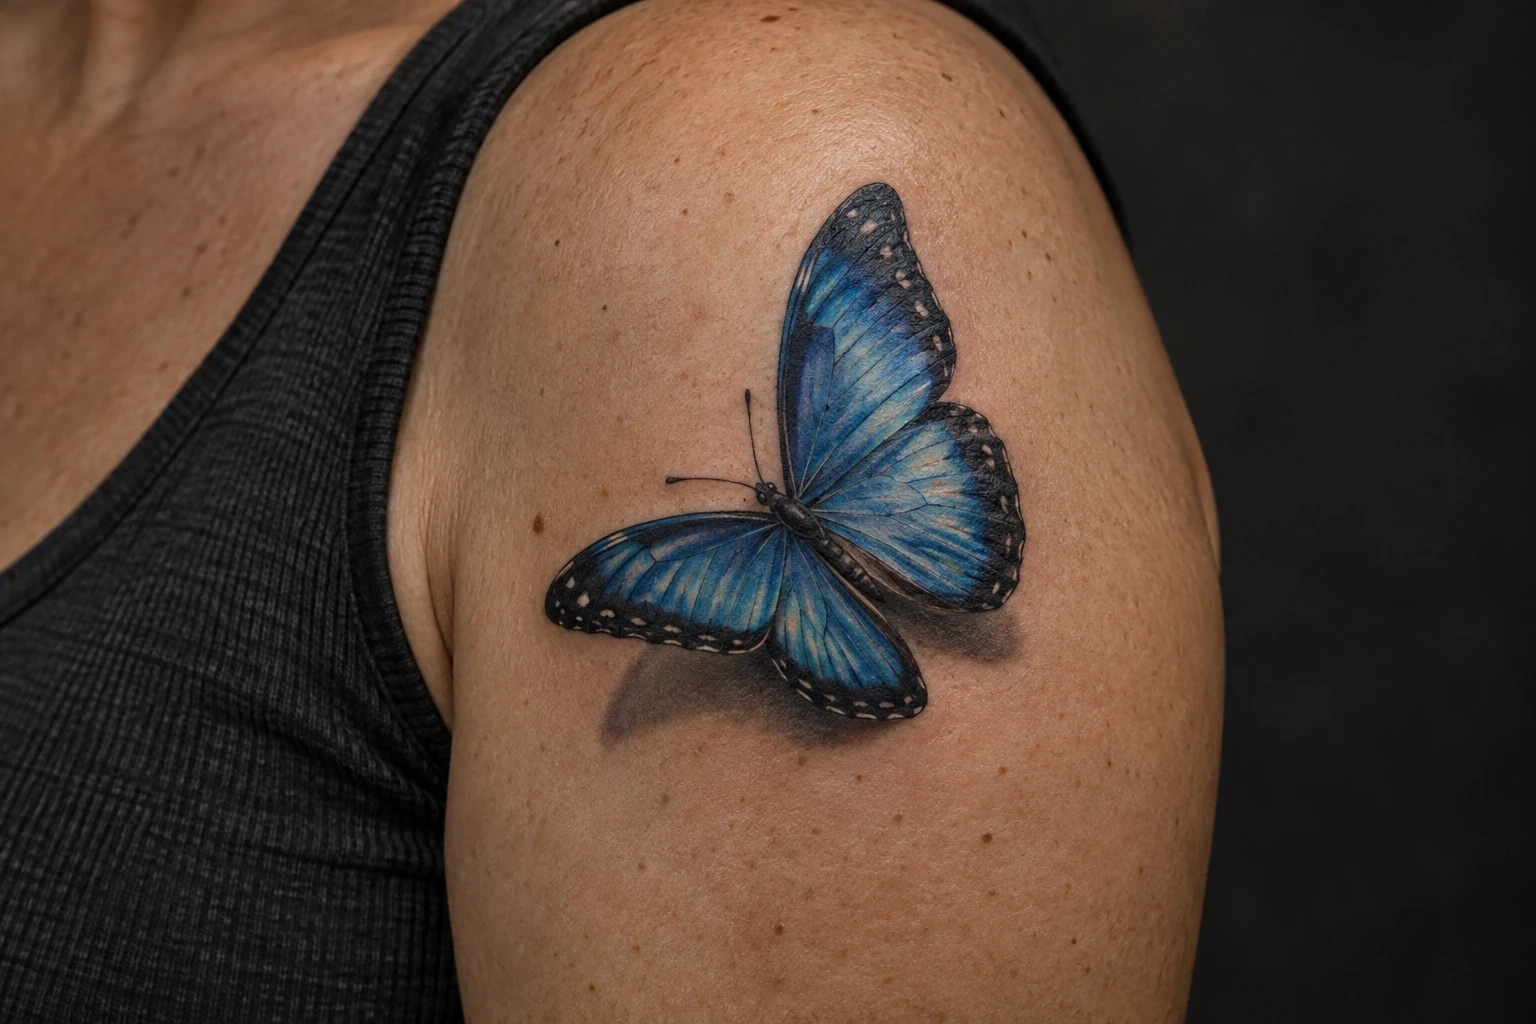
3D tattoo ideas use shading, overlap and perspective to make a drawing appear rounded, raised or recessed. A butterfly can seem to lift away from the arm; a cube can look like a small object casting a shadow; a mechanical frame can suggest a second layer beneath the surface. The depth is an optical effect in the artwork.
A convincing design starts with a clear subject and a consistent imagined light source. Extra texture cannot fix an unclear shape. These fifteen concepts explore different ways to create that effect, from simple geometric forms to natural subjects and detailed objects.
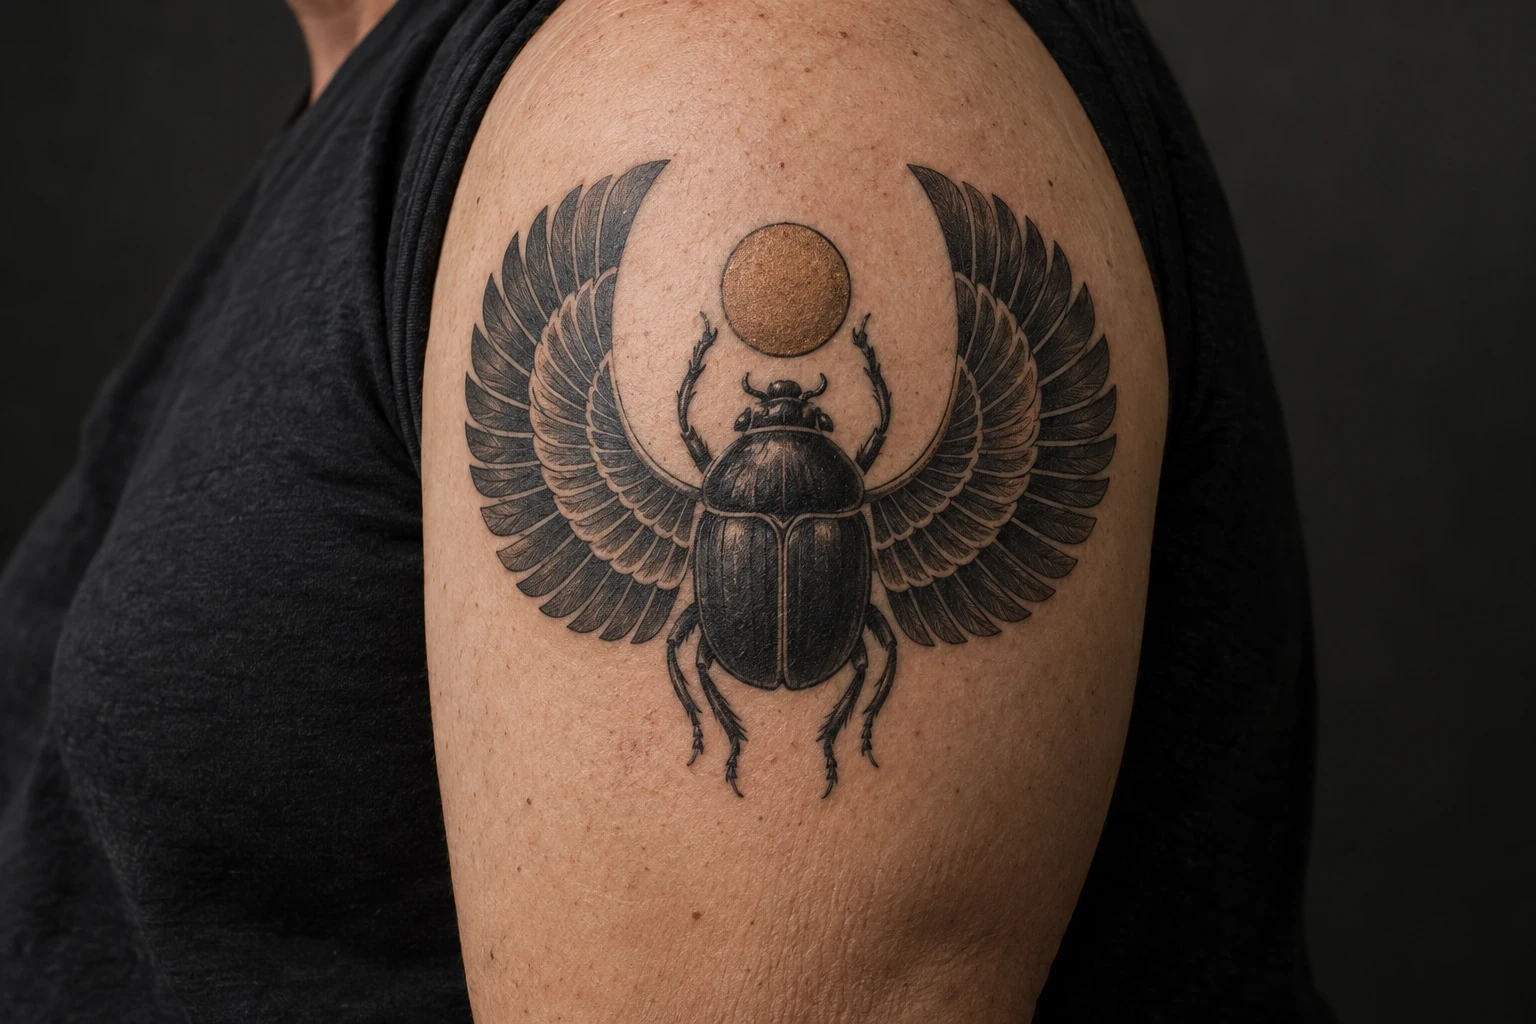
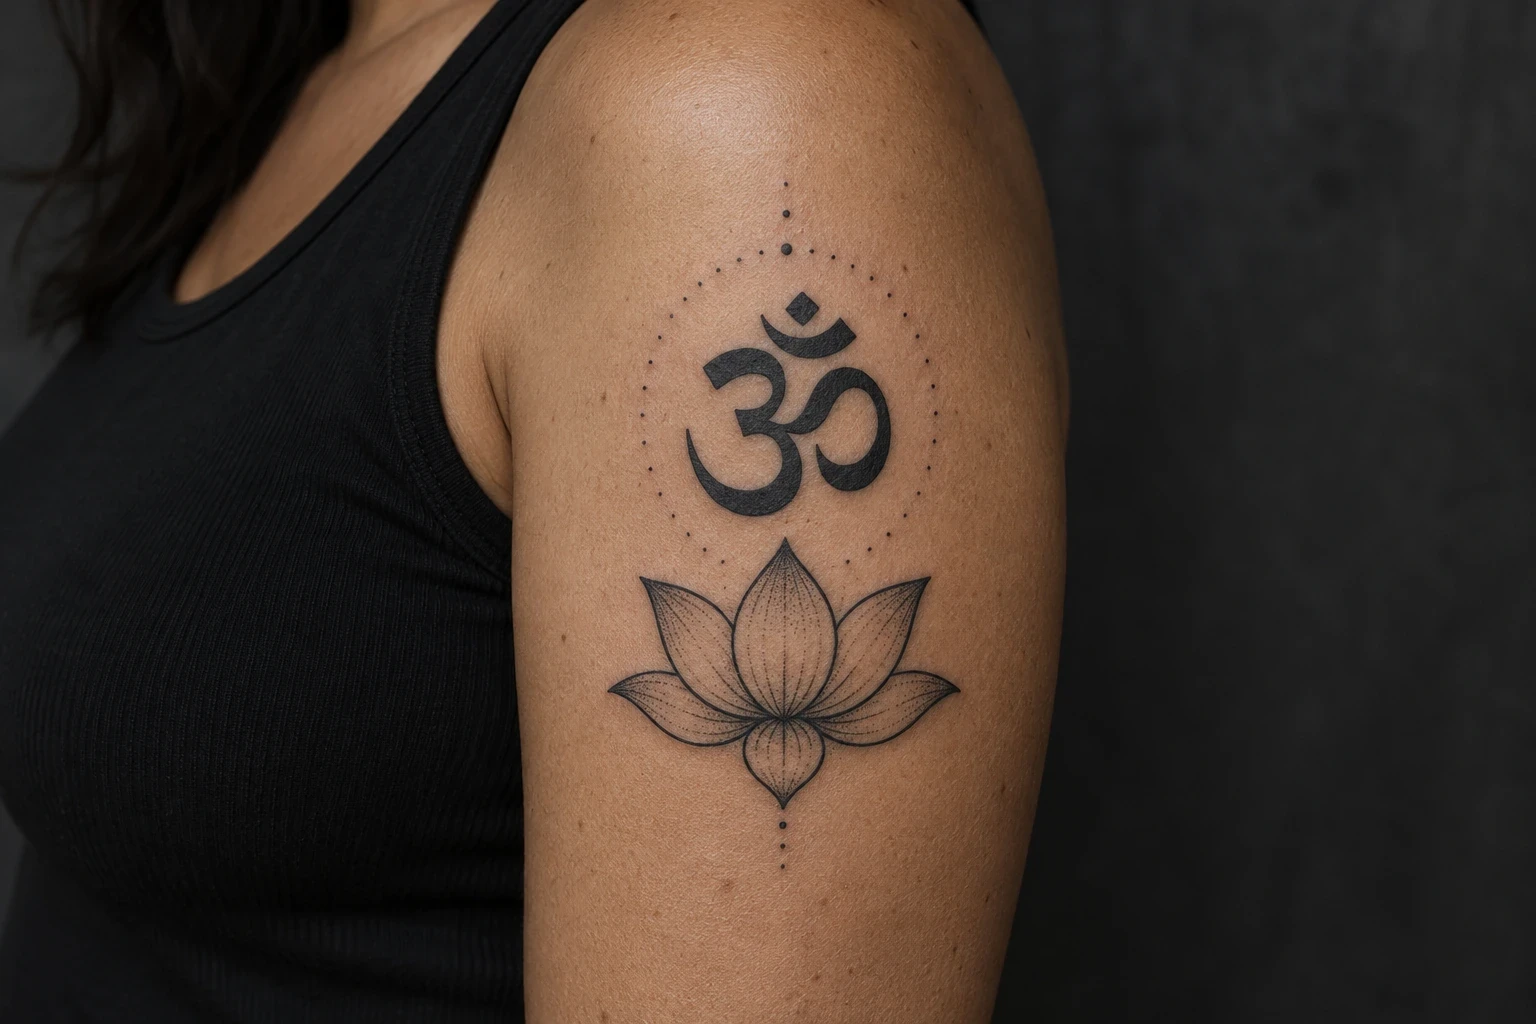
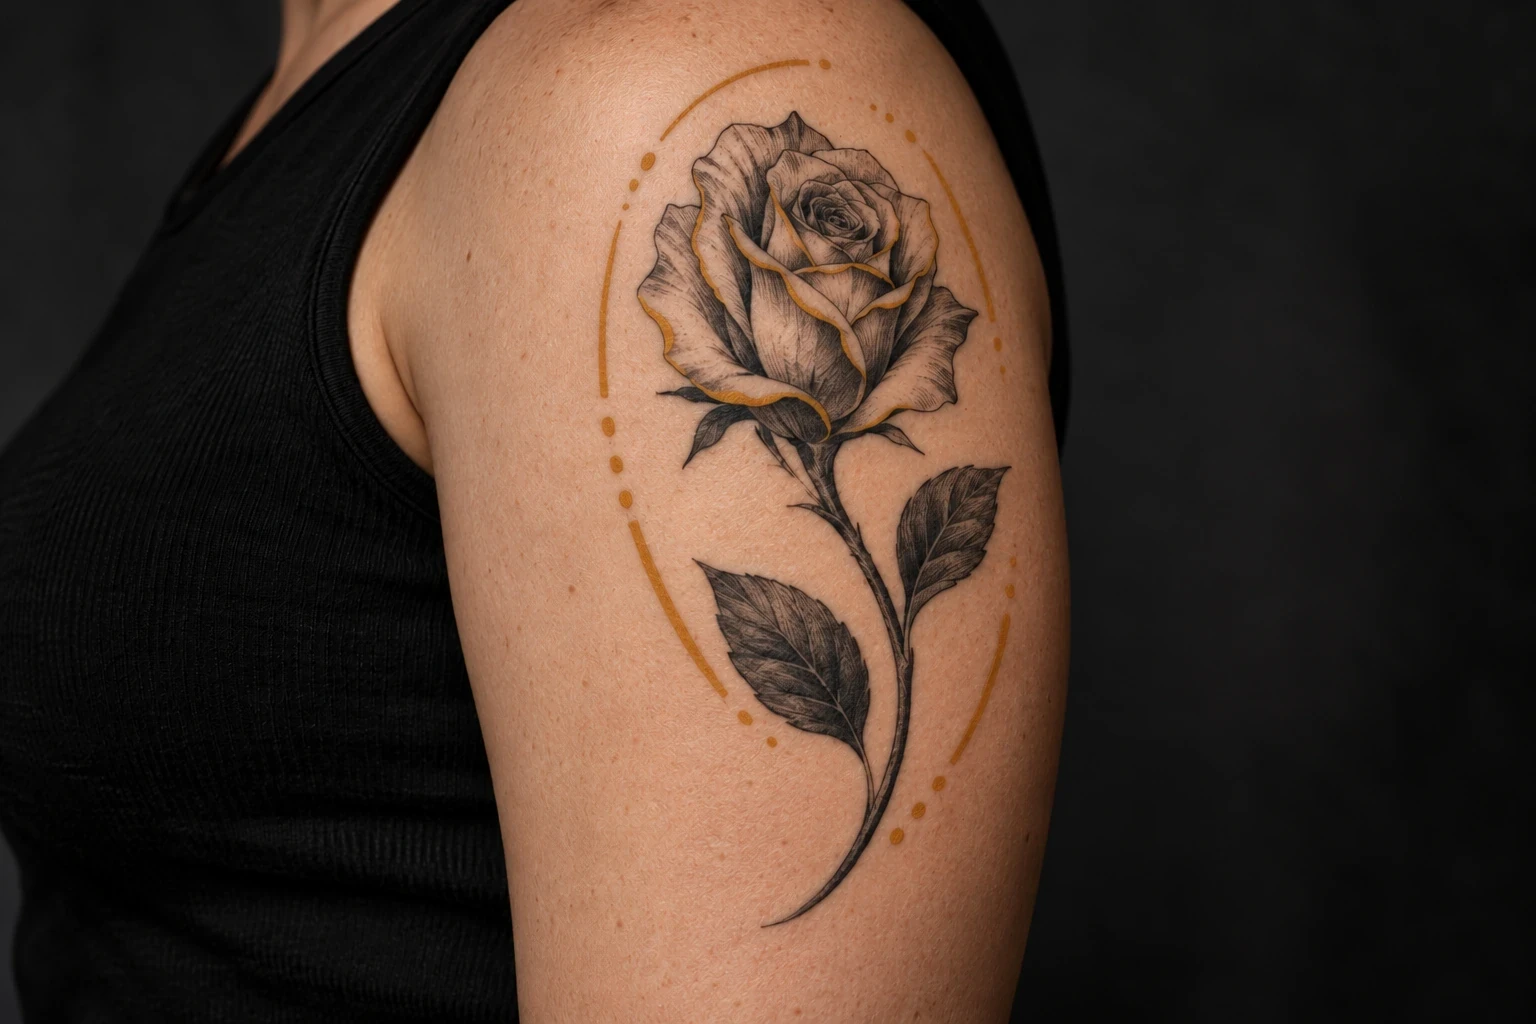
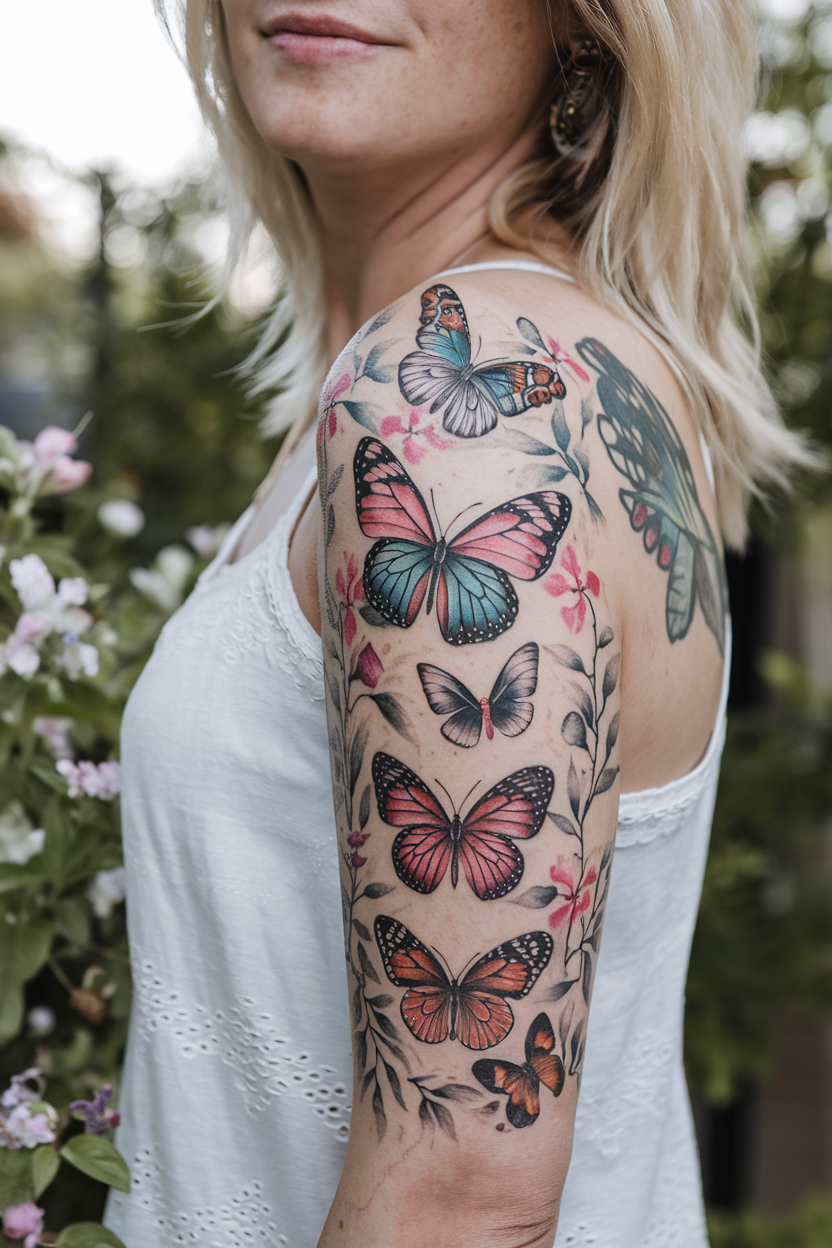
About the images: All sixteen images in this guide, including the hero, are original AI-generated tattoo concepts made with ImageGen. They are not real client work, proof of an artist’s skill or examples of healed tattoos. Use the pictures to explain a composition, then have a tattoo artist redraw and check it for your placement.
How a 3D tattoo creates depth
In this guide, “3D” describes the appearance of the drawing. Lighter and darker areas suggest a curved surface; overlapping shapes show which part sits in front; a cast shadow suggests distance from the skin. Perspective can also make a flat outline read as an object with different faces or a space with depth.
The tattooed shadow stays in its drawn position. It does not move when the light in the room changes. That is why an illusion may look especially strong from one angle and quieter from another. A useful design should still be recognisable when you see it outside the carefully lit reference photograph.
Realism and 3D effects can overlap, but they are not identical choices. A detailed rose can suggest volume through its petals without an obvious cast shadow. A simple cube can create a strong depth effect with only three tones. Choose the visual result you like before deciding how much detail to add.
Three approaches to compare
- Object and shadow: a butterfly, key or feather appears to sit just above the skin.
- Modelled volume: a rose, knot or marble uses internal shading to show its form.
- Perspective or recess: a cube, mechanical panel or staircase creates depth through edges and layered space.
Start with one approach and one clear focal subject. A collection of competing shadows or unrelated objects can make the drawing difficult to read. The examples below give you a specific effect to discuss rather than a promise that every angle will look equally convincing.
1. A butterfly with a lifted-wing illusion
The orange butterfly uses a shaded wing and a soft offset shadow to suggest that it is resting lightly on the arm. The body anchors the composition while the wings provide the broad shapes that carry the effect. A clean silhouette matters more than dozens of tiny spots.
The inner forearm makes this compact subject easy to view. Ask the artist to choose one intended light direction and keep the darkest shadow consistent with it. Our butterfly tattoo ideas offer other wing shapes and colour arrangements to compare.
2. A sculptural black-and-grey rose
Layered petal shading gives this rose volume without needing an added object or frame. Dark folds sit between the petals, while lighter surfaces face the imagined light. The blossom reads as a rounded form because those tones follow its structure rather than being scattered across it.
An upper-arm placement gives the outer petals room to open. Bring a real rose reference as well as the concept and ask the artist to simplify the smallest folds at the final size. If every petal has the same dark edge, the flower can become busy instead of dimensional.
3. An origami crane with folded-paper shading
A paper crane offers a different route to depth: crisp planes and triangular folds instead of a textured surface. Pale areas suggest paper facing the light, while grey triangles show the underside. A restrained cast shadow helps the folded silhouette appear separate from the surrounding skin.
The forearm suits the long wing and neck arrangement. Have the artist check the actual fold structure with an origami reference. Each edge should belong to one continuous shape; extra lines can make the crane look like an impossible bundle of triangles.
4. A simple shaded cube
Three clearly separated tones create a cube from a small number of shapes. One face stays light, another carries a middle grey and the third holds the darkest value. The interest comes from a readable perspective drawing, not from elaborate decoration around the object.
The upper arm gives this geometric tattoo a useful viewing area. Decide whether you want a crisp graphic block or softer realism before adding texture. Our geometric tattoo designs explore other ways to build a composition from clear edges.
5. A single water-droplet illusion
A rounded highlight, curved shading and a small shadow suggest a convex drop. Bare skin can supply the lightest area, so the artist does not have to fill the whole shape with white. The effect depends on the relationship between those marks rather than on transparent tattoo ink.
A forearm placement lets the drop remain a small standalone subject. Ask the artist to show how the shape reads without glossy lighting in the photograph. Keep the highlights broad enough to be part of the drawing rather than a collection of microscopic bright dots.
6. A recessed mechanical panel
Gears and tubing sit inside a shaded rectangular frame, creating the impression of a shallow panel beneath the surface. A dark inner rim and lighter edge establish the opening, while the machinery supplies a second layer. This is a clean mechanical illustration, with no need for a torn-skin effect.
The outer upper arm gives the frame and machinery enough width. Use a few coherent components instead of packing the panel with tiny parts. If you like the theme, our biomechanical tattoo ideas show other arrangements to discuss with an artist.
7. A carved-stone texture panel
Grey bevels around shallow cracks make this panel look like a weathered stone surface. The darker fissures establish depth, while broad patches of lighter shading keep the texture readable. It is a painted surface illusion rather than a depiction of an injury.
The calf gives the composition room for a few distinct cracks. Keep the outside boundary intentional so the texture does not fade into an accidental-looking patch. Ask the artist to avoid making every fissure equally dark; variation helps separate the larger planes from the fine marks.
8. A pocket watch with a rounded bezel
The pocket watch uses an oval-in-perspective face, a shaded metal rim and a small crown to suggest an object with thickness. A short chain adds movement without taking over the design. Simple ticks keep the face quieter than a dial crowded with tiny numbers.
The inner forearm suits the watch and chain as a vertical piece. If you want the hands to show a meaningful time, specify it clearly and check the final stencil. Keep enough space between the hands, ticks and bezel for each part to remain identifiable.
9. A feather with a floating shadow
A curved quill and gently separated barbs give the feather structure. The offset grey shadow suggests a little distance from the skin, while the feather itself stays the sharpest element. A restrained approach can create depth without turning a delicate subject into a heavy black shape.
The upper arm lets the feather curve with the surface. Ask the artist to choose which barbs need individual lines and which can become broader tonal groups. The quill should still read as one continuous centre when you view the piece from farther away.
10. A rope knot with clear overlaps
A knot creates depth through the order in which its strands cross. Darker shading under a crossing and lighter rope above it show the over-and-under path. Broad twist marks describe the material without requiring every fibre to be drawn individually.
The forearm provides a useful surface for a compact knot. Bring a photograph of the actual knot you want and trace the path with the artist before approving it. If the rope seems to split or disappear at a crossing, the geometry needs correcting before the shading is refined.
11. A vintage key with a cast shadow
A clear bow, straight shaft and distinct teeth make the key readable first; a shaded edge and cast shadow supply the depth afterward. This order keeps the illusion attached to a recognisable object. The angled placement gives it movement without needing a larger background.
The upper arm leaves room for the key’s length. Decide whether its shape is purely decorative or based on a specific keepsake. For a personal key reference, bring several views so the artist can preserve the bow and teeth while adjusting the perspective.
12. A twisted teal ribbon
One continuous ribbon turns through an S-shaped curve. A lighter front face and darker underside make the twist readable, while the two ends keep the drawing understandable. The limited teal palette lets the fold structure remain more noticeable than colour changes.
A forearm placement can follow the ribbon’s length. Have the artist trace the band from one end to the other to check that every fold belongs to the same strip. If you add lettering later, treat it as a separate design decision and leave enough flat surface for it.
13. A puzzle piece with a shaded bevel
A raised-piece illusion comes from a clear jigsaw outline, a narrow bevel and an offset shadow. The centre can remain relatively quiet because the outer edges do most of the work. This keeps the design recognisable without adding a picture inside every available space.
The upper arm gives the tabs and indentations room. A personal meaning can be attached to the piece, but the shape does not have one universal message. If you want a connected set, plan how the pieces meet rather than assuming separate tattoos will line up by chance.
14. A blue-green marble
A curved highlight and an internal swirl suggest a rounded glass marble. The darker lower edge and soft shadow support the sphere, while the colour gives it a different character from the black-and-grey objects in this guide. The glass effect is an arrangement of ink and bare-skin highlights.
The calf offers a broad area for the circular form. Ask the artist to keep the sphere simple enough that the outer curve stays obvious. Many small reflected objects can make a miniature marble look cluttered instead of translucent.
15. A spiral staircase in perspective
Steps wrap around a central column and change tone as they turn, suggesting a small architectural space. This is a perspective study with more structure than a simple object-and-shadow tattoo. The column and repeated steps must remain coherent for the depth to make sense.
The upper arm offers enough area to give the steps distinct widths. Start with a clean architectural drawing and settle the viewing angle before adding texture. At a smaller size, fewer larger steps may be more readable than a tightly packed spiral of fine lines.
Placement, perspective and body movement
The forearm lets you view an object-and-shadow design easily. The upper arm offers space for a rounded blossom or a framed panel, while the calf can accommodate a vertical object or a broader circular subject. These are starting points for a stencil discussion, not guarantees that a placement will suit every design.
Ask the artist to show the proposed drawing with the limb relaxed, then check it as you turn or bend. Decide which direction should look upright and which viewing angle matters most to you. For geometric subjects, the edge alignment may need adjustment to account for the surface rather than simply tracing a flat digital image.
Leave room around the cast shadow. If it is pressed against another tattoo, it can become part of an unrelated shape. Larger subjects can carry more internal detail; smaller ones usually benefit from a simpler silhouette and fewer narrow tonal changes.
What to look for in an artist’s portfolio
Look for real healed examples with the kind of form you want: curved petals, convincing metal edges, clear folded planes or readable mechanical components. Ask whether the photographs show the artist’s own tattoo work. A digital mockup or a generated picture can show a proposal, but it cannot demonstrate how the artist’s shading has healed.
Compare images taken in ordinary light and from more than one angle when they are available. The tattoo should remain understandable without depending on a glossy reflection, a dark filter or a single carefully chosen camera position. Ask the artist which parts of your reference are practical at the size you have in mind.
Bring photographs of the actual object alongside the tattoo concept. A real key, knot, rose or folded crane can help settle the geometry before the artist translates it into tattooable shapes. Correct structure gives the shading something reliable to describe.
Colour, highlights and long-term care
Light areas do not all need to be white ink. Bare skin can act as a highlight, while grey shading defines the surrounding form. Discuss the palette with your artist and compare healed work rather than expecting a bright screen image to predict the finished colour.
No generated concept can guarantee that a fine highlight or narrow shadow gap will stay identical over time. Ask the artist to make important transitions broad enough for the proposed size and to explain which details may need simplifying. Depth depends on clear relationships between tones, not just on the sharpness of a fresh photograph.
The American Academy of Dermatology says ultraviolet light can fade some tattoo inks. For healed tattooed skin exposed to sunlight, it recommends broad-spectrum, water-resistant sunscreen with SPF 30 or higher, applied before going outside and reapplied at least every two hours. Follow fresh-tattoo aftercare instructions separately.
Questions about 3D tattoo designs
Is a 3D tattoo physically raised?
The term here refers to an illusion in the artwork, not deliberate raised skin. A shaded edge or drawn shadow can make a design appear elevated or recessed without changing the intended drawing into a physical object.
Does every 3D tattoo need colour?
No. Several of these designs use black and grey. Changes in tone can show folds, rounded surfaces and shadows without a colour accent. Colour is a style decision to discuss with the artist, rather than a requirement for depth.
Can the effect work in a small tattoo?
A simple cube, drop or clearly outlined object is an easier starting point than a dense mechanical window or staircase. The artist should set the minimum practical size after reviewing the shape, highlights and spacing in the stencil.
Will it look convincing from every angle?
Do not expect a single perspective drawing to look identical from all viewpoints. Body curvature and movement change how the design is seen. Choose the main viewing direction and make sure the subject still reads clearly when you turn the limb.
How much does a 3D tattoo cost?
Get a quote for the actual design, placement and size from the artist you plan to book. These concepts cannot establish a reliable price or session count. A small geometric piece and a detailed mechanical panel ask for different amounts of drawing and tattooing work.
A useful brief for your tattoo artist
Choose one subject, name the depth effect you like and show where you want the tattoo placed. Bring an object reference and explain which viewing direction matters. Ask the artist to refine the geometry, shadow direction and scale before adding more texture. A clear drawing that works in ordinary light is a better starting point than a complicated image whose effect depends on a single photograph.