A black rose spine tattoo works because the spine is already a line — the design just has to respect it. That single fact decides more about whether one of these pieces looks good than the style, the artist, or the size.
I have watched a lot of these get planned, and the ones that fail almost always fail the same way: the rose is drawn as a standalone image and then dropped onto the back, instead of being drawn to travel down the vertebrae.
The good news is that the fix is free. It costs a conversation with your artist and a stencil placement you actually check in a mirror before the needle starts. If you are still weighing placement generally, it is worth reading a broader roundup of spine tattoo ideas for women before you lock this one in.
Below are the versions of the black rose spine tattoo that hold up — plus the pain reality, the healing quirks specific to this spot, and the mistakes I see most often.
Which Black Rose Spine Style Is Right for You?
These four approaches cover most of what artists will actually offer you for this placement. The differences matter more than they look on paper.
| Style | Typical session time | Ages well? | Best for |
|---|---|---|---|
| Fine line | 2–4 hours | Softens noticeably; may need a touch-up in a few years | Subtle, delicate pieces you want to sit close to the skin tone |
| Black and grey | 4–7 hours, often split | Very well when the contrast is built in from the start | Realistic petals with depth and dimension |
| Solid blackwork | 4–8 hours, usually split | Best of the four, provided the edges stay clean | Bold, graphic designs meant to read from a distance |
| Illustrative / neo-traditional | 3–6 hours | Good — heavy outlines carry the design | Stylised roses with vines, thorns or added elements |
If you are torn, the honest default is black and grey with a confident outline. It is the most forgiving choice on a placement that moves as much as this one does.
Why the Spine Changes How a Black Rose Reads
The spine is a hinge. It flexes forward, backward and slightly side to side, and the skin over it stretches every time you bend.
That movement is why wide designs struggle here. A rose that spans shoulder blade to shoulder blade sits partly on skin that moves in a different direction to the centre line, and the shape distorts when you lean forward.
Narrow designs avoid the problem entirely. Anything roughly the width of your hand or less will follow the spine cleanly instead of fighting it.
There is also a bone factor. The vertebrae sit close to the surface, so the needle passes over hard ridges rather than cushioned tissue, and the sensation is sharper and more percussive than most other placements.
And the symbolism shifts too. A black rose on the forearm is decorative; running one down the spine reads as something more deliberate, which is part of why the meaning of a rose tattoo tends to come up more often with this placement than any other.
Black Rose Spine Tattoo Ideas That Actually Work
Every one of these has been proven on this placement rather than adapted to it. That distinction matters more than variety.
The Single Long-Stem Rose
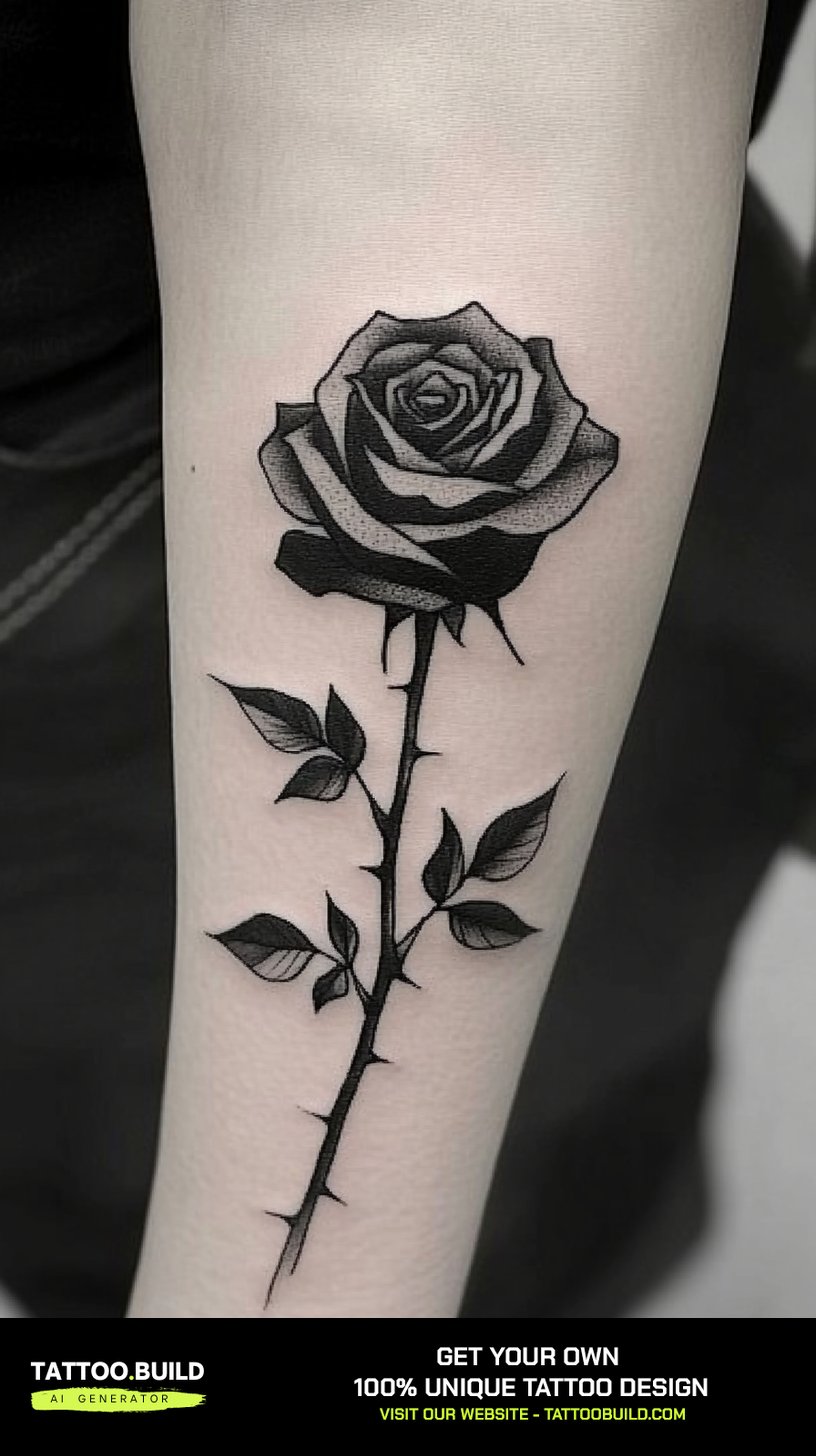
One bloom near the top of the spine, one long stem running down. This is the version most people picture, and there is a reason it keeps getting requested.
It works because the stem does the placement job for you — it gives the artist an obvious line to follow, and it gives your eye an obvious line to follow too.
In my experience the deciding detail is where the bloom sits. Placed at the base of the neck it becomes a statement piece visible above most necklines; placed at mid-back it disappears under almost everything.
Ask for the stem to be drawn slightly off-centre in places rather than ruler-straight. A perfectly straight stem looks printed on; a subtle curve looks like it grew there.
The Stacked Rose Column
Two, three or four blooms running down the spine with connecting stems between them. This is the choice when you want to use the full length of the back.
The rhythm is what makes it or breaks it. Evenly spaced blooms look mechanical; blooms that vary slightly in size and spacing look organic.
Every artist I have asked about this design says the same thing — plan all the blooms at once, even if you tattoo them across separate sessions. Adding a second rose later to a piece that was designed as a single rose almost never balances properly.
Fine Line with Negative Space
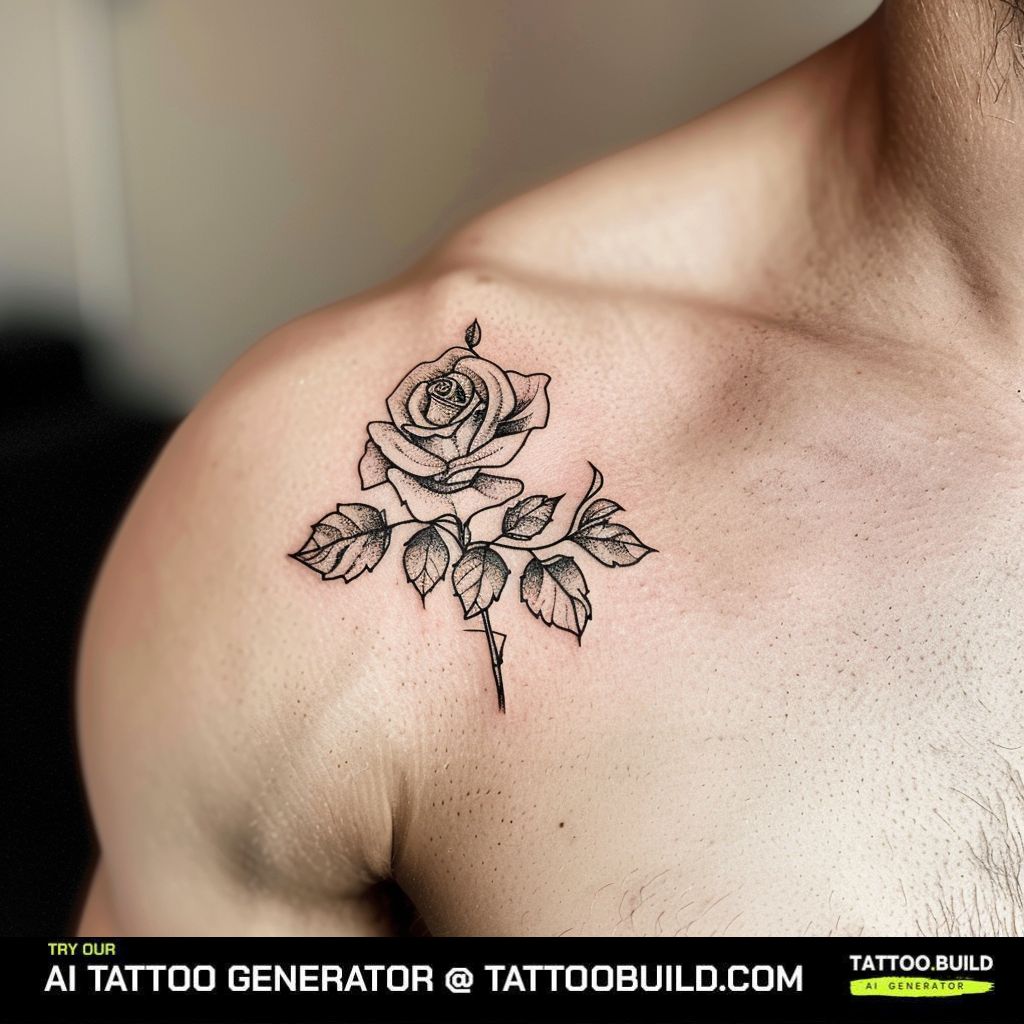
Thin outlines, open petals, large areas of untouched skin inside the bloom. This is the most delicate version and the most technically demanding.
The risk is real: fine lines placed too close together can spread and merge as the tattoo settles over the years, and dense micro-detail on a high-movement area is the classic setup for that. Ask specifically to see healed photos, not fresh ones.
When it is done with enough breathing room between lines, though, it is the version that suits the spine best — light, narrow, and quiet. There is more on the approach in this guide to fine line spine tattoos.
Solid Blackwork Petals
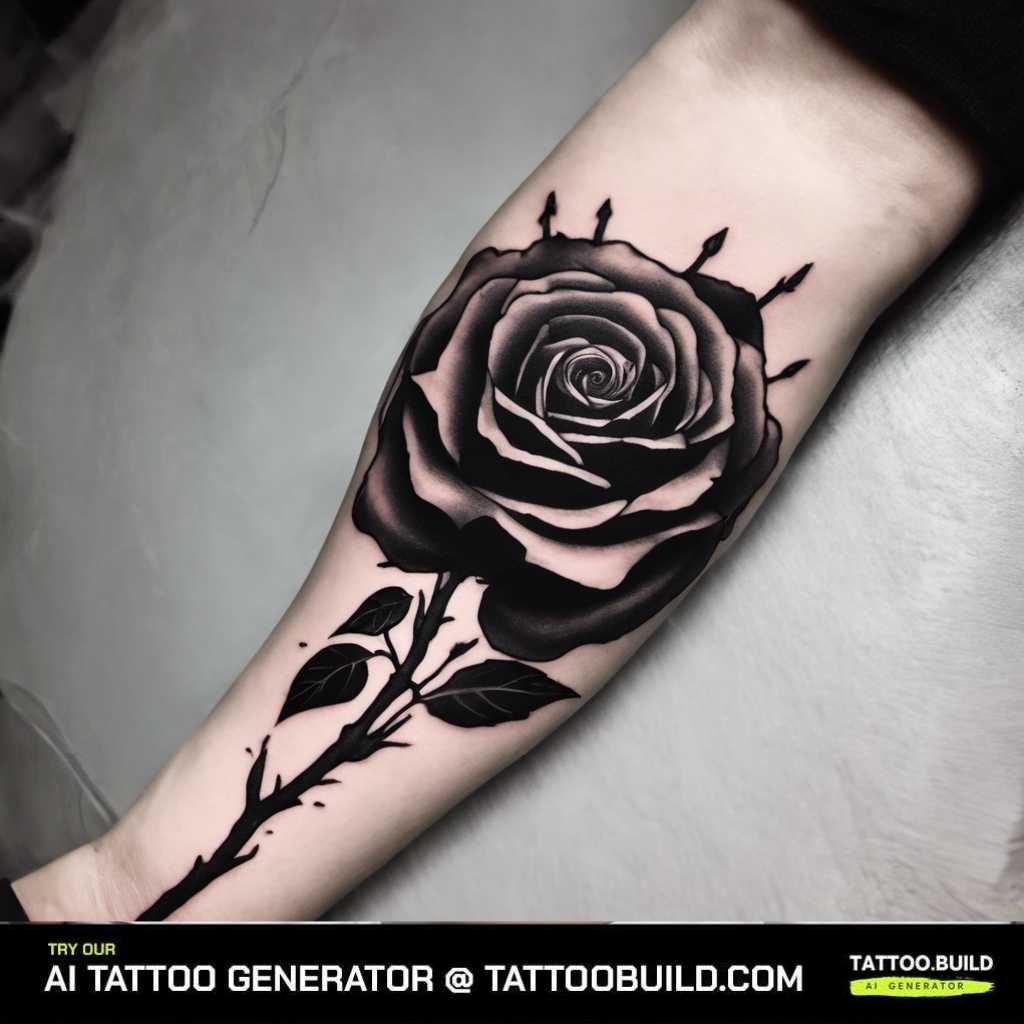
Petals filled solid black with shape defined by the gaps between them. Graphic, high contrast, and the most durable option on this list.
The trade-off is time under the needle. Packing solid black over the vertebrae is genuinely uncomfortable, and I would not recommend it as anyone first tattoo on this placement.
It is also close to permanent in practical terms — solid black is difficult to cover and difficult to remove. Go in knowing that. If the style appeals to you generally, browsing blackwork tattoo designs first will tell you quickly whether you like the look enough to commit.
Rose and Vine Wrap
A vine that spirals loosely around the stem, sometimes crossing the spine, sometimes trailing off to one side.
This is the softest of the designs here, and it solves a common problem: a bare stem over a long stretch of back can look empty.
Keep the wrap shallow. When I have seen vines drawn with tight spirals, they end up reading as a rope rather than a plant once the piece heals and the lines settle slightly.
The same logic drives a lot of vine spine tattoo designs, which is worth a look if you like the trailing effect more than the rose itself.
Thorns, Script and Added Elements
Thorns change the tone of the piece completely. A smooth-stemmed black rose reads elegant; a thorned one reads defensive, and most people choosing it mean it that way.
If that resonates, the symbolism is worth understanding before you commit — the rose with thorns tattoo meaning is more specific than a general rose.
Script down the spine alongside a rose is popular but unforgiving. Small letters over moving skin need generous spacing, and I would keep any text short enough to sit in a single vertical run rather than wrapping.
Upper-Spine Partial Placement
A rose that occupies only the top few inches of the spine, ending around the shoulder blades.
This is the sensible entry point. It is a shorter session, it hurts less than the lower spine for most people, and it leaves the rest of the spine open if you want to extend later.
Tell your artist you may extend it. A rose designed as a complete piece and a rose designed as the top of a future column are drawn differently, and it is a five-second conversation that saves an awkward join.
Variations Worth Considering
If the standard vertical rose is not quite right, these adjustments keep the concept but change the feel.
Off-Spine Placement
Running the design parallel to the spine rather than directly on it — about an inch to one side. Usually less painful, and it still reads as a spine piece from a distance.
Half-Length Designs
Upper spine only or lower spine only. Faster, cheaper, and easier to keep covered when you want to.
Rose with Other Botanicals
Adding baby breath, small leaves or a second flower type. It softens the rose without adding width, which is the main constraint here.
For a wider sense of what suits women in black ink specifically, this collection of black rose tattoos for women covers placements beyond the spine.
Pain, Session Planning and Aftercare
The spine is widely considered one of the more painful placements, and in my experience that reputation is earned — particularly over the lower vertebrae where the bone is closest to the surface.
Plan the session around it. Eat properly beforehand, expect to need breaks, and be honest with your artist about how you are doing rather than trying to sit it out silently. A longer piece split across two shorter sessions is almost always the better call. If you want to compare, this guide to the most painful tattoo spots puts the spine in context.
Healing on the back has one specific complication: you cannot see it or easily reach it. Arrange for someone to help you apply aftercare, or use a mirror and a clean applicator rather than skipping applications. Sleeping on your back for the first several nights is also uncomfortable in a way people rarely anticipate.
Keep it clean, keep it out of the sun, and do not pick. If you notice spreading redness, heat, swelling that worsens after the first few days, pus or a fever, that is a matter for a doctor and not for the internet — infections and allergic reactions to tattoo ink are both documented and both treatable when caught early. The Mayo Clinic overview of tattoo risks and the American Academy of Dermatology aftercare guidance are both worth reading before your appointment. This article is not medical advice.
One last practical note: your artist knows the healing pattern of their own work better than any general guide does. Follow their instructions over anything written here, including mine.
Common Mistakes — and What to Do Instead
The most common one is going too wide. The spine rewards narrow designs, and a rose stretched across the back loses its shape the moment you bend forward.
The second is not checking the stencil standing up. Skin sits differently when you are lying on a tattoo bed, and a stencil that looks perfectly centred face-down can sit visibly off-line when you stand. Ask to see it in a mirror, upright, before anything permanent happens.
The third is underestimating the commitment. Spine work is a real session on a real bone-adjacent placement, and it is reasonable to ask whether it suits you at all — the honest answer to whether spine tattoos are dangerous is that a competent artist working on healthy skin is low risk, but it is not a placement to take casually.
And the fourth is choosing the artist by portfolio breadth instead of relevant work. You want someone who has tattooed spines and can show you healed photos of them, not someone with a beautiful portfolio of forearm pieces.
Frequently Asked Questions
How painful is a black rose spine tattoo?
The spine is generally rated among the more painful placements because the vertebrae sit close to the skin surface with little cushioning tissue. Most people describe it as a sharp, vibrating sensation rather than a burn. Pain tolerance varies a great deal between individuals, so treat any rating you read as a rough guide rather than a prediction. Splitting the work across shorter sessions usually makes it much more manageable.
How long does a black rose spine tattoo take?
A small upper-spine rose often finishes in two to four hours. A full-length piece with multiple blooms or heavy black fill commonly runs to six or eight hours and is usually split across two sittings. Your artist can give you a realistic estimate once they have drawn the design, and it is fair to ask before you book.
Will a fine line black rose on the spine blur over time?
Fine lines can soften and spread somewhat as skin ages, and high-movement areas tend to show it sooner. Whether it becomes a problem depends heavily on line spacing, needle depth and the artist’s technique. Asking to see healed photographs of their fine line work, not fresh ones, is the single most useful thing you can do before committing.
Can a black rose spine tattoo be covered up later?
Lighter fine line and black and grey pieces are generally coverable with a larger, darker design. Solid blackwork is much harder to cover and often needs laser lightening first. If the possibility of changing your mind matters to you, that is a genuine argument for the lighter styles.
Should the rose face up or down the spine?
Both work, and it is mostly a matter of preference. A bloom at the top with the stem trailing down is the more common arrangement and reads naturally when viewed from behind. A bloom at the base reads more strongly in low-backed clothing. Look at reference photos taken from a normal viewing distance rather than close-ups before deciding.
Quick Summary
- Keep the design narrow — roughly hand width or less — so it follows the spine instead of fighting it.
- Choose your style deliberately: fine line for subtlety, black and grey for depth, blackwork for durability.
- Plan the whole design up front, even if you tattoo it across several sessions.
- Check the stencil standing up in a mirror before any needle touches skin.
- Expect real discomfort over the vertebrae and plan breaks rather than powering through.
- Arrange help with aftercare — you cannot reach or see your own spine properly.
- Pick an artist with healed spine work in their portfolio, not just a strong portfolio generally.
- See a doctor for any sign of infection or allergic reaction rather than waiting it out.