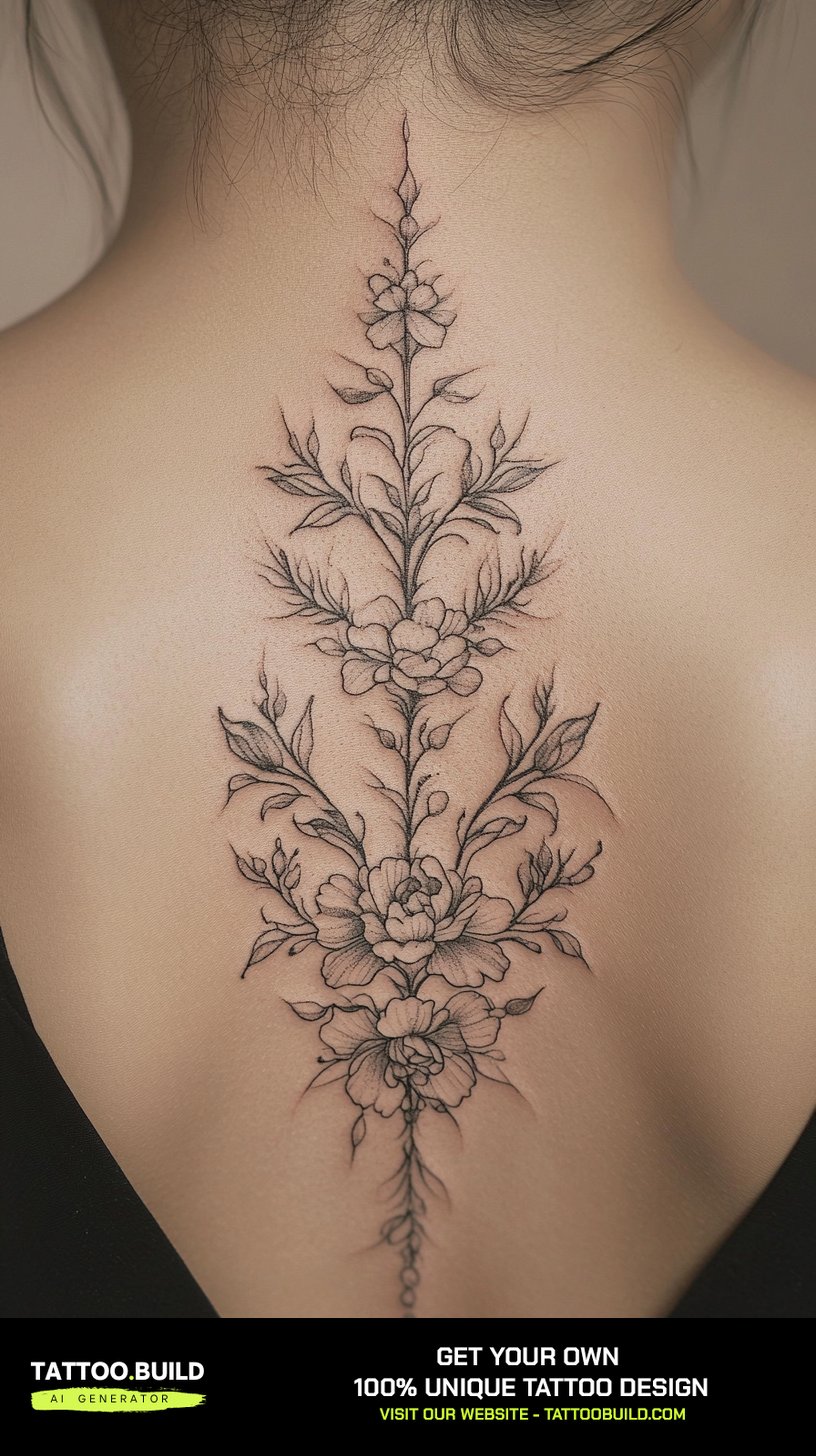
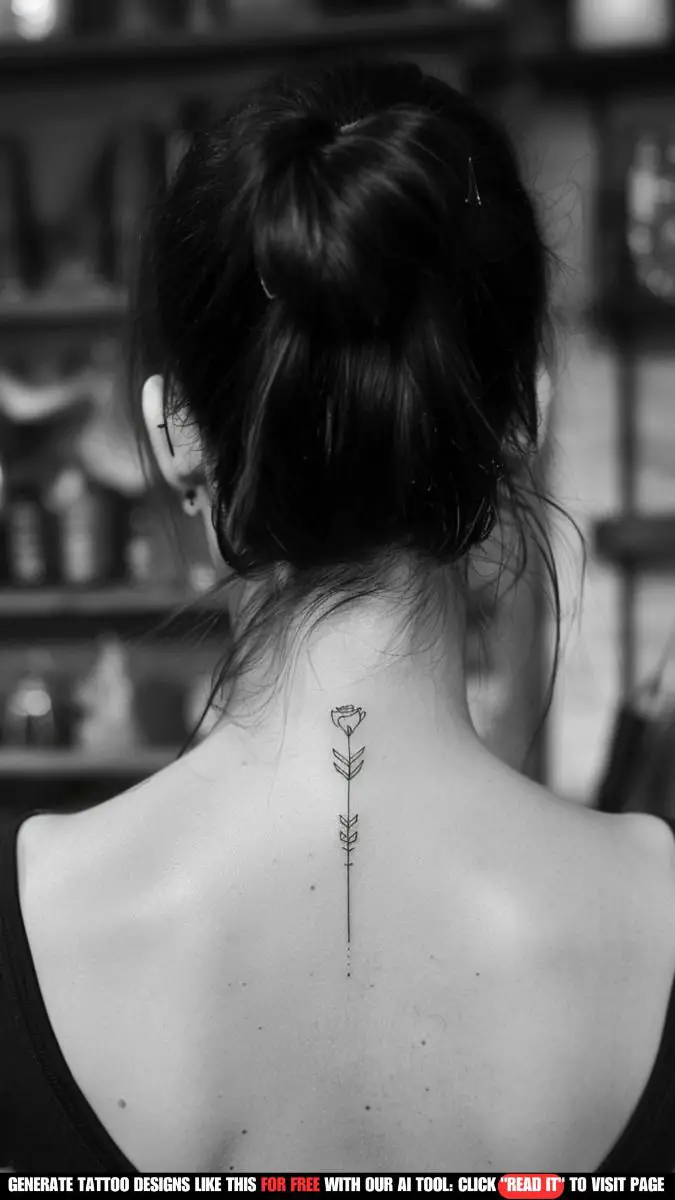
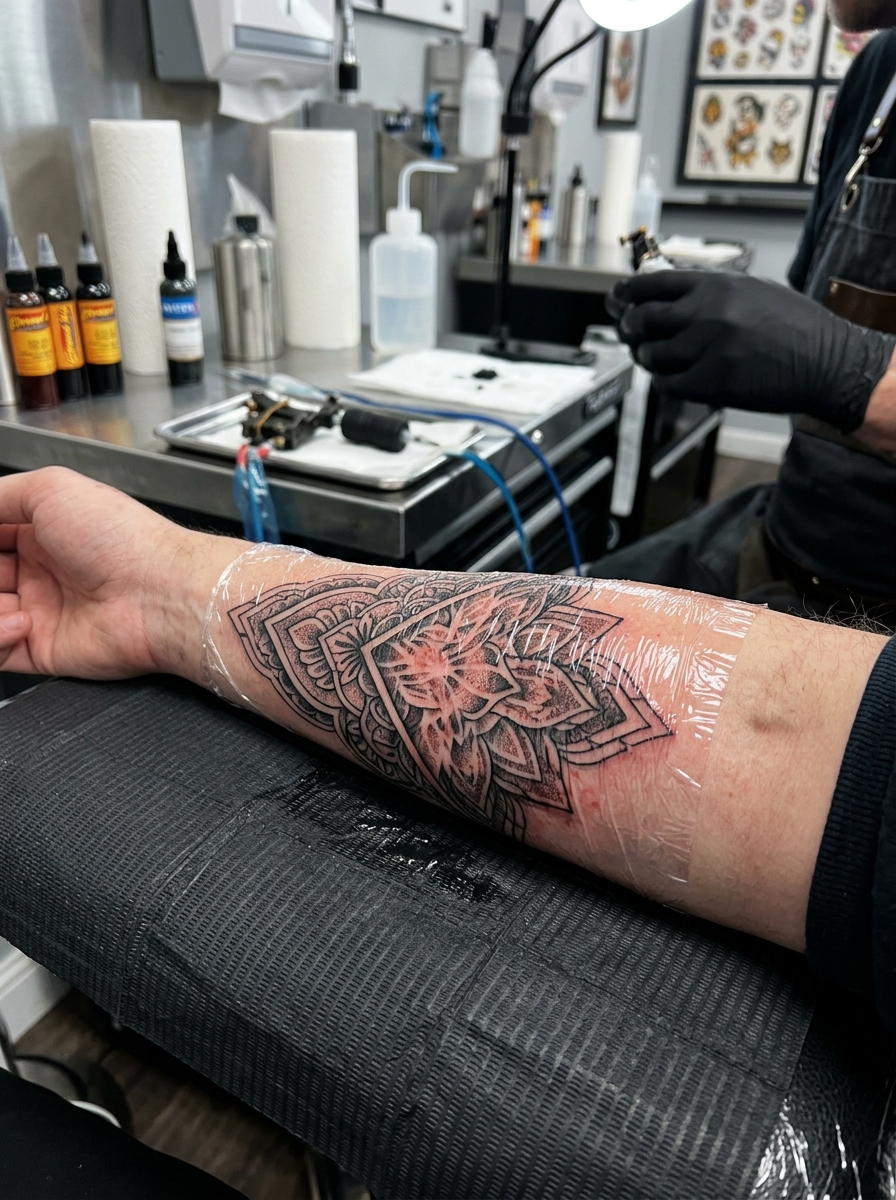
A fine line spine tattoo uses the thinnest possible linework to trace the vertebrae, turning the centre of the back into a single, deliberate stroke rather than a loud statement.
I have spent years photographing and studying spine pieces, and the ones that stay with me are almost never the biggest. They are the quiet single-needle designs that read like a pen line drawn straight down the back.
That restraint is the whole appeal. A fine line spine piece can be a barely-there row of tiny stars or a trailing vine that runs from the nape to the lower back, and either way it reads as intentional.
If you are drawn to the delicate end of this placement, a feminine spine tattoo gallery is a good place to start gathering references before you book.
Below I walk through which fine line styles actually suit the spine, how each one ages, the ten designs people request most, and the aftercare that keeps thin lines crisp instead of blurry.
Which Fine Line Spine Style Is Right for You?
Not every fine line style behaves the same way on the spine. Some sit quickly and age gracefully, while others ask for a longer session and a steadier hand.
The table below reflects what I have watched hold up over multiple years of healed photos, not what looks best on day one.
| Style | Typical Sitting | How It Ages | Best For |
|---|---|---|---|
| Single-line botanical | 2–4 hours | Very well; gaps between leaves stay open | First spine tattoo, nape-to-waist runs |
| Fine line script | 1–3 hours | Depends entirely on letter spacing | Short phrases, single words |
| Geometric and dotwork | 3–5 hours | Dots soften slightly; symmetry holds | Symmetrical, architectural designs |
| Celestial micro-elements | 1–2 hours | Tiny closed shapes can fill in over time | Subtle, spaced-out placements |
| Ornamental mandala | 4–6 hours, often split | Dense centres need the most care | Upper back anchors and centrepieces |
| Abstract flowing line | 1–2 hours | Excellent; nothing to blur into | Minimalists and lower budgets |
Why Placement Along the Spine Matters
The spine is not a flat panel. It is a ridge of bone with shallow muscle either side, and that shape changes how a needle behaves along its length.
Directly over the vertebrae the skin sits close to bone, which usually makes the sensation sharper and more vibratory than fleshy placements like the outer thigh.
The nape and the lower back tend to be the most sensitive stretches, in my experience, while the mid-back between the shoulder blades is often the easiest part of the session.
Skin over the spine also moves constantly. Every time you bend forward the line stretches slightly, so an artist has to account for how the design reads standing up as well as seated.
If pain is what is holding you back, it is worth reading how this placement compares on a ranking of the most painful tattoo spots before you commit to a long session.
Spine tattoos are a normal, well-established placement, but if you have specific concerns about the area, this breakdown of whether spine tattoos are dangerous covers the questions artists get asked most. Anything involving your own medical history belongs with a doctor, not a blog.
10 Fine Line Spine Tattoo Design Ideas
These are the ten directions I see requested most often, roughly in order of how frequently they come up in consultations.
1. Botanical Vine
A single stem with small leaves, buds or blossoms placed asymmetrically along it. This is the design I recommend most for a first spine piece.
The reason is practical: the gaps between leaves give the design breathing room, so even if the lines soften a little over a decade the shape still reads clearly.
Ask your artist to stagger the leaves rather than mirroring them. Perfect symmetry on a curving spine tends to look mechanical once the piece is healed and you are moving normally.
Olive, eucalyptus, wheat and wisteria are the four botanicals I see work best at this scale. If you want to see the range, there are plenty of vine spine tattoo variations that stay delicate without losing structure.
2. Geometric Pattern
Stacked diamonds, nested triangles or a repeating chevron that steps down the vertebrae one shape at a time.
Geometry is the least forgiving style on this placement because the eye immediately catches a line that drifts off centre.
When I have watched artists do these well, they spend an unusual amount of time on the stencil, often re-applying it two or three times with the client standing and then seated.
Dotwork shading inside the shapes adds depth without thickening the outline, which is usually the better choice than filling anything solid.
3. Quote or Script
A short phrase running vertically down the spine, usually in a light italic or a hand-drawn serif.
Keep it short. Every artist I have asked about script on the spine says the same thing: long sentences force the letters smaller, and small fine line letters are the first thing to close up.
Letters with enclosed counters — the loops in a, e, o and g — are the specific risk. If those gaps are too tight they can fill in over years and the word turns into a smudge.
My honest advice is one to four words, sized so you can clearly see daylight inside every loop from arm’s length.
4. Celestial Bodies
Tiny stars, a crescent moon, or a constellation scattered down the back with deliberate space between each element.
This is the easiest fine line spine idea to start small with, because you can add elements in later sessions without redesigning anything.
One caution from healed photos I have looked at: very small solid-filled stars can spread slightly and lose their points. Open outlines usually hold their shape better at that scale.
A real constellation — your birth month, or a date that matters — gives the scatter a reason to sit where it sits.
5. Feather Quill
A single feather or quill running the length of the spine, with the shaft sitting directly over the vertebrae and barbs fanning to either side.
The vertical shaft is what makes this design suit the spine so naturally — it gives the artist an obvious centre line to work from.
The barbs are where fine line technique shows. Each one should be a separate tapered stroke, not a hatched block, or the whole feather reads grey from a distance.
I have seen this done beautifully with the lower barbs breaking apart into birds, though that version needs an artist comfortable with negative space.
6. Animal Silhouette
A single creature rendered in outline only, usually positioned between the shoulder blades or low on the spine rather than spanning the full back.
Birds, moths and butterflies work best because their bodies already have a natural vertical axis that lines up with the spine.
Moths in particular suit fine line treatment. The antennae and wing markings give the artist detail to play with without needing any solid black.
Keep the silhouette at least palm-sized. Below that, wing detail becomes lines sitting too close together, which is the classic setup for blur.
7. Minimalist Nature Scene
A horizon, a row of pines, a mountain ridge or a wave, compressed into a narrow vertical strip down the back.
These read almost like a strip of film, and the trick is that each scene needs its own clear band of empty skin above and below it.
When I have seen these fail it is because the scenes were packed too tightly and the whole thing turned into visual noise rather than a sequence.
Three to five scenes is usually the sweet spot for a full-spine run on an average torso.
8. Mandala
A radiating symmetrical pattern, usually anchored high between the shoulder blades with thinner ornamental work trailing downward.
This is the most demanding design in this list. Expect it to be split across two sessions rather than pushed through in one long sitting.
The centre of a mandala concentrates the most linework in the smallest area, which is precisely where fine line pieces are most likely to blur if they are packed too densely.
A good artist will open the centre up deliberately, leaving more bare skin than the reference image probably shows.
9. Symbolic Glyphs
Runes, alchemical marks, personal sigils or simple abstract symbols stacked vertically with even spacing.
The appeal here is privacy. The meaning is yours, and the design reads as clean graphic marks to everyone else.
One piece of advice I give every time: if the glyphs come from a living culture or language, check the meaning with a native source rather than a symbol chart online.
Even spacing matters more than it sounds. Uneven gaps make a stacked column look accidental rather than designed.
10. Abstract Lines
No subject at all — just one or two continuous lines that follow, cross or deliberately drift away from the vertebrae.
This is the cheapest and fastest option on the list, and in terms of ageing it is also the safest. There is nothing for a line to blur into.
What makes an abstract line work is confidence in the curve. A wobbling line looks like a mistake; a deliberate S-curve looks like a decision.
I have also seen this used as a foundation, with botanical or celestial elements added to the same line years later.
More Fine Line Spine Variations to Consider
If none of the ten above is quite right, these four variations come up constantly in consultations and each has its own quirks.
Black Rose and Floral
A rose rendered entirely in thin outline, with petal edges suggested rather than filled, usually anchored at the upper or lower end of the spine.
Roses are harder in fine line than they look, because the petal overlaps that give a rose its depth are exactly the lines that sit closest together.
Ask for a slightly larger rose than you first picture. Scaling up is the single most effective way to protect the interior detail.
If you want the moodier end of this, a black rose spine tattoo pairs the fine line outline with selective solid shading for contrast.
Orchid and Delicate Blooms
Orchids, lilies and sweet pea sit somewhere between the vine and the rose — recognisable flowers, but with fewer overlapping layers.
That makes them a strong compromise if you want an obvious floral without the density risk of a full rose.
An orchid spine tattoo in particular has a naturally elongated shape that suits a vertical run along the back.
Sun, Moon and Celestial Pathways
A sun at the nape, a moon at the base, and a thin line or scattered stars connecting the two down the length of the spine.
The structure is what makes this work. Two anchor points with a journey between them gives the whole back a beginning and an end.
It also breaks neatly into sessions: anchors first, connecting path second, which is useful if you would rather not sit for four hours at once. There is more range in these sun and moon spine tattoo layouts.
Serpents and Flowing Creatures
A snake, koi or dragon winding around the vertebrae, with the body crossing the centre line at intervals rather than sitting on it.
This is the one variation where I think fine line genuinely outperforms traditional styling, because the thin outline lets the creature wrap without visually dominating the back.
Scale detail is the decision point. Full scales add hours and density; suggested scales at the head and tail only usually looks cleaner long term.
For the more ornate end of this idea, Chinese dragon spine tattoos show how far the wrapping concept can be pushed.
More Fine Line Spine Tattoo Inspiration
A final set of references covering the range of what fine line spine work looks like in practice, from barely-there to fully detailed.
Caring for a Fine Line Spine Tattoo
Fine line work is less forgiving during healing than bold traditional work, simply because there is less ink in the skin to begin with.
Follow whatever aftercare instructions your artist gives you — they know what they used and how deep they went. The general principles below are supplementary, not a replacement.
Wash gently with clean hands and a fragrance-free soap, pat dry rather than rubbing, and apply a thin layer of whatever ointment your artist recommended. Thin is the operative word: a thick layer can smother the skin.
The spine has a practical problem no other placement does. You cannot see it or comfortably reach it, so line up a partner or friend to help for the first week rather than contorting in a mirror.
Surface healing usually takes around two to three weeks, with the deeper layers settling over the following couple of months. The American Academy of Dermatology’s guidance on caring for tattooed skin is a solid, non-commercial reference.
Sun exposure is the long-term enemy of thin lines. Once fully healed, sunscreen on the area is the single most effective thing you can do to slow fading.
If you see spreading redness, increasing pain after the first few days, swelling, discharge, a rash or a fever, stop guessing and see a doctor. Those can be signs of infection or an allergic reaction, and the American Academy of Dermatology’s rundown of unexpected skin reactions to tattoos covers what to watch for. Nothing in this article is medical advice.
Common Mistakes and How to Avoid Them
Going too small is the mistake I see most often. A design that looks delicate on paper at 5cm can close up over a decade at that scale.
Booking a general artist instead of a fine line specialist is the second. Thin-needle work is a distinct skill set, and the portfolio evidence you want is healed photos, not fresh ones.
Ask specifically for healed work at one year or more. Any artist confident in their fine line technique will have it.
Underestimating the session is the third. People book a spine piece expecting an hour and find themselves face-down for four, which affects how well they sit and therefore how clean the lines are.
Still deciding on direction? Browsing broader fine line tattoo ideas across other placements often clarifies what you actually want on your back.
Frequently Asked Questions
Do fine line spine tattoos hurt more than other placements?
For most people, yes — the spine sits close to bone with little muscle padding, which usually makes the sensation sharper than fleshy areas. Fine line needles are smaller than traditional ones, so the individual sensation is often described as scratchy rather than heavy. Pain is genuinely individual, though, and some people find the mid-back surprisingly manageable. Eating properly beforehand and booking a session length you can realistically sit through both help more than anything else.
How long do fine line spine tattoos take to heal?
The surface usually looks healed in about two to three weeks, with the deeper layers settling over the following couple of months. Spine tattoos can feel slower because clothing rubs the area constantly and you cannot easily see what is happening. Loose tops and a helper for aftercare make a real difference in that first week. If anything looks wrong rather than just itchy, see a doctor rather than waiting it out.
Will a fine line spine tattoo fade faster than a bold one?
Generally yes, because thinner lines hold less ink and so have less margin before softening becomes visible. That is normal rather than a defect, and many fine line pieces are touched up once after several years. Sun protection and reasonable sizing slow it down considerably. Ask your artist at consultation whether they offer touch-ups and on what terms.
Should the design follow the spine or sit to one side?
Centred designs read as intentional and formal, which suits script, geometry and symmetrical botanicals. Offset designs feel more organic and are often easier to sit through, since the needle spends less time directly over bone. A good compromise is a design that crosses the centre line at intervals, like a vine or a serpent. Your artist will usually have a strong opinion once they see your back, and it is worth listening to.
Can I get a fine line spine tattoo as my first tattoo?
You can, and plenty of people do, but it is worth going in informed. The spine is a more demanding placement than a forearm or ankle, both in sensation and in how awkward the aftercare is. If you are unsure how you handle the needle, a shorter design like a scattered constellation or a simple abstract line is a sensible entry point. You can always extend it later on the same axis.
Quick Summary
- Fine line spine tattoos use thin, single-needle linework that follows the vertebrae rather than covering the back.
- Botanical vines and abstract lines are the most forgiving designs over time; dense mandalas and small script are the least.
- The spine sits close to bone, so expect a sharper sensation, especially at the nape and lower back.
- Size up rather than down — going too small is the most common regret with this style.
- Book a fine line specialist and ask to see healed work from a year or more ago, not just fresh photos.
- Arrange help with aftercare, because you cannot reach or see your own spine comfortably.
- Surface healing usually takes two to three weeks; sunscreen afterwards is the best defence against fading.
- See a doctor for spreading redness, swelling, discharge or fever — this guide is not medical advice.