The elbow is the hardest real estate on the arm, and the designs that survive there are the ones drawn specifically for it. Every other placement lets you borrow a design from somewhere else. The elbow does not.
I have spent a lot of time looking at elbow work, and the pattern is consistent: the pieces that still look sharp years later were composed around the joint, not dropped onto it.
That is because the elbow is two opposite shapes in one small area. The ditch is a concave bowl. The outer elbow is a convex bony point. A design that works beautifully on a flat forearm panel can fall apart across both.
The 20 ideas below are sorted by which half of the joint they belong to, because in my experience that single decision does more for the outcome than the subject matter ever does.
Elbow Ditch or Outer Elbow: Which Is Right for You?
The two halves of the elbow behave so differently that they are effectively separate placements. Here is how I compare them when someone is deciding.
| Factor | Elbow Ditch (inner) | Outer Elbow (the point) |
|---|---|---|
| Surface shape | Concave bowl | Convex bony cap |
| Reported pain | High, but usually the easier of the two | Among the most painful spots on the body |
| Best design shapes | Circular, symmetrical, radial | Radiating, wrapping, solid-fill |
| Healing behaviour | Creases and cracks if the arm is bent too much early on | Rubs on sleeves, desks and armrests |
| Ink retention | Fair, softer skin holds fine detail reasonably | Often needs a touch-up, especially fine linework |
| Session length | Moderate | Usually kept short and split across sittings |
| Visibility | Hidden when the arm is bent | On show constantly |
Why Elbow Tattoos Behave Differently From Everything Else
The skin over a joint is built to move. It folds, stretches and slides over bone hundreds of times a day, and tattooed skin has to keep up with that.
That constant mechanical stress is the reason elbow work tends to soften faster than the panels above and below it. It is not a sign of a bad artist. It is the placement doing what placements over joints do.
There is also very little padding on the outer elbow. Thin skin directly over bone is a different sensation from the fleshy inner bicep, and most people who have had both will tell you the gap is not subtle.
Healing is its own problem. The one spot you cannot avoid bending is the one you have just had tattooed, so a ditch piece will crease every time you reach for something. General guidance from the American Academy of Dermatology on keeping fresh work clean and moisturised matters more here than almost anywhere.
None of this argues against tattooing the elbow. It argues for choosing a design that ages gracefully when it softens, and for going to someone who has done a lot of them.
Elbow Ditch Designs That Use the Hollow
The ditch wants round. Every idea in this group is built on a circle, a radial pattern or a symmetrical body, because those are the shapes the bowl of the joint flatters.
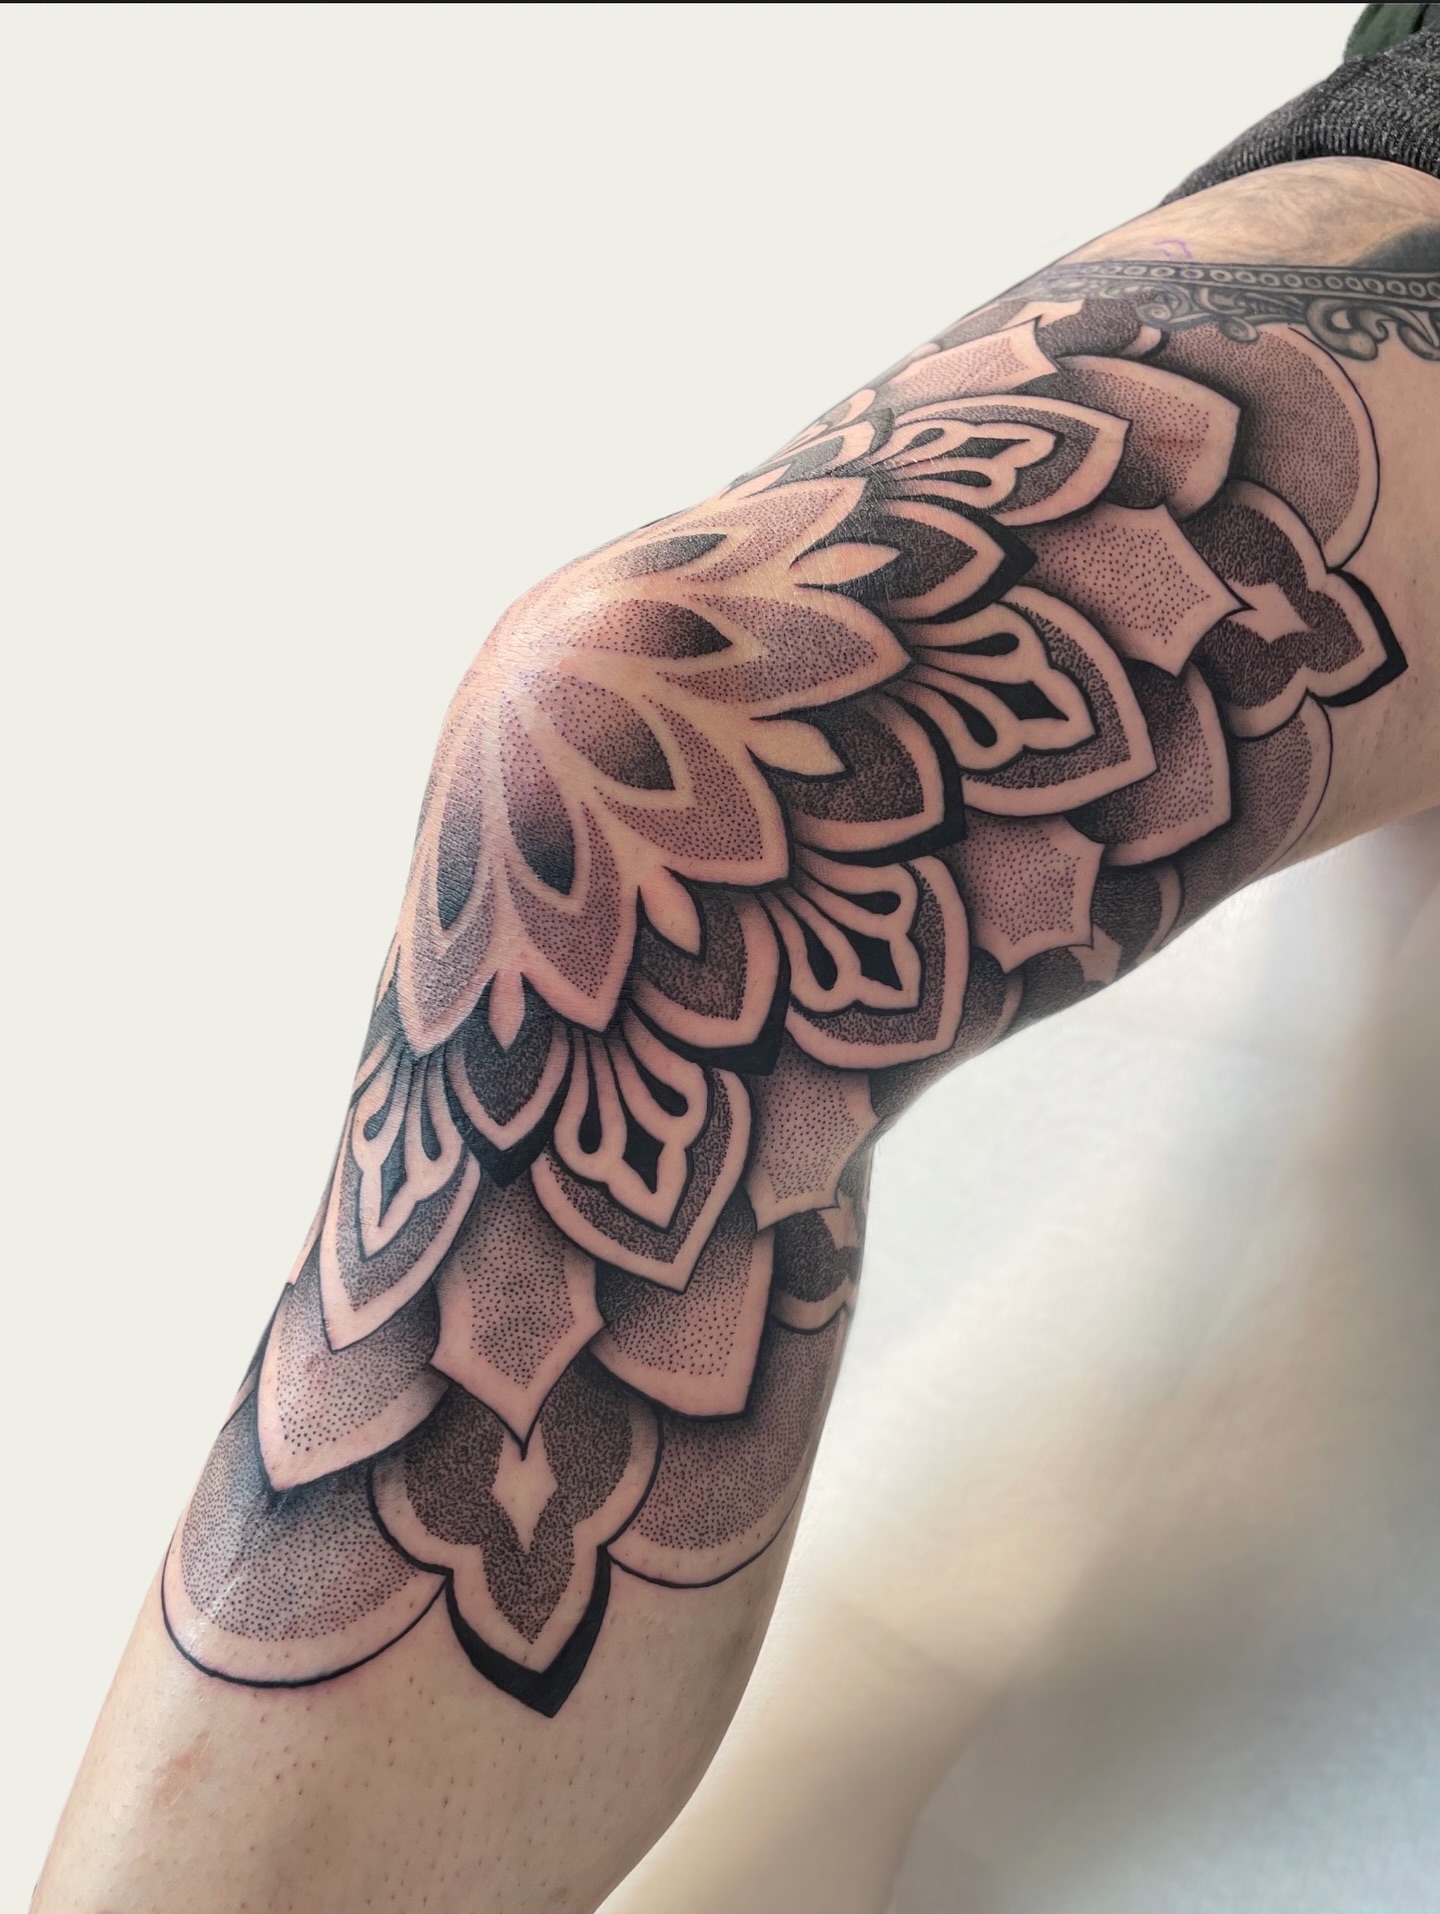
1. Elbow Ditch Mandala
A mandala centred exactly in the hollow is the most natural fit for this placement that I know of. The concentric rings follow the bowl instead of fighting it, and the centre point lands where the joint pivots.
Keep the outermost rings simple. Geometry that is too fine at the edge is the first thing to blur as the skin creases, and the middle of a mandala is what people actually read anyway.
2. Traditional American Rose
A bold traditional rose is one of the most forgiving choices for a joint. Heavy outlines and solid colour packing hold their shape as everything softens, which is precisely what the elbow does over time.
Traditional style earns its reputation here. A black and grey treatment works in the ditch too, provided the shading stays bold enough to survive the crease.
3. Eye of Providence
The triangle-and-eye motif set into the ditch gains something no flat placement can give it: the arm closes and the eye disappears, then extends and it opens again.
I have seen this done both tiny and full-ditch. Full-ditch is the better bet, because the triangle’s corners need room before the crease of the joint starts eating them.
4. Realistic Eye
A single eye in the elbow ditch is the most interactive idea on this list. The joint’s movement literally becomes the blink, and that is a piece of choreography you cannot fake anywhere else on the body.
Realism asks a lot of this skin, though. Smooth grey wash over a crease is genuinely difficult, so this is one to take to a specialist rather than the nearest available slot. If that worries you, a bolder stylised eye holds up better long-term.
5. Compass Rose
A compass in the ditch solves a layout problem elegantly. The centre sits in the hollow and the cardinal points run naturally along the length of the arm, so the design has somewhere to go in both directions.
It is also one of the easiest elbow pieces to grow into a sleeve later. Plenty of people start with a forearm compass and move the motif up; doing it the other way round works just as well.
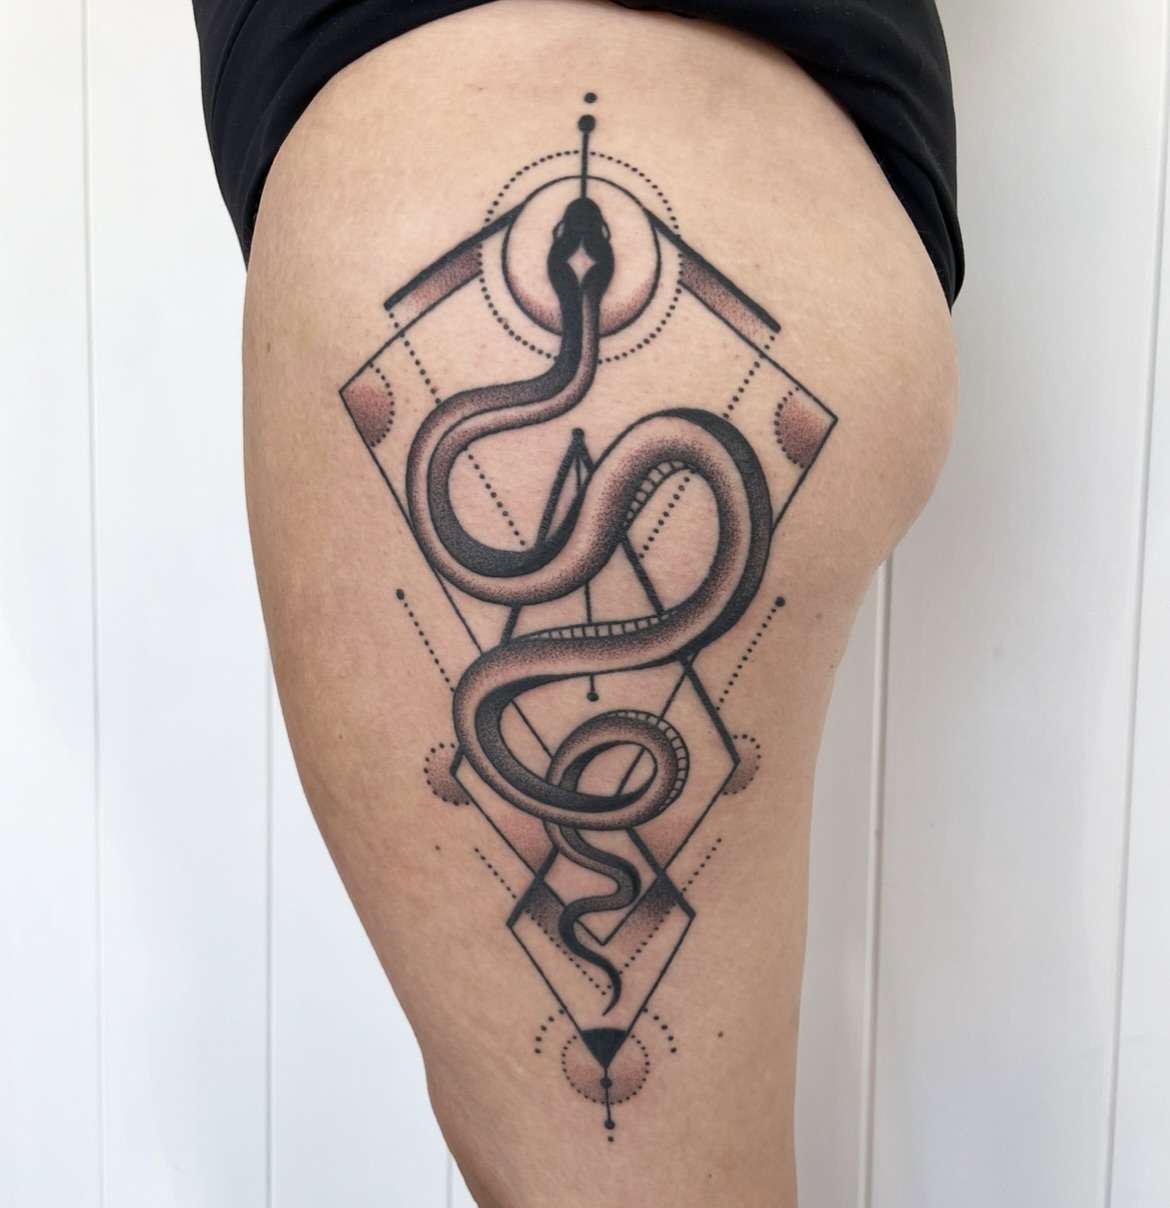
6. Ouroboros Snake
A snake biting its own tail is a circle by definition, which makes it about as placement-appropriate as a design can get. It closes cleanly inside the ditch without any padding or filler.
The symbolism does not hurt either: an eternal cycle sitting at the arm’s pivot point. There is more on the motif in our guide to ouroboros tattoo ideas.
7. Dotwork Circle
Concentric rings of stippling reading as a sphere or an orb. Dotwork gives you tonal depth without relying on fine lines, and lines are what tend to go first on a joint.
Ask about density. In my experience, dotwork that is packed a little tighter than the artist would use on a forearm ages better here, because the individual dots spread slightly as the skin moves.
8. Clock or Sun Dial
A circular timepiece in the bowl of the joint is a neat visual pun. The body’s pivot point becomes a face with hands on it.
Numerals are the risk. Tiny Roman numerals around a small dial will merge over the years, so scale the face up or drop the numbers entirely and let the hands carry the design.
Outer Elbow Designs That Use the Point
The outer elbow is a peak, not a bowl. The strongest designs here treat that peak as an origin: something radiates out of it, wraps around it, or fills it completely.
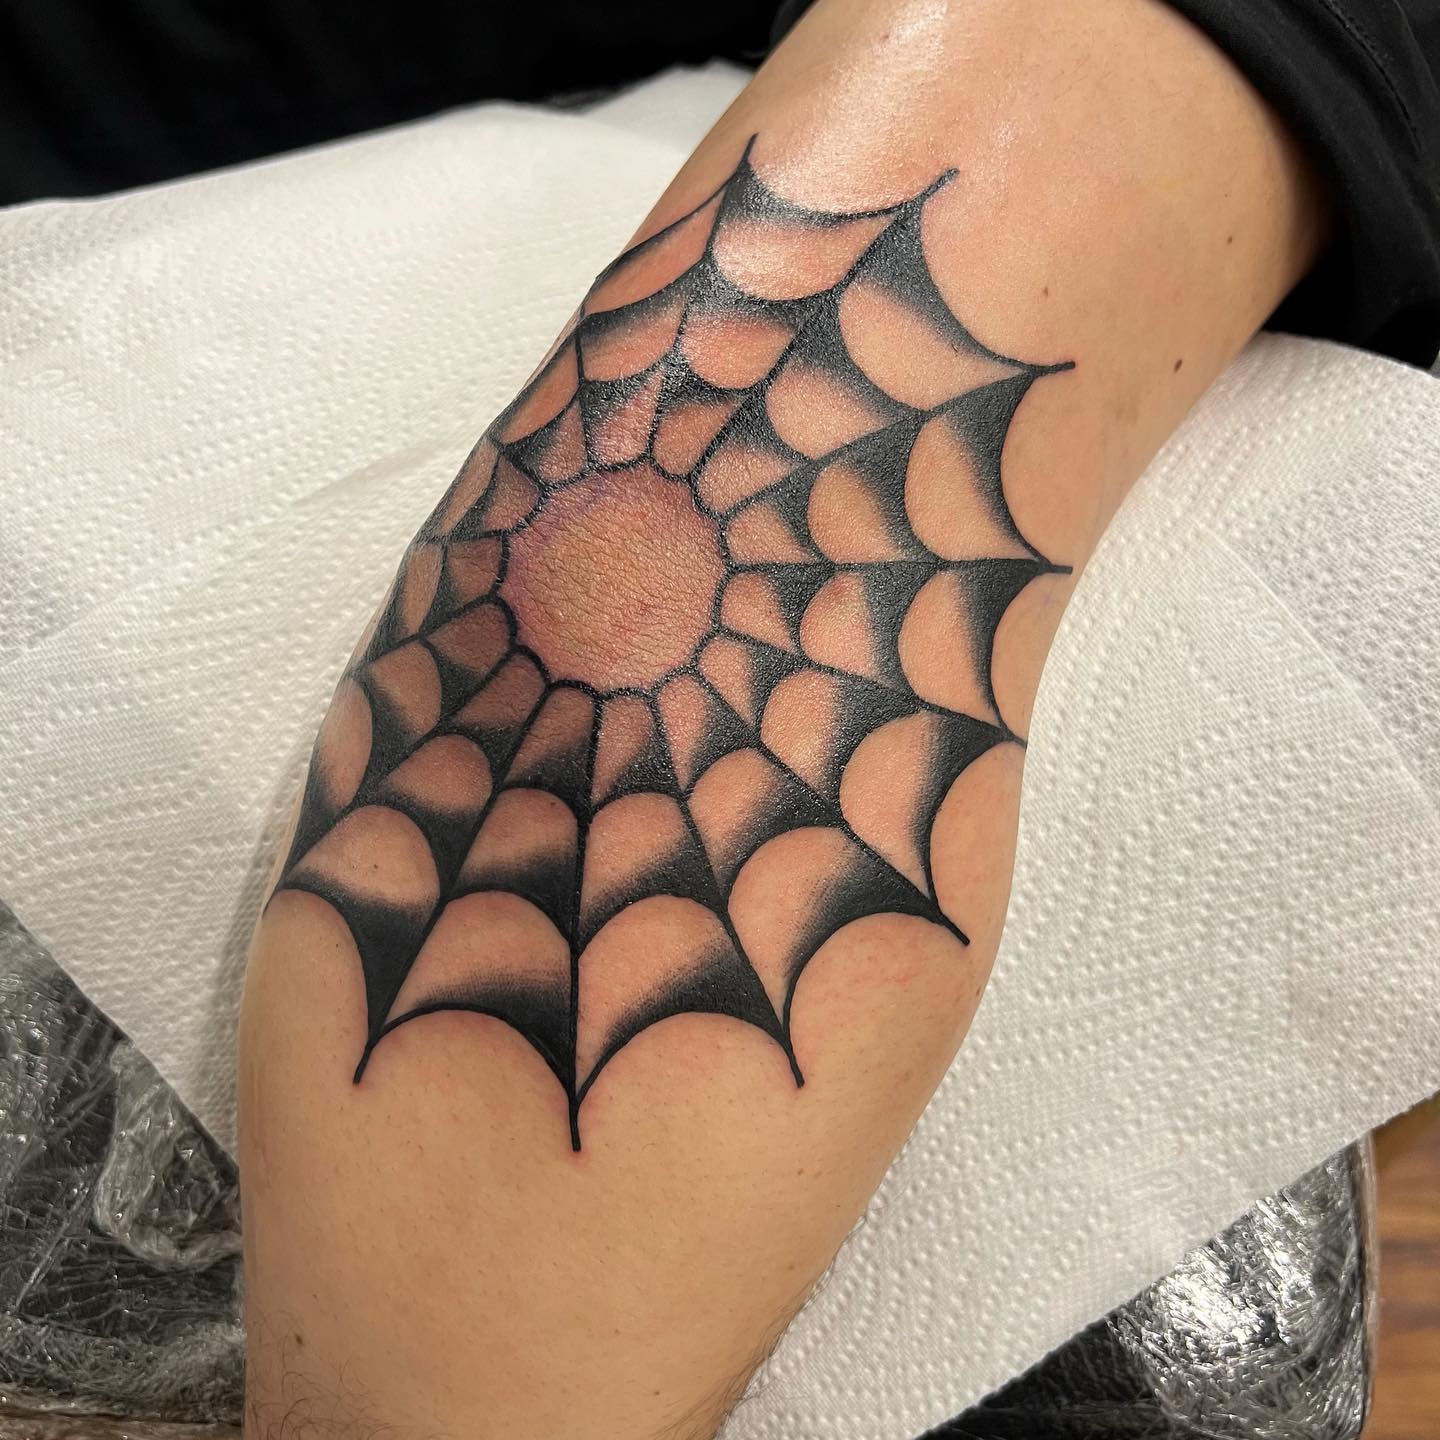
9. Spider Web
The web is the classic for a reason. The centre of the joint gives the radiating strands a perfect anchor, and the geometry of a web is forgiving of the distortion that bending causes.
One thing worth knowing: the elbow web carries prison connotations in some readings and none at all in others, so it is worth deciding how you feel about that before you sit. Either way it sits alongside the rest of the spider tattoo family as one of the most recognisable placement-specific designs there is.
10. Geometric Diamond
The point of the elbow becomes the point of the diamond. It is a simple idea and it works because the shape and the anatomy agree with each other.
Fine black linework is the usual treatment. Budget for a touch-up: crisp thin geometry over the elbow cap is exactly the combination most likely to need one.
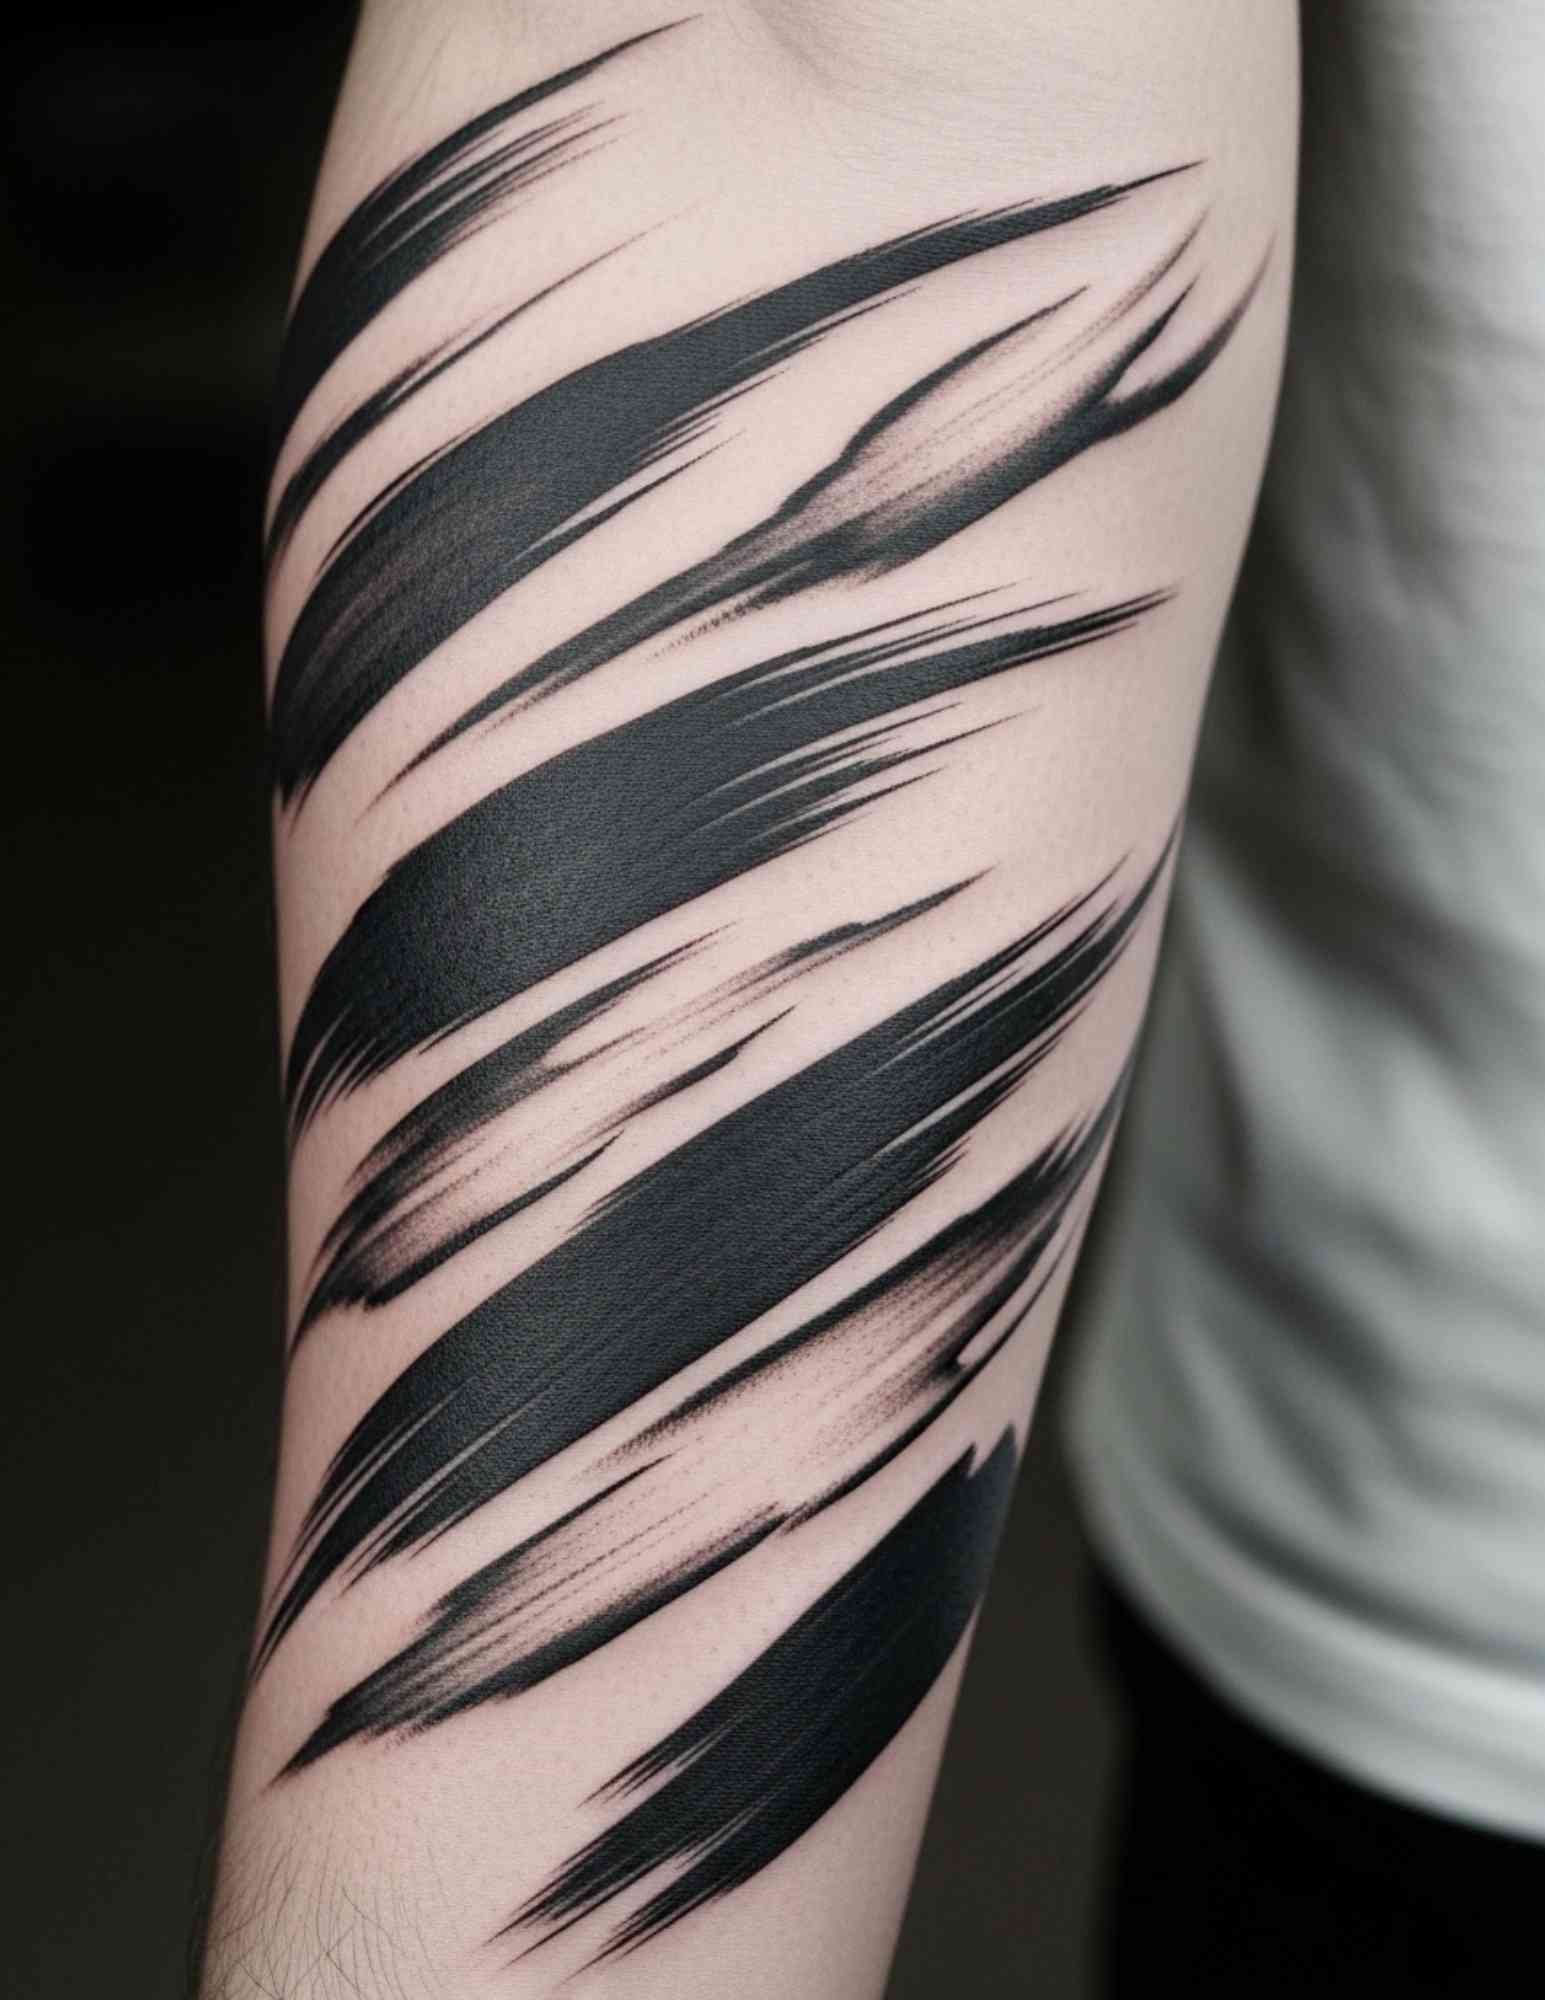
11. Blackout Elbow
Solid black across the whole elbow cap. As a standalone it is a bold graphic statement; inside a larger piece it works as a joint, bridging an upper-arm design and a lower-arm one.
Solid fill over bone is a serious sit and usually a multi-session job. If you are heading this direction, read up on blackwork design first, because blackout is close to permanent in practice and very difficult to cover.
12. Skull
The cranium centred over the elbow cap, usually in traditional or neo-traditional bold style. The roundness of a skull and the roundness of the joint line up almost too neatly.
Bold style is the right call. Heavy outlines survive the softening that happens here, where a delicate single-needle skull would lose its structure within a few years.
13. Geometric Sun
The outer elbow is already a radiating point, so a sun is less a design decision than an observation. Rays run up the triceps and down the forearm from a circular centre.
This is also one of the easiest ways to make a half-sleeve feel deliberate, because the sun gives the elbow a job in the composition instead of leaving it as a gap.
14. Flame
Fire wrapping the joint, with the elbow as the origin and the flames licking up and down the arm. Bold traditional or neo-traditional suits it best.
Flames are unusually good at hiding movement distortion, since nobody expects fire to be symmetrical. That makes them a genuinely practical choice for a full sleeve that has to cross the elbow anyway.
15. Traditional Eagle Head
An eagle head looking outward from the elbow cap, done in bold American traditional. Visible when the arm is bent, partly folded away when it is extended.
Keep the eye and beak toward the top of the cap rather than dead centre. In the pieces I have liked most, the face sits slightly high so the crease falls under the neck feathers instead of across the features.
16. Geometric Star Burst
Points radiating outward from the elbow in every direction. It is the simplest version of the radiating idea and one of the most reliable.
Because the rays extend in four directions, a star burst is easy to extend later. Several artists I have asked treat it as a starter piece for people who are not sure yet how far the sleeve is going.
Designs That Span the Whole Joint
A third group ignores the ditch-versus-point split entirely and treats the elbow as the middle of something larger.
17. Moth
Wings spread across the ditch with the body running down the centre line. The bilateral symmetry of a moth matches the horizontal axis of the joint almost exactly.
The wings also give you a natural place to put texture, and texture forgives movement far better than clean geometry. There is more on the symbolism in our piece on moth tattoo meaning.
18. Elongated Butterfly
A butterfly with wings stretched vertically along the arm, body in the ditch. It is only fully revealed when the arm is extended, which is either the appeal or the drawback depending on your temperament.
This wants planning at full scale. A design that spans fifteen centimetres of moving skin needs to be drawn on the arm, not printed flat and hoped for.
19. Octopus Tentacle or Sucker
Either a single oversized sucker on the outer elbow, or a tentacle curling around the joint with suckers visible along it. Round forms on a round surface.
The tentacle version is the more useful of the two in a sleeve, because it gives you a line of travel across the elbow. Our guide to octopus tattoos goes deeper on composition.
20. Large Flower or Sunflower
A single large bloom centred in the ditch, scaled so the petals reach the edges of the hollow. Peonies and sunflowers both work; so does anything with a defined centre and radial petals.
Scale is the whole game. A small flower in the ditch tends to look stranded, while one sized to fill the bowl reads as intentional from across a room.
Variations Worth Considering Before You Commit
If none of the twenty land exactly, these are the adjustments I suggest most often.
Go Bolder Than You Think You Need
Take whatever line weight you had in mind and increase it. Elbow work softens, and bold ages into soft far more gracefully than fine ages into blurred.
Use the Elbow as a Connector, Not a Subject
Instead of a standalone piece, let a pattern, a background texture or a run of foliage cross the joint. This is how most good sleeves handle the elbow, and it removes the pressure of getting one small design perfect.
Start With the Ditch
If you are undecided and pain is on your mind, the ditch is the gentler introduction of the two. You learn how your skin takes ink over a joint before committing to the outer cap.
Mirror It on Both Arms
Symmetrical motifs, mandalas and star bursts especially, look deliberate when matched left and right. Do them in separate sessions; two elbows in one sitting is a rough day by any standard.
Getting an Elbow Tattoo: Practical Advice
Book with someone who can show you healed elbow work, not just fresh photos. Fresh anything looks good; healed work over a joint is the only evidence that counts.
Expect the session to be shorter than an equivalent piece elsewhere. Many artists stop working this area sooner than they would a forearm because over-worked skin here stops taking ink well, and pushing through tends to cost you in the healed result.
Plan the aftercare around the bending. Keep the arm reasonably straight for the first few days where you can, moisturise lightly but consistently, and accept that some cracking along the crease is common. Follow the aftercare your artist gives you over anything you read online, this article included.
Watch for anything that is not ordinary healing. Spreading redness, heat, pus, or a fever are reasons to see a doctor rather than wait it out, and the FDA’s tattoo safety information is a reasonable starting point on ink reactions. This is a design guide, not medical advice.
Common Mistakes, and What to Do If You Are Still Not Sure
The most frequent mistake I see is a design chosen flat and applied to a joint. If the stencil was not adjusted on the bent and extended arm, it will not sit right either way.
The second is underestimating touch-ups. Elbows often need one, and a touch-up is normal rather than a failure; our guide on how often tattoos need touching up sets sensible expectations.
The third is treating the elbow in isolation when a sleeve is coming. If there is any chance of one, plan the joint alongside the upper arm rather than after it.
If you are still undecided, the honest answer is that there is no rush. The elbow is a placement that rewards waiting until you find the artist and the design that genuinely suit it.
Frequently Asked Questions
Do elbow tattoos hurt more than other placements?
For most people, yes, particularly on the outer elbow. The skin there is thin, it sits directly over bone, and there is very little padding to absorb the needle. The inner ditch is usually described as more tolerable but still above average. Pain is individual, so treat this as a general pattern rather than a prediction.
Why do elbow tattoos fade faster?
The skin over a joint stretches, folds and slides constantly, and that mechanical stress works on the ink over time. Fine lines and small details tend to soften first, while bold outlines and solid fill hold up longer. It is normal rather than a sign of poor work. Many people plan for one touch-up and are happy after that.
Is the inner elbow or outer elbow better for a first tattoo there?
The inner elbow ditch is generally the gentler of the two. It is usually less painful, and its concave shape suits circular designs that are straightforward to compose. The outer elbow is more exposed and more demanding to sit through. If you are new to the area, starting with the ditch is a reasonable way to learn how your skin handles it.
How long does an elbow tattoo take to heal?
Surface healing commonly takes around two to three weeks, with deeper settling continuing for a couple of months, though this varies from person to person. Elbows often crease and flake along the fold more than flat placements do. Keep to the aftercare your artist gives you, and contact a doctor if you see spreading redness, heat, discharge or fever rather than waiting.
What designs work best on the elbow?
Circular and radial designs are the most reliable: mandalas, roses, compasses, spider webs, suns and star bursts. Circles suit the ditch because it is a bowl, and radiating shapes suit the outer elbow because it is a point. Bold styles outlast fine ones here. Anything with tiny repeated detail is the riskiest choice.
Quick Summary
- Treat the elbow as two placements: the concave ditch and the convex outer point.
- Circular and symmetrical designs suit the ditch; radiating, wrapping and solid-fill designs suit the outer elbow.
- Bold line weight and traditional styles age better here than fine line or single-needle work.
- The outer elbow is among the most painful spots on the body; the ditch is the gentler introduction.
- Expect sessions to be shorter and possibly split, because over-worked skin at a joint stops taking ink well.
- Plan for a touch-up rather than treating one as a failure.
- If a sleeve is likely, design the elbow as part of it from the start.
- Choose an artist who can show you healed elbow work, not only fresh photographs.