Geometric cyberpunk tattoos work because they solve a problem most sci-fi tattoos never get past: how do you make “futuristic” look permanent instead of dated?
Straight lines, hard angles and repeating panels age better than airbrushed chrome. That is the whole trick.
I have been collecting and writing about this style since it started spilling out of the sci-fi corner of tattooing and into everyday flash books, and the designs that hold up are almost always built on solid geometric tattoo fundamentals rather than on rendering.
Below are 27 ideas I keep coming back to, grouped by placement and by how much commitment each one actually asks for.
Which Cyberpunk Geometric Style Is Right for You?
There are really four families inside this style, and they behave very differently over ten years.
| Style | Best For | Typical Sitting Time | How It Ages |
|---|---|---|---|
| Blackwork panelling | Large arms, backs, chests | 3–5 sessions for a half sleeve | Very well — solid black holds shape longest |
| Fine-line circuitry | Forearms, calves, smaller pieces | 1–2 sessions | Softens; thin lines can blur after a decade |
| Neon accent colour | Statement sleeves and chest pieces | 4–6 sessions | Colour fades first; the black structure survives |
| Biomech hybrid | Anyone wanting depth and 3D illusion | 6+ sessions | Depends heavily on the artist’s contrast control |
If you are undecided, I would point you at blackwork panelling every time. It is the most forgiving of the four.
What Actually Makes a Cyberpunk Geometric Tattoo Work
The single biggest factor is contrast. Cyberpunk imagery reads as “lit from within” only when there is genuine solid black sitting next to genuine bare skin.
The second factor is flow. A grid drawn flat onto a curved limb looks wrong the moment you move, so the panels need to wrap.
Every artist I have asked about this style says the same thing: the design has to be drawn on the body, not on paper. Stencils built from a flat mockup are the most common reason a piece looks stiff.
Third is restraint with detail. When I tested a very dense circuit design on a small forearm placement, the fine internal lines had already started to merge into grey blocks within about two years.
The aesthetic borrows directly from the cyberpunk genre’s visual language — high tech pressed against low life — which is why the best pieces feel a little worn rather than showroom-clean.
27 Geometric Cyberpunk Tattoo Ideas by Placement
1. Upper Arm Circuit Panels
The upper arm is where I send almost everyone who is nervous about starting. It is a broad, flat-ish canvas with relatively forgiving pain levels.
A single plated panel that wraps from the deltoid down toward the elbow gives you the cyberpunk read without committing to a full sleeve.
In my experience these pieces usually take one long session of four to six hours, depending on how much solid fill is involved.
Leave a clean border of untouched skin around the outer edge. It is what makes the panel look like it was set into the arm rather than printed on it.
2. The Full Cyberpunk Sleeve
A full sleeve is the format this style was built for, because it lets the panels genuinely wrap the limb.
Expect a real project. Most of the sleeves I have followed took between five and eight sessions spread across six months to a year.
The planning matters more than any individual element — the same principle behind any well-built geometric sleeve design.
Ask your artist to map the whole arm before the first needle goes in, even if you only book the outer half to start.
3. Red Accent Highlights
Red is the classic cyberpunk accent, and used sparingly it does something no amount of grey shading can.
The rule I have watched good artists follow is roughly ten percent coverage. Any more and the piece reads as a colour tattoo rather than a black design with a signal in it.
Red pigment usually fades faster than black, so plan on a touch-up somewhere in the five to ten year range.
Red also sits differently on different skin tones, so ask to see healed photos on skin close to yours rather than fresh ones.
4. Lower Leg and Calf Builds
The calf is underrated for this style. It is a naturally rounded surface, which means wrapping panels look convincing with very little forcing.
It also hides easily under trousers, which matters more than people admit when they are working a conservative job.
Healing on the lower leg is usually slower than the arm because of swelling and gravity. In most cases you should expect a little more puffiness in the first few days.
Shin work is a different story — it sits directly over bone and is on most people’s list of the more painful tattoo spots.
5. Full Back Pieces
A back piece is the most expensive and most rewarding version of this idea. You get a genuinely large flat field to build architecture on.
Symmetry is the whole game on a back piece, and it is unforgiving — a panel that sits two centimetres off centre is visible forever.
Every back piece I have seen done well was stencilled across several appointments, with the client standing rather than lying down for the placement check.
Budget realistically. A back piece in this style commonly runs into double-digit sessions once the shading and fill are included.
6. Spine and Centre-Line Designs
A spine piece is the cheapest way to get a dramatic cyberpunk result, because the body supplies the symmetry for you.
Vertebral segments read naturally as mechanical joints, which is why so many of these designs look like an exposed component.
It is genuinely one of the sharper placements for pain in my experience, and the sessions tend to be shorter as a result.
Ask for the stencil to be checked while you are standing upright and relaxed — a spine stencil placed while you are hunched forward will sit crooked when you straighten up.
7. Chest Plating
Chest pieces let you build the armour-plate look that the style is really chasing.
The pectoral shelf and the collarbone give you two strong horizontal lines to hang a design from, and both change shape as you move.
Sternum work is sharp. When I have sat for centre-chest linework the discomfort was noticeably worse than anything on the outer pec.
Symmetrical chest designs need to be drawn freehand on the body, because almost nobody is perfectly symmetrical and a mirrored digital stencil will show it.
8. Dark and Near-Blackout Sleeves
The heaviest version of this style saturates most of the limb in black and lets the geometry appear as negative space.
It is dramatic and it ages extremely well, but it is close to a one-way door. Heavy black is the hardest thing to cover or remove later.
I would only recommend this if you are certain, and only with an artist who specialises in it. Packing black evenly across a whole limb is a real technical skill.
If the idea appeals but the commitment does not, look at blackwork tattoo designs that use black as a frame rather than a field.
9. Neon and Colour Builds
Cyan and magenta are the shorthand for this genre, and they can be spectacular when the underlying black structure is strong.
The failure mode is colour doing all the work. When the black is weak, a bright piece can look muddy within a few years.
Colour also demands more from your aftercare and from sun protection than a plain black piece does.
Ask specifically for healed colour photos. Fresh colour on a portfolio always looks better than what you will be living with.
Variations Worth Considering
Glitch and Data-Corruption Motifs
Deliberately broken grids, offset blocks and scan-line interruptions give you the cyberpunk read without any circuitry at all.
It is a good option if you want something that will not be instantly dated by a specific piece of hardware.
Wireframe and Low-Poly Forms
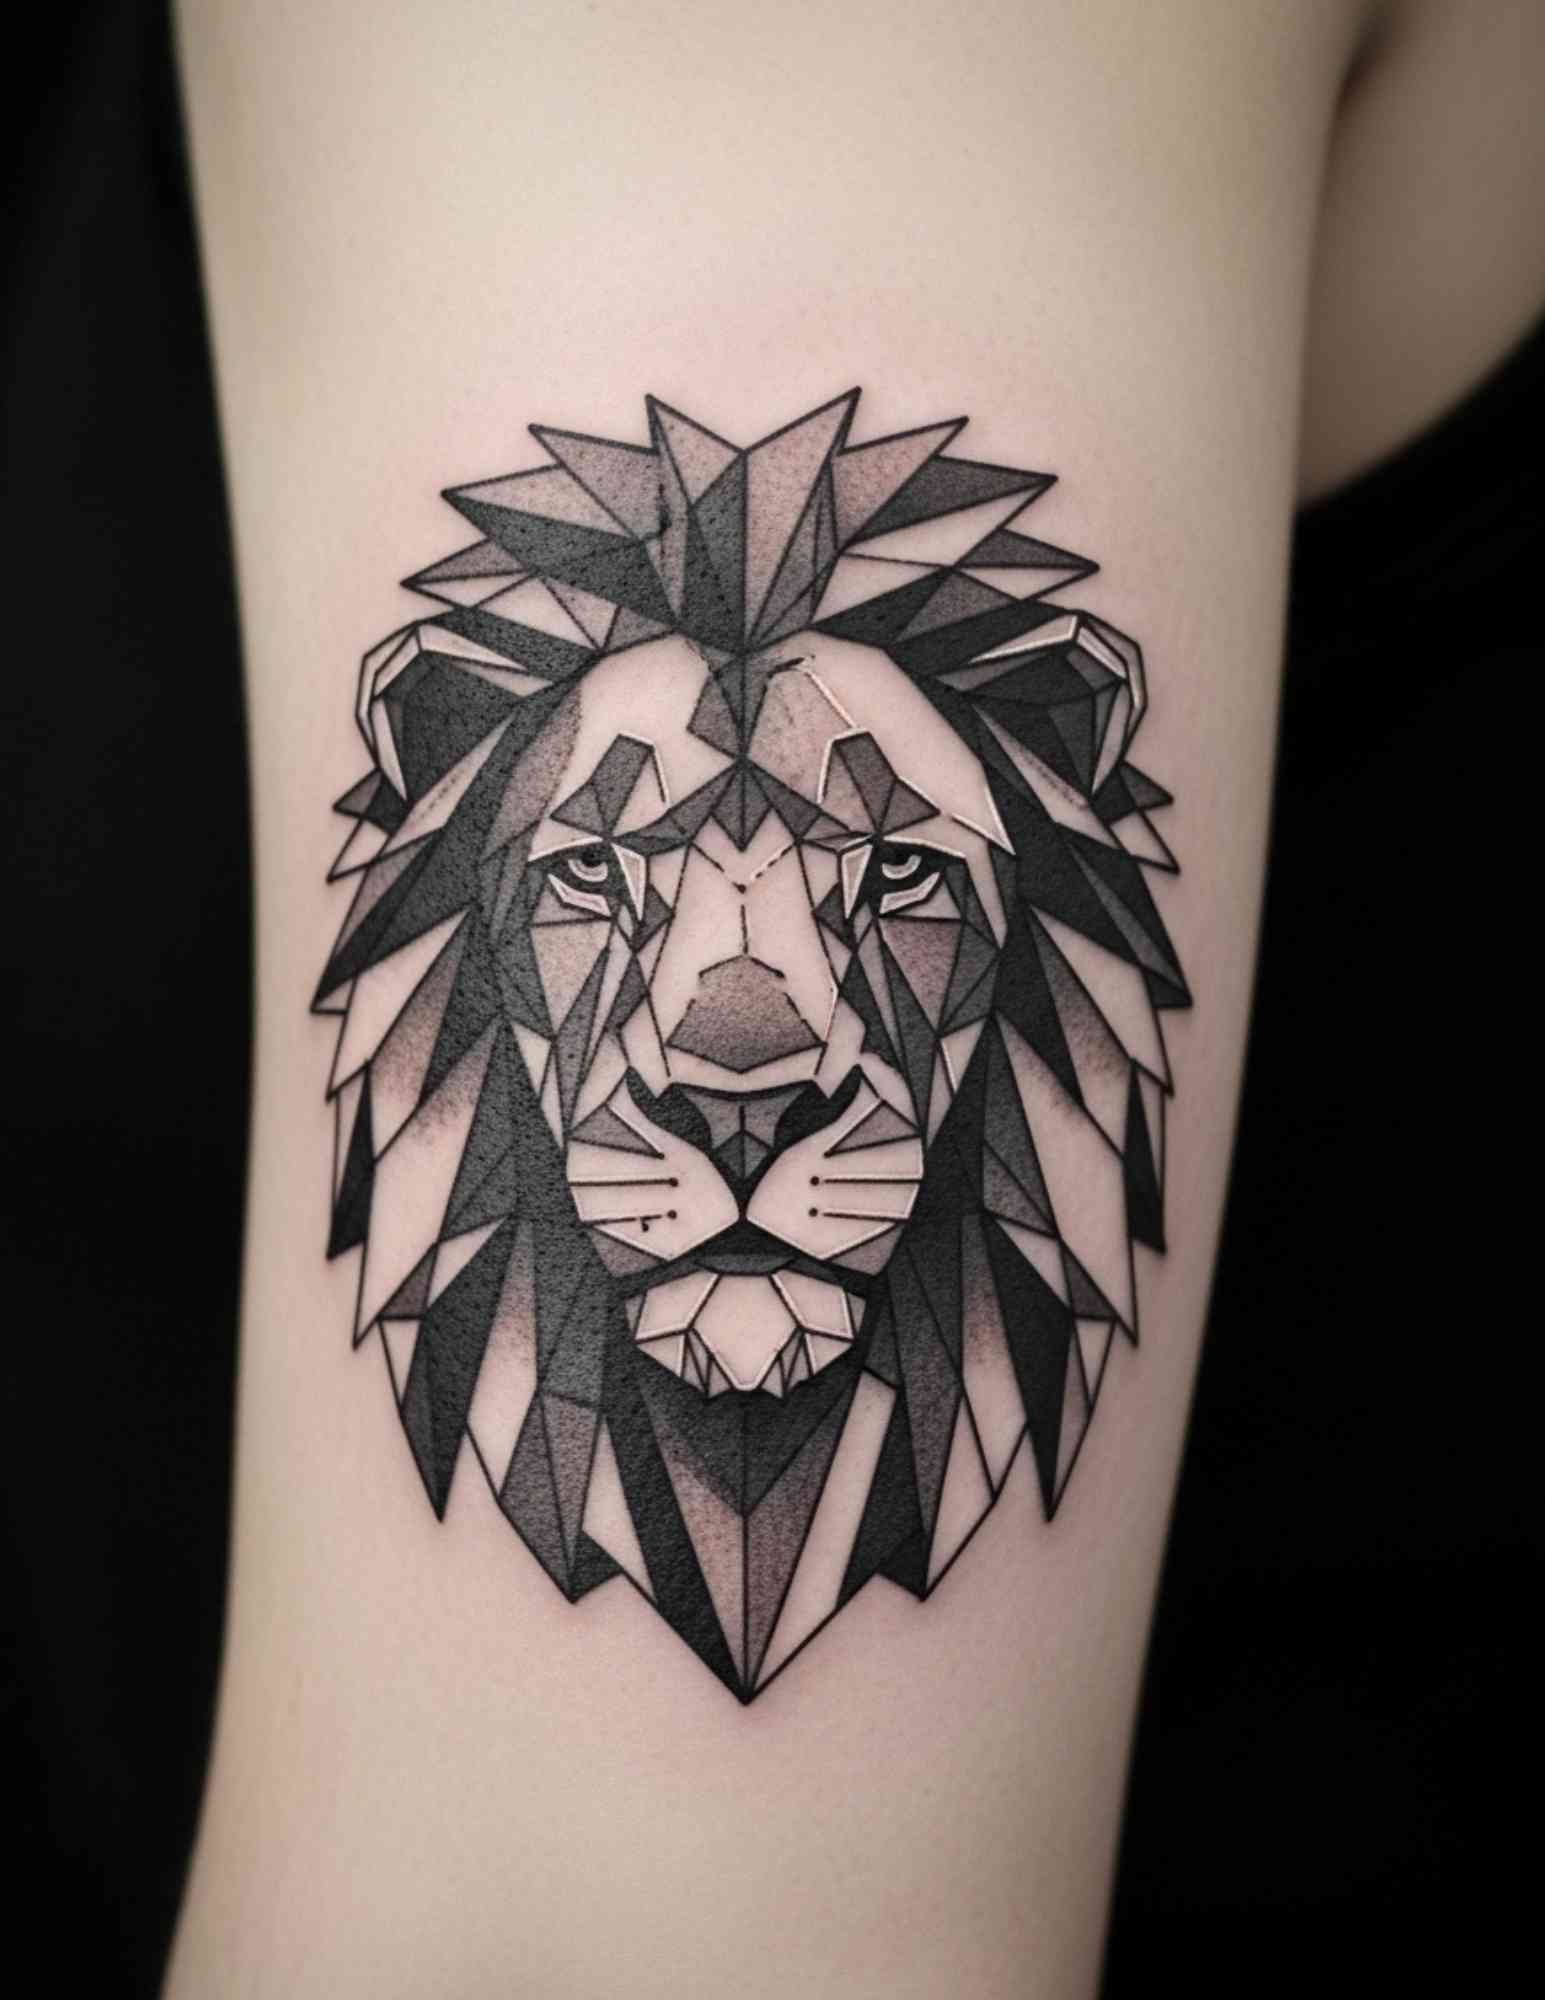
Low-poly animals and faceted skulls sit comfortably inside this style and give you a recognisable subject rather than pure abstraction.
They also scale down better than panel designs, which is useful for a forearm or a calf.
Biomech Hybrids
Adding organic tissue under the plating creates the torn-skin effect that biomechanical tattoo designs are built on.
This is the most technically demanding hybrid on the list and the one most dependent on your artist’s ability with contrast.
Ornamental and Dotwork Crossovers
Stippled gradients between panels soften the hard edges and make a piece feel less like an engineering drawing.
If that appeals, the techniques behind dotwork tattoos transfer over almost directly.
Cosmic and Orbital Crossovers
Orbital rings, planetary arcs and starfields drop neatly into geometric panels if you want a wider science-fiction feel.
There is a lot of overlap here with space tattoo concepts, and the two styles share the same appetite for negative space.
Practical Advice Before You Book
Choose the artist before you choose the design. This style punishes generalists more than almost any other, because a wobbling straight line is visible from across a room.
Go through portfolios looking specifically for healed photographs of straight lines and solid black fill, not fresh work under a ring light.
Size up, not down. Nearly every regret I have heard about geometric cyberpunk work comes from cramming too much detail into too small an area.
On aftercare, follow whatever your artist tells you first, and treat general guidance as secondary. The American Academy of Dermatology publishes sensible baseline guidance on caring for tattooed skin, and the US FDA covers what is and is not known about tattoo inks.
If a tattoo becomes hot, increasingly painful after the first few days, swollen, or starts weeping pus, stop searching online and see a doctor. Large blackwork areas in particular can mask early signs of infection, and this article is not medical advice.
It is also worth knowing roughly what to expect week by week, which is covered in the guide to tattoo healing stages.
Common Mistakes — and What to Do If You Are Still Not Sure
The first mistake is copying a digital render. Concept art has infinite resolution; skin does not.
The second is chasing photorealistic chrome. Chrome effects rely on precise light-and-dark placement that shifts as skin ages, and they are the first thing to go muddy.
The third is booking a full sleeve as your first tattoo. Start with a panel, live with it for six months, then extend.
If you like the geometry but not the science fiction, the broader geometric tattoo gallery is a better starting point. If you like the linework but want something lighter, fine line sleeve designs cover the same ground at a fraction of the commitment.
Frequently Asked Questions
How much does a geometric cyberpunk tattoo cost?
Cost depends almost entirely on hours, and hourly rates vary enormously by city and by artist reputation. A single upper-arm panel is usually one session; a full sleeve is commonly five to eight. Ask for a session estimate rather than a flat quote, since geometric work often takes longer than it looks. Most reputable studios will give you a range up front.
Do geometric cyberpunk tattoos age well?
The bold, well-spaced versions age very well because solid black and clean lines hold their shape. The dense, fine-detail versions do not age as gracefully, and thin internal lines can merge over a decade or so. In my experience the deciding factor is line weight and spacing rather than the subject matter. Sun exposure accelerates everything, so sunscreen on healed work genuinely matters.
Where does a cyberpunk tattoo hurt least?
Outer upper arm, outer thigh and calf are generally the more comfortable placements because there is more tissue between the needle and bone. Spine, sternum, ribs, shin and the inner arm are usually reported as sharper. Pain is individual, though, and people vary a lot. If you are worried, book a shorter first session and see how you respond.
Can a cyberpunk geometric tattoo be covered up later?
Light linework covers reasonably easily. Heavy blackwork is much harder — a cover-up over solid black generally needs an even darker design or extensive laser lightening first. That is the main reason I suggest starting smaller. Talk to a cover-up specialist before assuming anything is reversible.
Should I get colour or keep it black and grey?
Black and grey is the safer long-term choice, and it is what most of the strongest pieces in this style use. Colour adds real impact but fades sooner and asks more of your aftercare. A middle path that works well is a black design with one accent colour used across roughly ten percent of the piece. You can usually add colour later; removing it is far harder.
Quick Summary
- Contrast between solid black and bare skin is what makes this style read as cyberpunk.
- Bold, well-spaced geometry ages far better than dense fine detail.
- The upper arm is the best low-risk starting placement; the back gives the most room.
- Designs must be drawn on the body so the panels wrap the limb properly.
- Use accent colour sparingly — roughly ten percent — over a strong black structure.
- Near-blackout work looks incredible but is very difficult to cover or remove later.
- Pick an artist with healed photos of straight lines and even black fill, not just fresh work.
- Follow your artist’s aftercare, and see a doctor rather than the internet if healing goes wrong.