I have watched hip tattoos go from a quiet, hidden-placement choice to one of the most requested spots in the studios I visit, and the reason is simple. The hip is one of the few placements on the body that lets you commit to a large, flowing design and still cover it completely with a pair of jeans.
That combination of scale and privacy is rare. The forearm is visible whether you like it or not; the ribs hurt more than most people expect; the hip sits somewhere in between and gives you a genuinely usable canvas.
It is not a free lunch, though. The hip bone is one of the sharper spots on the body, the skin there moves constantly, and the healing window is longer than people plan for because clothing rubs it every hour of the day. I have seen more hip pieces fade unevenly from friction than from sun.
This guide covers the styles that actually work on a hip, how placement shifts the experience, what the pain is honestly like, and what aftercare looks like when your waistband is the enemy. If you are also weighing up the next panel down, my guide to thigh tattoos for women covers how the two placements flow together.
Which Hip Tattoo Style Is Right for You?
Every artist I have asked about hip work says the same thing first: pick a style that tolerates curve. Here is how the main options compare in practice.
| Style | Best for | Typical sitting | How it handles the curve | Ageing |
|---|---|---|---|---|
| Floral / botanical | A first large piece | 3–5 hours | Excellent — organic shapes hide distortion | Very good if lines are not too fine |
| Mandala / ornamental | Symmetry lovers | 4–6 hours | Tricky — needs a flat-ish panel | Good, though fine dotwork softens |
| Blackwork | High contrast, low upkeep | 4–7 hours | Very good | The most forgiving over decades |
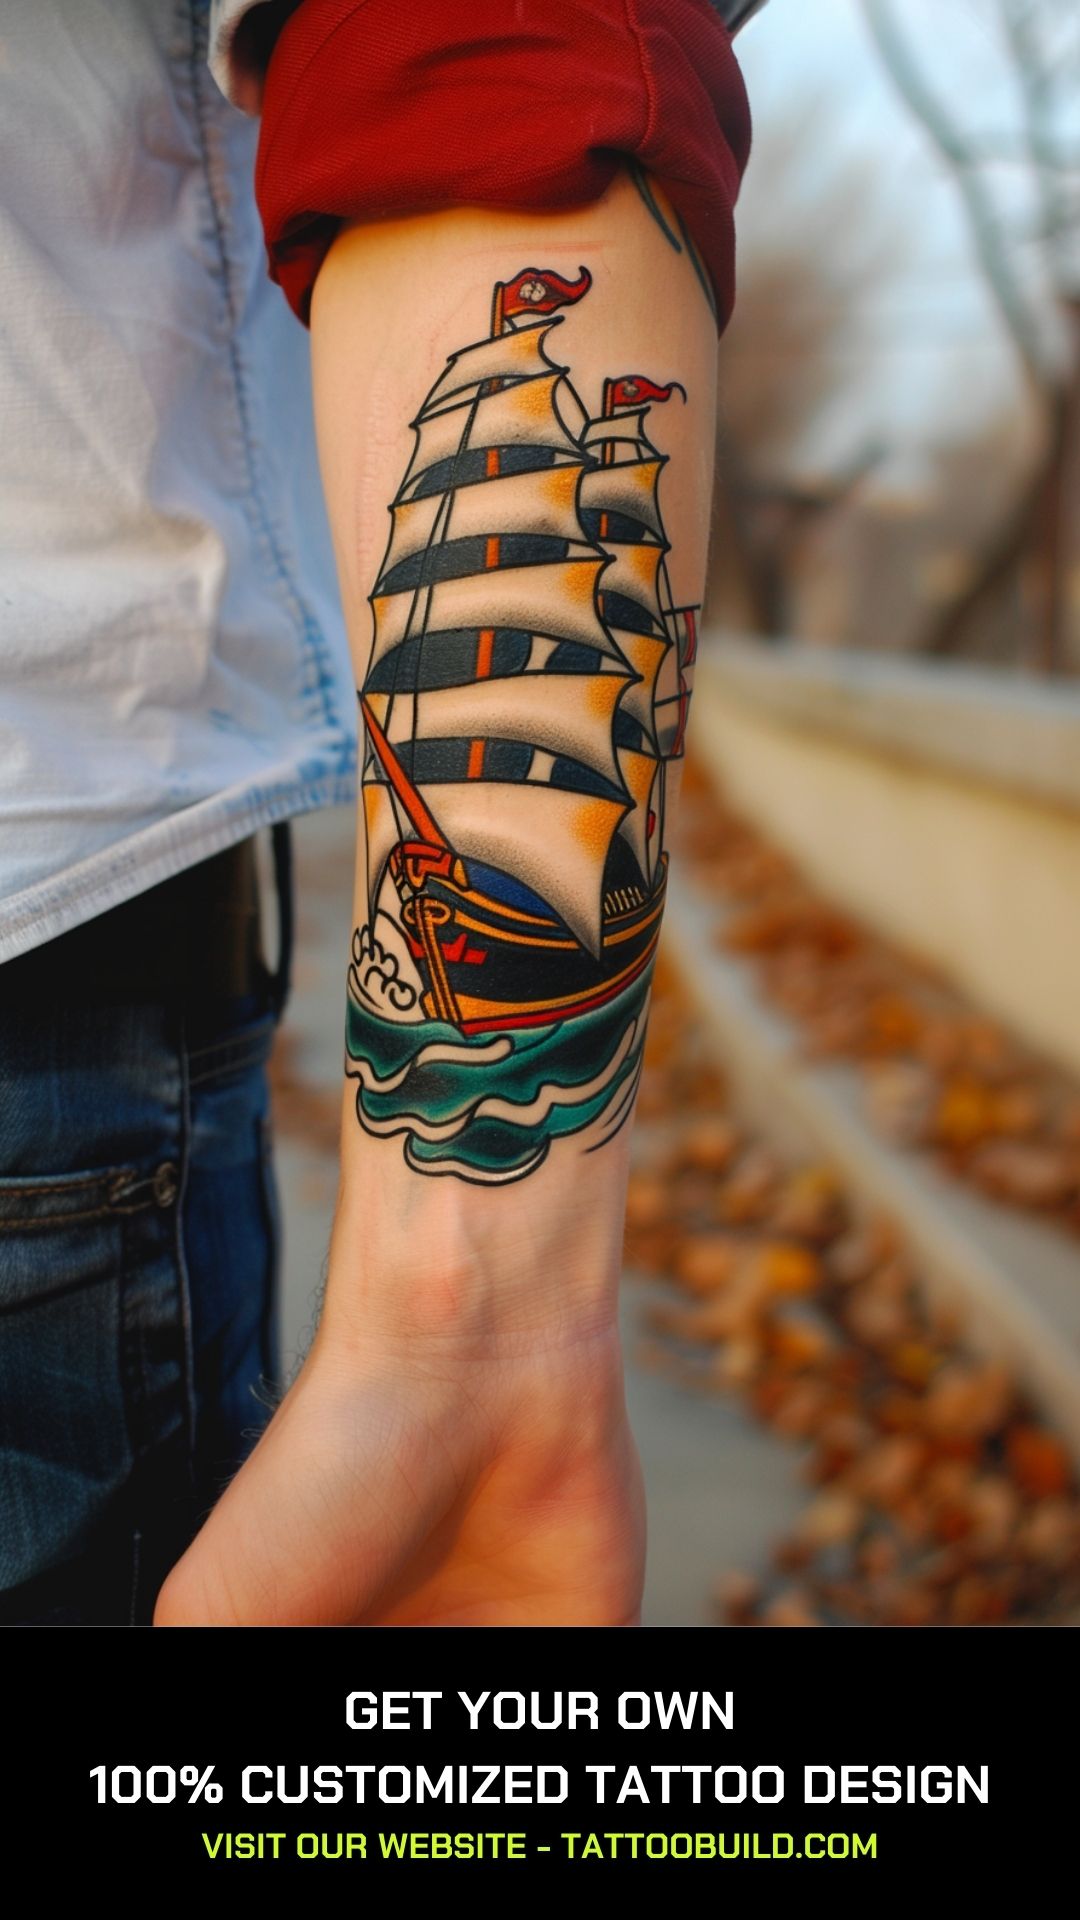
| American traditional | Bold, readable art | 2–4 hours | Good — designed for bodies, not flat paper | Excellent |
| Fine line / script | Subtle, private pieces | 1–3 hours | Fair — thin lines blur fastest here | Weakest; expect a touch-up |
| Realism | Portraits and animals | 5–8 hours, often multiple | Needs a large, stable panel | Good with strong contrast |
If you are torn between two of these, the honest tiebreaker is how much touching-up you are willing to do later. Blackwork and traditional ask the least of you.
What Makes the Hip Different From Every Other Placement
The hip is really three surfaces pretending to be one: the bony crest, the soft side panel above it, and the fleshy slope down toward the thigh.
Each of those behaves differently under a needle, which is why a design that looks perfect on a flat stencil sheet can pull oddly once it is wrapped around a body.
The bone is the part people underestimate. Where skin sits directly over the iliac crest with almost no padding, the sensation is sharper and more vibrating than the soft tissue a couple of inches away. In my experience most people describe the bony pass as the only genuinely difficult stretch of the session, and it is usually short.
The soft side panel is a much easier ride and is where I would send anyone getting their first sizeable piece. It also happens to be the area that stretches least dramatically with weight change, which matters for symmetrical designs.
Skin over the hip also moves through a wide range every time you sit, walk or bend, so a good artist will draw the stencil on you standing up and then check it seated. If nobody offers to do that, ask. For a wider sense of how this placement ranks against others, I put together a breakdown of the most painful tattoo spots that puts the hip in context.
Hip Tattoo Ideas by Style
Floral and Botanical Designs
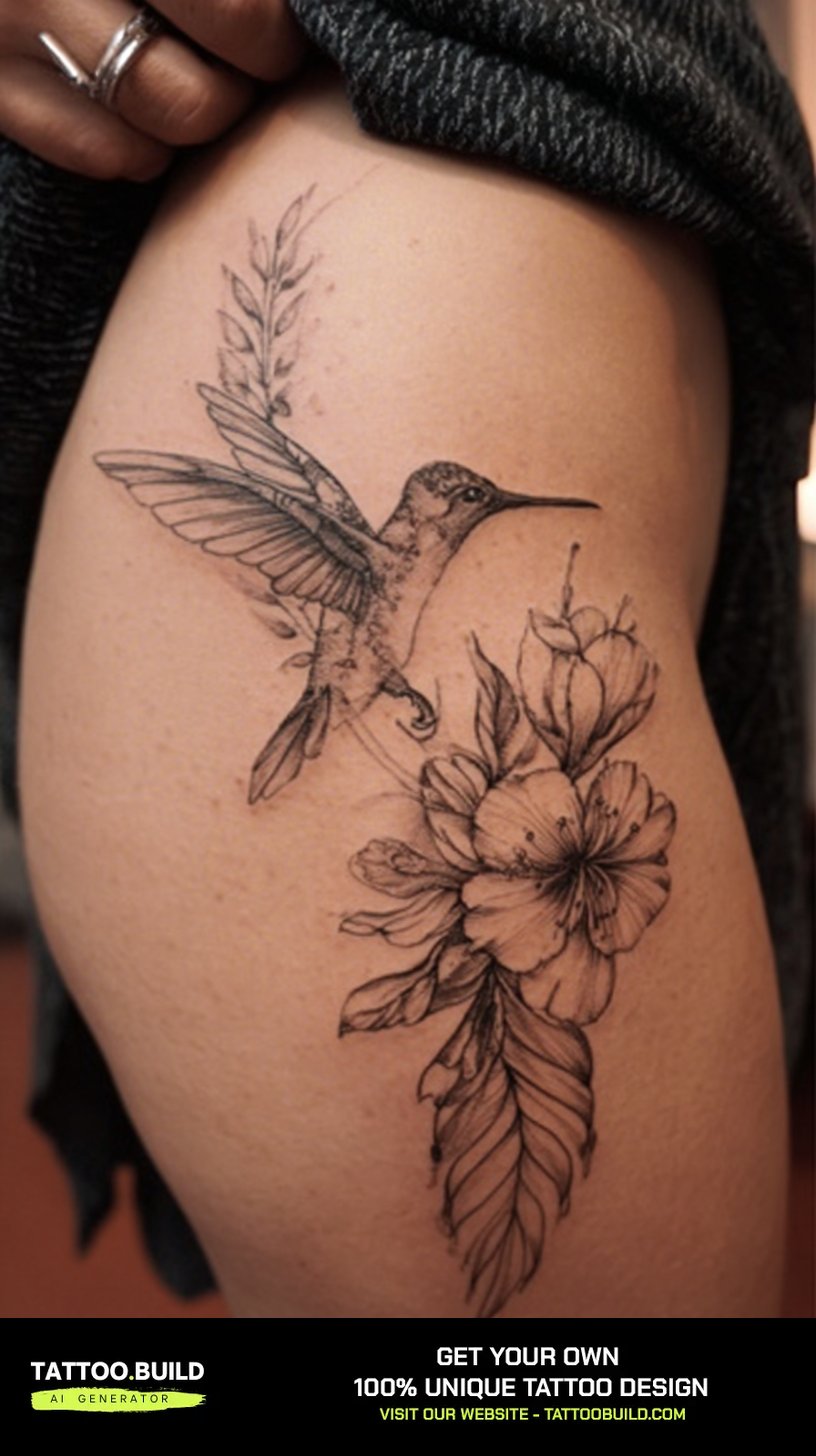
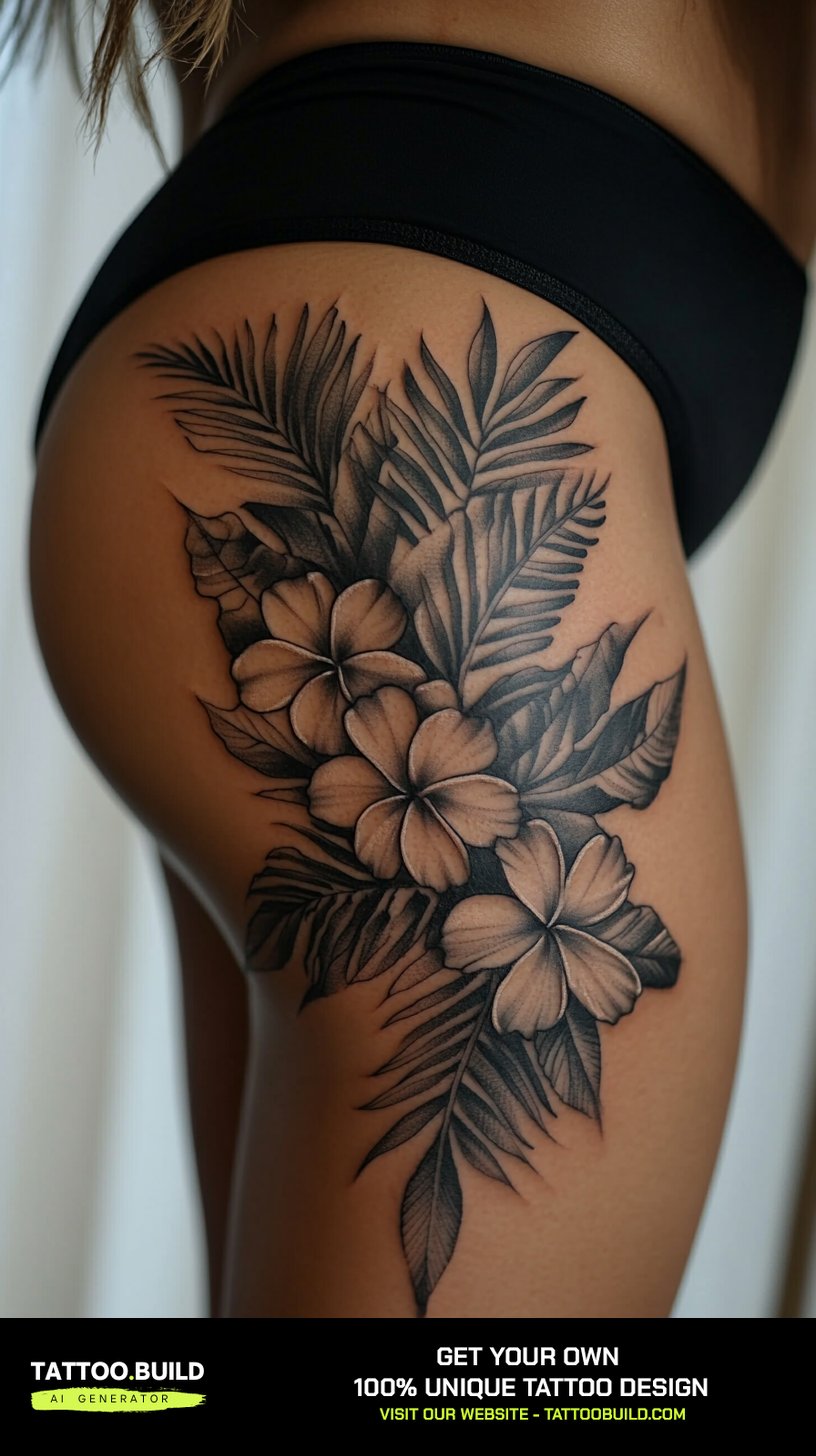
Florals are the default hip request for a reason: petals, stems and leaves have no fixed geometry, so nothing looks wrong when the design wraps.
The pieces I have seen age best use a mix of line weights — heavier outlines on the main blooms, lighter detail inside them — rather than a uniform hairline throughout.
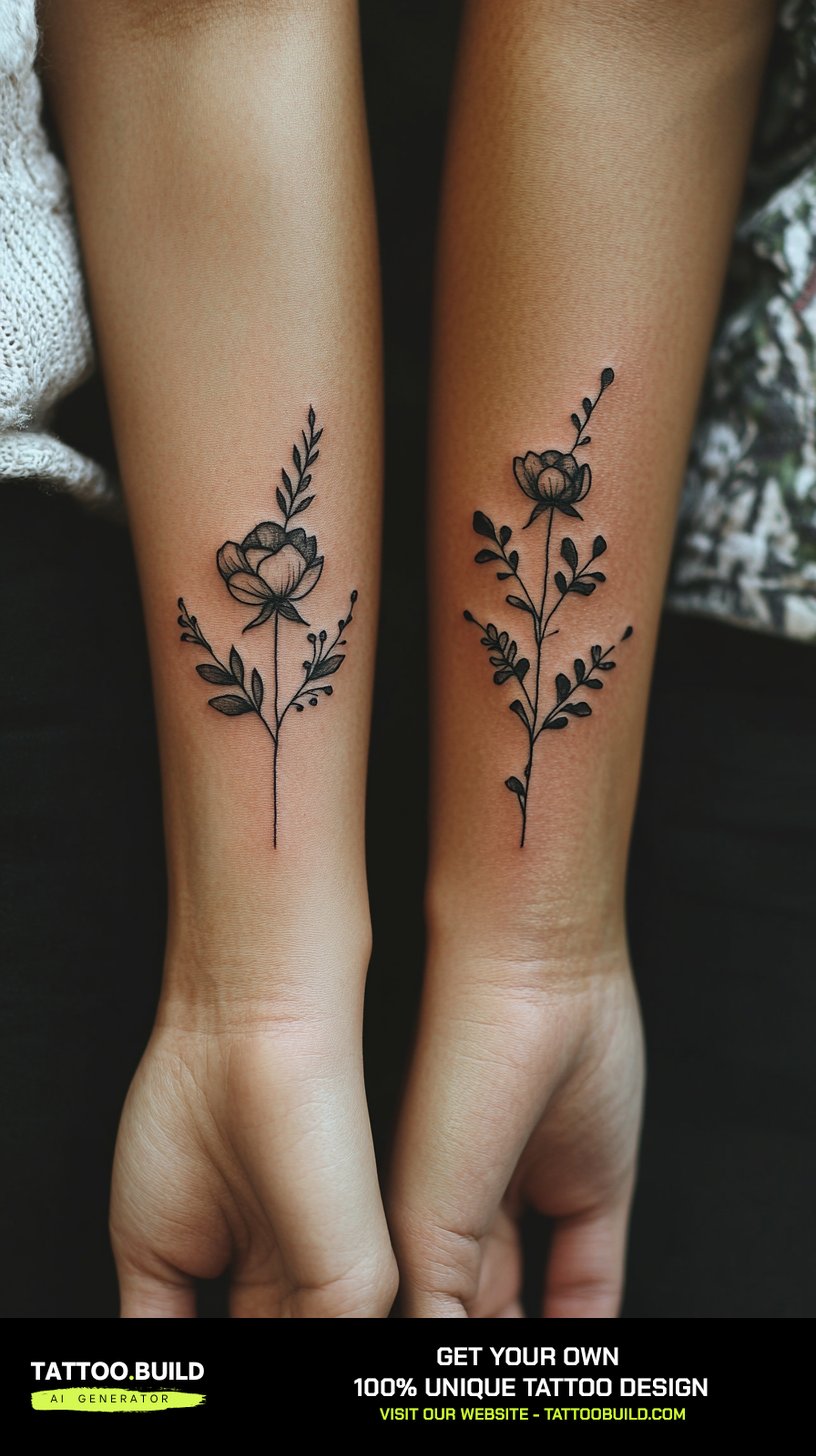
Roses, peonies and poppies suit the larger hip-to-thigh format. Wildflowers, lavender and single stems work better as a vertical strip along the side hip, following the body rather than filling it.
Ask your artist to draw the stems along the natural curve rather than straight down. A straight stem on a curved surface is the fastest way to make a beautiful tattoo look slightly off. If you want more botanical direction, my wildflower tattoo ideas gallery has designs that translate well to this placement.
Mandala, Geometric and Ornamental Work
Mandalas are the most requested hip design after florals, and the most likely to disappoint if placement is rushed.
A mandala is defined by symmetry. Put a perfect circle over a curved hip and the eye reads it as an oval from most angles, which is why experienced artists either centre it on the flattest part of the hip bone or deliberately distort the stencil so it resolves correctly on the body.
When I tested this on my own stencil paper against a friend’s hip, the difference between a flat placement and a wrapped one was obvious within about three inches of curve.
Geometric linework has the same problem, doubled: straight lines have nowhere to hide. Ornamental and filigree styles are the safer middle ground because they are built from curves already. Browse more of these in my collection of mandala tattoo ideas for women.
Animals and Nature Subjects
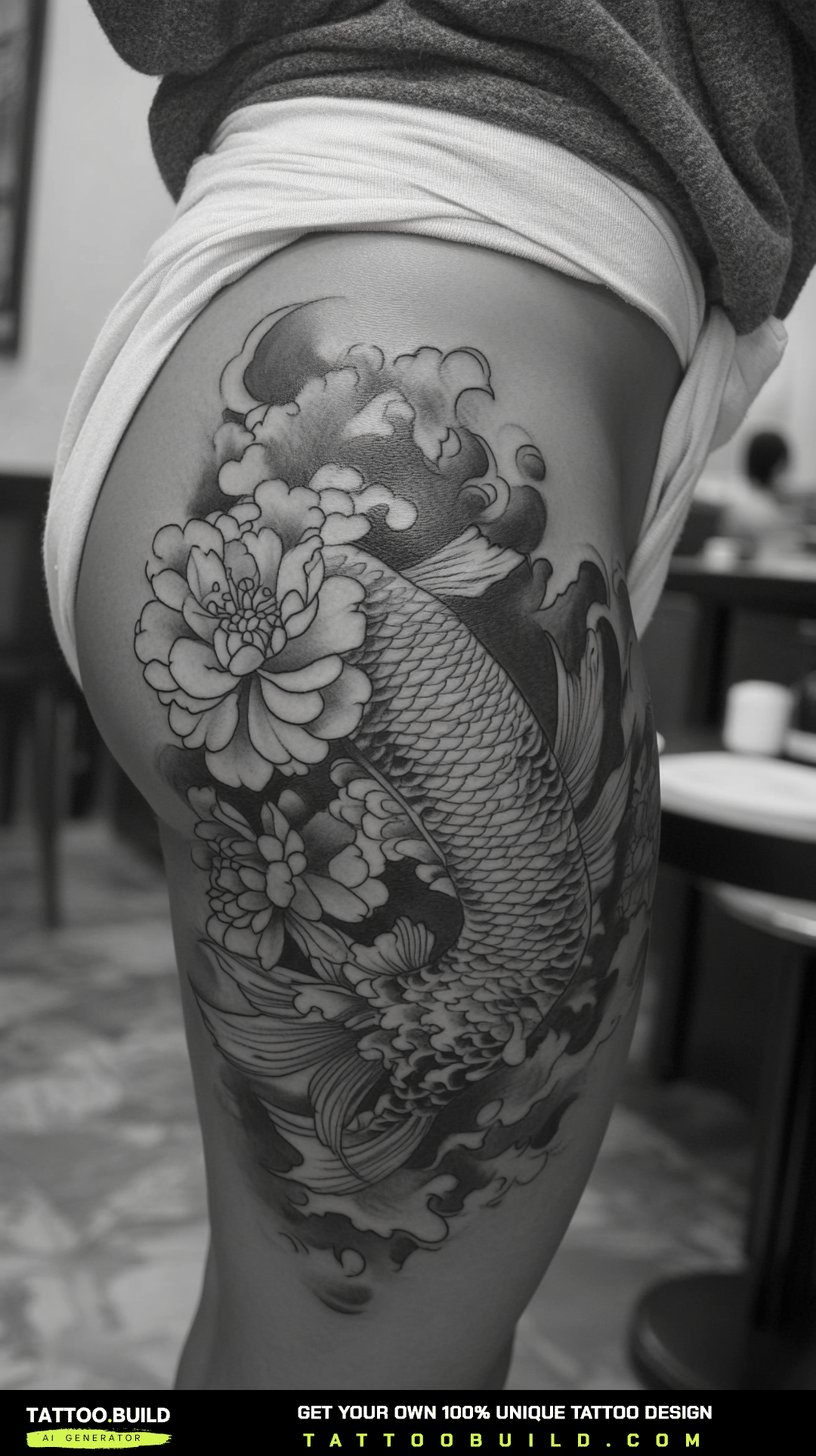
Animal designs use the hip better than almost any other subject because the placement gives you a long, tapering shape to fill.
A snake or octopus can wrap from the front of the hip around to the side, which is a composition you simply cannot do on a forearm.
Deer, birds and big cats generally read best in soft black and grey here, since colour realism on a curved, frequently-covered area asks a lot of the ink over time.
Give animal work more space than you think it needs. The single most common regret I hear is that a detailed animal was sized down to fit a budget and lost its detail within a few years.
American Traditional and Neo-Traditional
Traditional tattooing was built for exactly this kind of placement: bold outlines, limited palette, shapes that were designed to sit on a body rather than on a page.
If you want a hip tattoo that will still read clearly in twenty years with no touch-ups, this is the most reliable answer I can give.
Neo-traditional widens the palette and adds depth without giving up the heavy outline, which is a good compromise if the classic style feels too rigid for you.
The trade-off is that traditional imagery has an established visual language. It rewards choosing a motif you actually connect with rather than one that simply looks good on a flash sheet.
Tribal and Neo-Tribal Blackwork
Tribal shapes were designed to follow muscle and bone, which makes the hip a natural home for them.
Neo-tribal — the modern revival with softer, more organic black shapes — has been one of the biggest movements in the studios I follow, and it suits the hip’s curve particularly well.
One caution worth stating plainly: many tribal patterns belong to specific cultures with real rules about who may wear them. If you are drawn to a Polynesian or Māori style specifically, it is worth talking to an artist from that tradition rather than copying a design off the internet. My guide to tribal tattoo ideas for women goes into this in more detail.
Blackwork and Ornamental Fill
Solid blackwork is the most durable choice on the hip, full stop. Heavy black holds its edge as skin stretches in a way fine grey wash does not.
It is also the most demanding to heal. Large saturated areas mean more trauma to the skin, more plasma in the first days, and more time before you can go back to tight jeans.
Budget two sessions for anything larger than a palm. Artists who push a big blackwork piece through in one marathon sitting tend to produce patchier healed results, in my experience, because both the skin and the client are exhausted by hour six.
Negative space is worth discussing at the design stage. Leaving skin bare inside the black is what stops a large piece from turning into an undefined dark shape a decade later.
Fine Line, Script and Chicano Styles
Fine line is enormously popular and, on the hip specifically, the style I would push back on hardest.
Thin lines on skin that stretches, folds and rubs against a waistband every day tend to soften faster than they would on a shoulder or a calf. That does not make it a bad choice; it makes it a choice with a maintenance plan attached.
Script sits in the same category. Keep the letters a little larger than feels necessary, avoid ultra-thin connecting strokes, and place text along the side hip rather than over the bone if you want it to stay crisp.
Chicano-style work — smooth grey shading, script, portraiture — is a beautiful fit for the hip because its soft gradients disguise curve rather than fighting it. See more delicate options in my fine line tattoo ideas roundup.
Realism and Portraiture
Realism on the hip works, but only at scale and only on the right part of it.
The side panel gives you a relatively stable, flat-ish surface. The bone does not. A face or a detailed animal placed across the crest will distort every time you sit down.
Expect multiple sessions and expect the price to reflect that. Every realism artist I have spoken to would rather turn down a job than shrink it below the size the detail requires.
Strong contrast is what keeps realism legible as it ages. Ask to see healed photographs of the artist’s work at three years or more, not just fresh shots taken under studio lighting.
Snakes, Dragons and Darker Imagery
Serpents and dragons might be the single best-suited subject for a hip tattoo, because a long sinuous body wants exactly the kind of wrapping surface the hip provides.
A snake can start at the waist, curl over the hip bone and finish on the upper thigh in one continuous line, and the body’s own shape does most of the compositional work for you.
Skulls, moths and darker ornamental pieces have surged in popularity alongside the wider dark feminine aesthetic, and they pair naturally with blackwork technique.
These designs live or die on flow. Ask for the stencil to be applied and then walk around in it for a few minutes before the needle starts. If you like this direction, my snake tattoo ideas for women page has plenty of reference.
Placement Variations Within the Hip
“Hip tattoo” covers at least four meaningfully different spots. Choosing between them changes the pain, the visibility and the design that will suit you.
Over the Hip Bone
The sharpest sensation and the flattest surface. Best for small-to-medium symmetrical designs like mandalas and ornamental pieces.
It is also the area most likely to sit under a waistband, so healing takes a little more planning.
The Side Hip
The soft panel between the ribs and the hip bone. Noticeably more comfortable, endlessly flexible, and my usual recommendation for a first large piece.
It is also the spot that flows most naturally into a torso or rib piece later, if you decide to extend upward.
Hip to Thigh
A long vertical canvas that suits florals, snakes and anything with movement. It is the most visible of the four in swimwear and the least visible in everyday clothes.
If you might eventually want a leg sleeve, start here and build downward rather than the other way around.
The Front Hip and Bikini Line
The most private placement and, honestly, the most uncomfortable. Skin here is thin and there are more nerve endings than on the outer hip.
Sessions tend to be shorter as a result, and larger designs are usually split across appointments.
Aftercare When Your Waistband Is the Problem
Standard aftercare applies here — clean gently, pat dry, thin layer of a fragrance-free moisturiser, no soaking — but the hip adds one complication that no other common placement has: friction from clothing, all day, every day.
Plan two full weeks of loose, high-waisted-free clothing before you book. Every artist I have asked says the hip pieces that heal badly are almost always the ones where the client went straight back into jeans on day three.
Sleep matters too. If you side-sleep on the tattooed side, expect the sheets to stick and the piece to weep more overnight; a clean cotton sheet you do not mind ruining is a reasonable investment. Surface healing usually takes two to three weeks, while the deeper layers settle over a few months, so the tattoo can look finished well before it is.
For the full routine, see my complete tattoo aftercare guide and the walkthrough of tattoo healing stages so you know what is normal week by week. The American Academy of Dermatology’s guidance on caring for tattooed skin is a good, non-commercial second opinion.
One thing I will not do is play doctor. Spreading redness, swelling that increases after day three, pus, or a fever are not part of normal healing — that is a conversation for your artist and, if it does not settle quickly, a physician. The US Food and Drug Administration also publishes plain-language information on tattoo ink risks and reactions that is worth reading before you book, particularly if you have sensitive skin or a history of allergic reactions.
Common Mistakes — and What to Do If You’re Still Not Sure
The mistake I see most often is sizing down. A design shrunk to fit a budget loses the detail that made you want it, and detail lost on the hip does not come back.
The second is booking a straight-line or perfectly symmetrical design without seeing the stencil on the body first. If the stencil looks off standing up, it will look worse healed.
The third is underestimating clothing. People plan their pain tolerance carefully and their wardrobe not at all.
If you are still undecided, the useful question is not “which design?” but “which placement?” Once you have settled on hip bone versus side hip versus hip-to-thigh, the style shortlist narrows itself. If the hip is not quite right, a sternum piece offers similar privacy with a very different shape to work with.
Frequently Asked Questions
How much do hip tattoos hurt?
The honest answer is that it depends entirely on which part of the hip. Directly over the bone, most people describe it as sharp and vibrating, and it is usually the hardest few minutes of the session. The soft side panel is considerably more manageable and comparable to an outer thigh. Nobody I have spoken to found the whole session uniformly painful, which is why artists often start on the softer areas and save the bone for when you are settled.
How long does a hip tattoo take to heal?
The surface usually closes within two to three weeks, while the deeper layers of skin continue settling for a few months. The hip tends to sit at the slower end of that range because clothing rubs it constantly. Loose clothing for the first two weeks makes a real difference. If anything looks worse rather than better after the first few days, contact your artist.
Will a hip tattoo stretch if I gain weight or get pregnant?
Skin on the hip does stretch, and significant weight change or pregnancy can distort a design — though how much varies enormously between people and is impossible to predict in advance. Designs with organic shapes handle it far better than rigid geometry or perfectly symmetrical mandalas. Many pieces come through visible change looking essentially fine. If you are planning a pregnancy soon, some artists will suggest waiting or choosing a more forgiving style.
Can you cover a hip tattoo for work?
Almost always, which is a large part of the appeal. Standard trousers, skirts and most swimwear cover the hip bone and side hip completely. A hip-to-thigh piece is the exception, since it can show in shorts or higher-cut swimwear. This is worth thinking through before you commit to how far down the design extends.
How much does a hip tattoo cost?
Cost depends on size, style and your artist’s rate rather than the placement itself, so any specific figure here would be misleading. As a rough shape of things, a small fine line piece is typically an hourly minimum, while a large blackwork or realism hip piece runs across multiple sessions. Ask for a quote based on the actual design rather than a per-inch estimate, and expect detailed styles to cost more per square inch than bold ones.
Quick Summary
- The hip offers a large canvas that stays hidden under everyday clothing — a combination almost no other placement gives you.
- Pain varies by zone: the bone is sharp but brief, the soft side panel is far more manageable, and the bikini line is the toughest.
- Organic styles — florals, snakes, ornamental blackwork — handle the hip’s curve best; strict geometry and mandalas need careful placement.
- Blackwork and American traditional age the most reliably here; fine line and script will likely need touch-ups.
- Realism and detailed animal work need size and a stable, flat-ish panel; do not shrink them to fit a budget.
- Always check the stencil standing up and seated before the needle starts.
- Plan two weeks of loose clothing before you book — friction, not sun, is what ruins most hip tattoos.
- Anything beyond normal redness and weeping is a question for your artist or a doctor, not the internet.