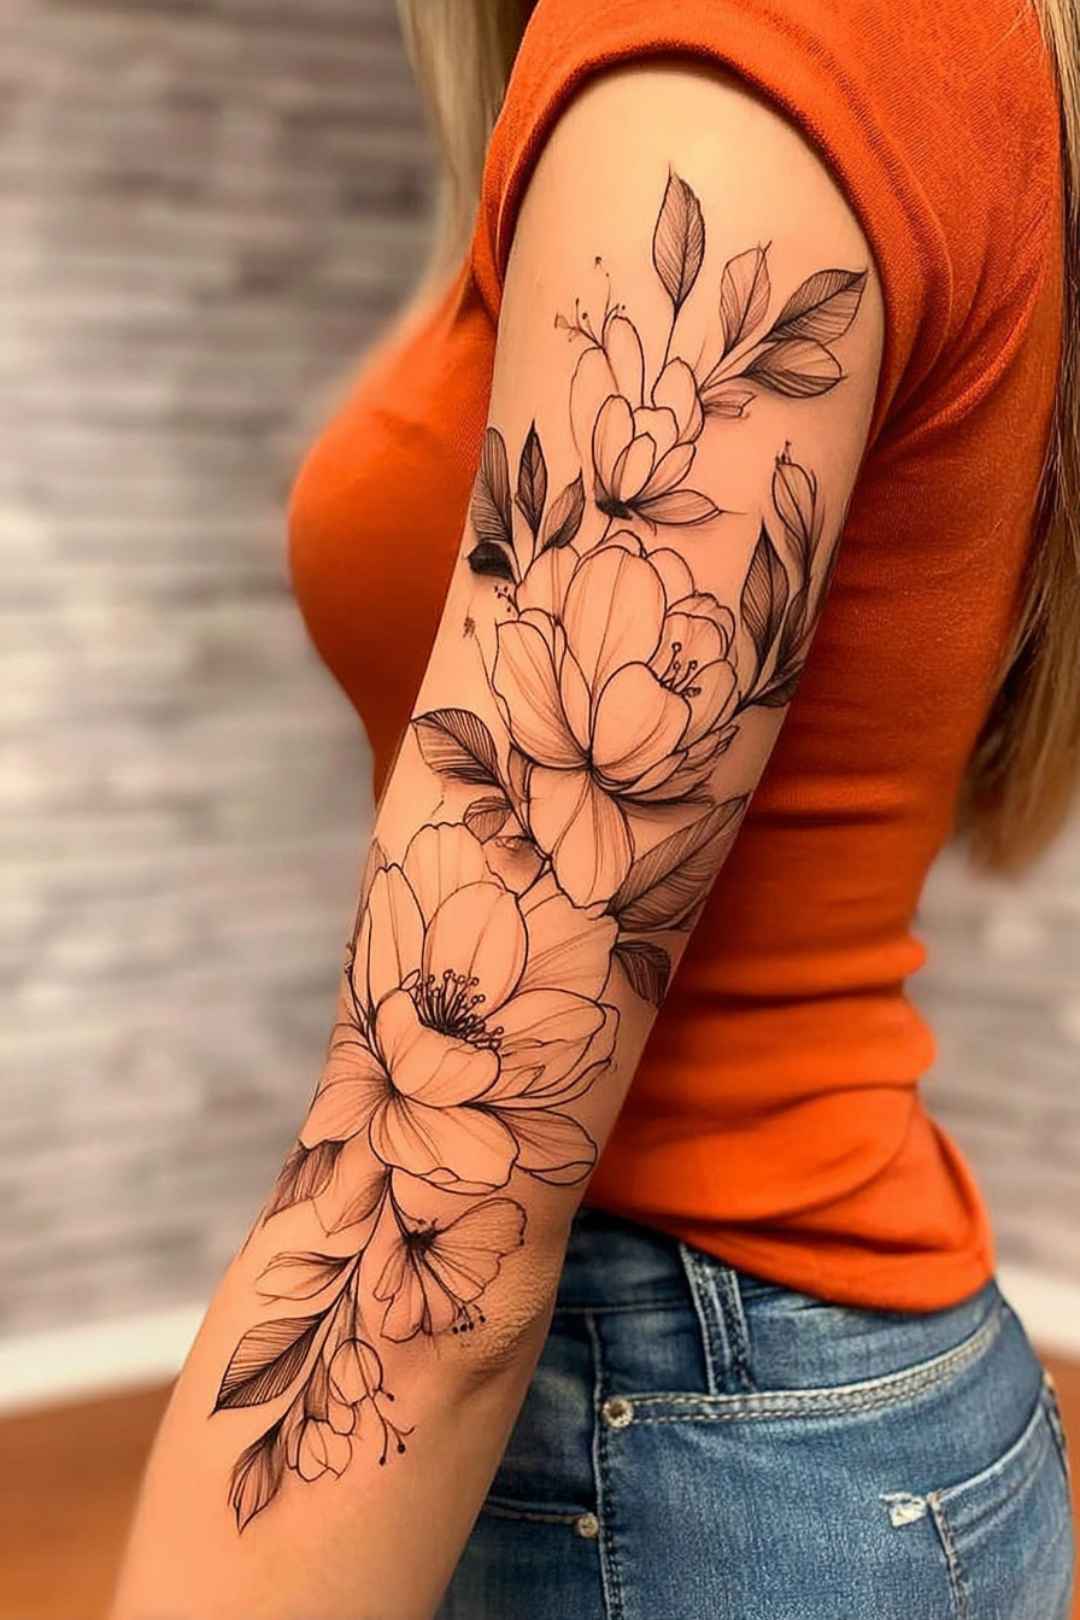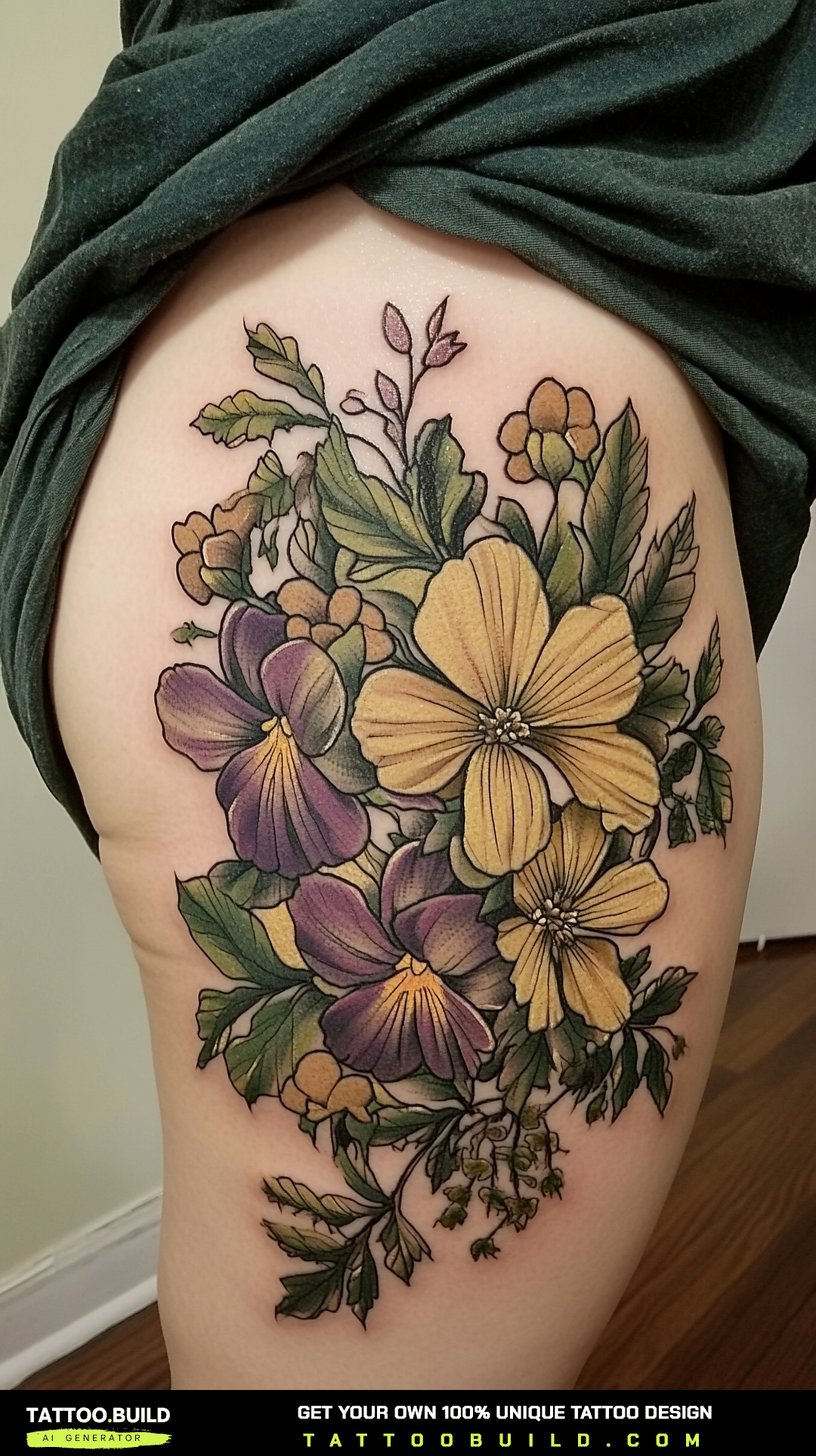
A classy hip tattoo works because of where it sits, not because of how much it contains. The hip is one of the few placements on the body that lets you carry something large without ever having to explain it at work.
I have watched this placement go from a niche request to one of the most consistently booked spots in every studio I spend time in. The reason is simple: it flatters the natural line of the body and it stays private until you decide otherwise.
What follows is a working guide rather than a mood board. I have grouped the designs by how they behave on the body — how they age, how they hurt, and how they sit under clothing — and I have flagged the choices I would talk a friend out of. If you are still deciding between placements, my notes on thigh tattoos for women cover the closest alternative.
Every image below is a real hip piece. Read the captions as much as the headings — the composition notes are where the useful information lives.
Which Hip Tattoo Style Is Right for You?
This is the comparison I end up drawing on a napkin for almost every person who asks me about hip work. Session times assume a piece roughly the length of your hand.
| Style | Best For | Typical Session | How It Ages | Touch-Up Risk |
|---|---|---|---|---|
| Fine line florals | A first tattoo, or something that must stay subtle | 2–3 hours | Softens noticeably after five to ten years | High |
| Black and grey botanical | The best balance of detail and longevity | 4–6 hours | Holds shape well with clear contrast | Low |
| Bold traditional | Anyone who wants it readable in twenty years | 3–5 hours | The most durable option on this list | Very low |
| Illustrative animal + floral | A statement piece across hip and thigh | Two or more sittings | Depends heavily on the artist’s contrast | Medium |
| Colour work | A placement that sees very little sun | Two or more sittings | Fades slowest here of anywhere on the body | Medium |
| Mandala / ornamental | Symmetry lovers with a patient artist | 4–7 hours | Small gaps close up over time | Medium |
What Actually Makes the Hip a Difficult Placement
The hip is not one surface. It is at least three, and every artist I have asked describes them differently: the bone at the front, the soft flesh over the side, and the wrap toward the lower back.
The bone is where the pain lives. Skin sits thin and tight directly over the hip bone, and there is almost no padding to absorb the needle.
The soft side is the opposite problem. It is comfortable to sit through, but it moves when you move, and it is the area most likely to change shape over a lifetime.
That is not a reason to avoid it. It is a reason to let your artist plan the composition standing up rather than lying down — a stencil that looks perfect on a flat table can pull crooked the moment you stand.
Waistbands are the other practical factor nobody mentions until day three of healing. A fresh hip tattoo sits exactly where your jeans sit, which is why my tattoo pain management notes matter more here than at most placements.
One more honest point: hip tattoos are frequently done in two sittings, not one. Plan for that rather than pushing through a nine-hour session you will remember for the wrong reasons.
Classy Hip Tattoo Ideas That Age Well
I have organised these by design behaviour rather than by subject. Two tattoos of the same flower can age completely differently depending on line weight and spacing.
1. Large Floral Bouquets That Follow the Hip Line
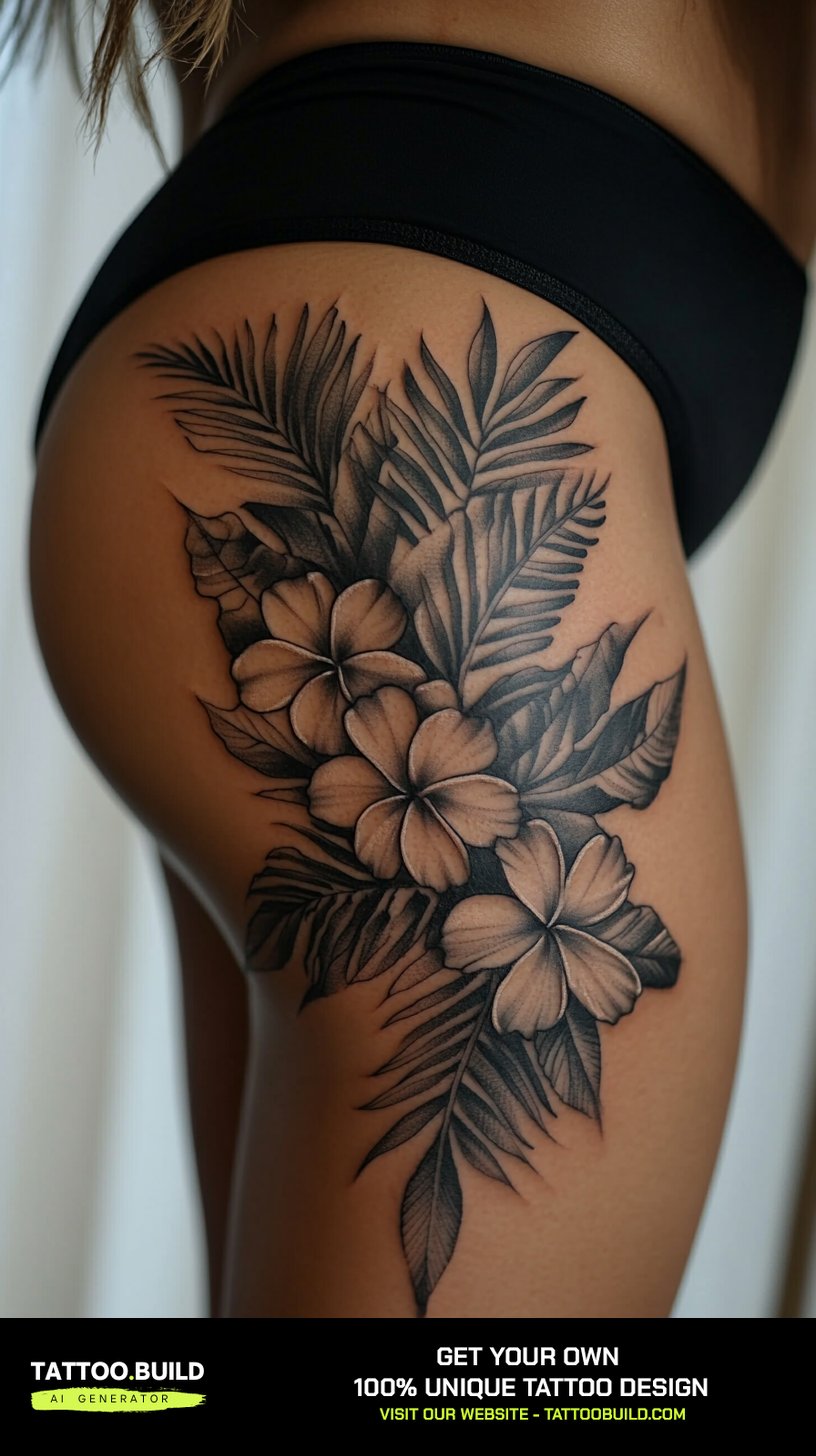
A cascading bouquet is the classic hip request, and it earns its popularity honestly. The shape of a bouquet — wide at the top, tapering downward — happens to match the shape of the hip almost exactly.
When I look at a bouquet piece, the first thing I check is whether the flowers touch. Blooms that overlap without clear separation between them tend to merge into one dark mass after a decade.
The pieces that hold up have deliberate gaps: a stem, a leaf, or plain skin between each major bloom. Ask your artist to show you a healed photo of a bouquet they did at least three years ago, not a fresh one.
Size is your friend here. A bouquet crammed into a four-inch space is the single most common regret I hear about at this placement.
2. Animals Framed by Florals
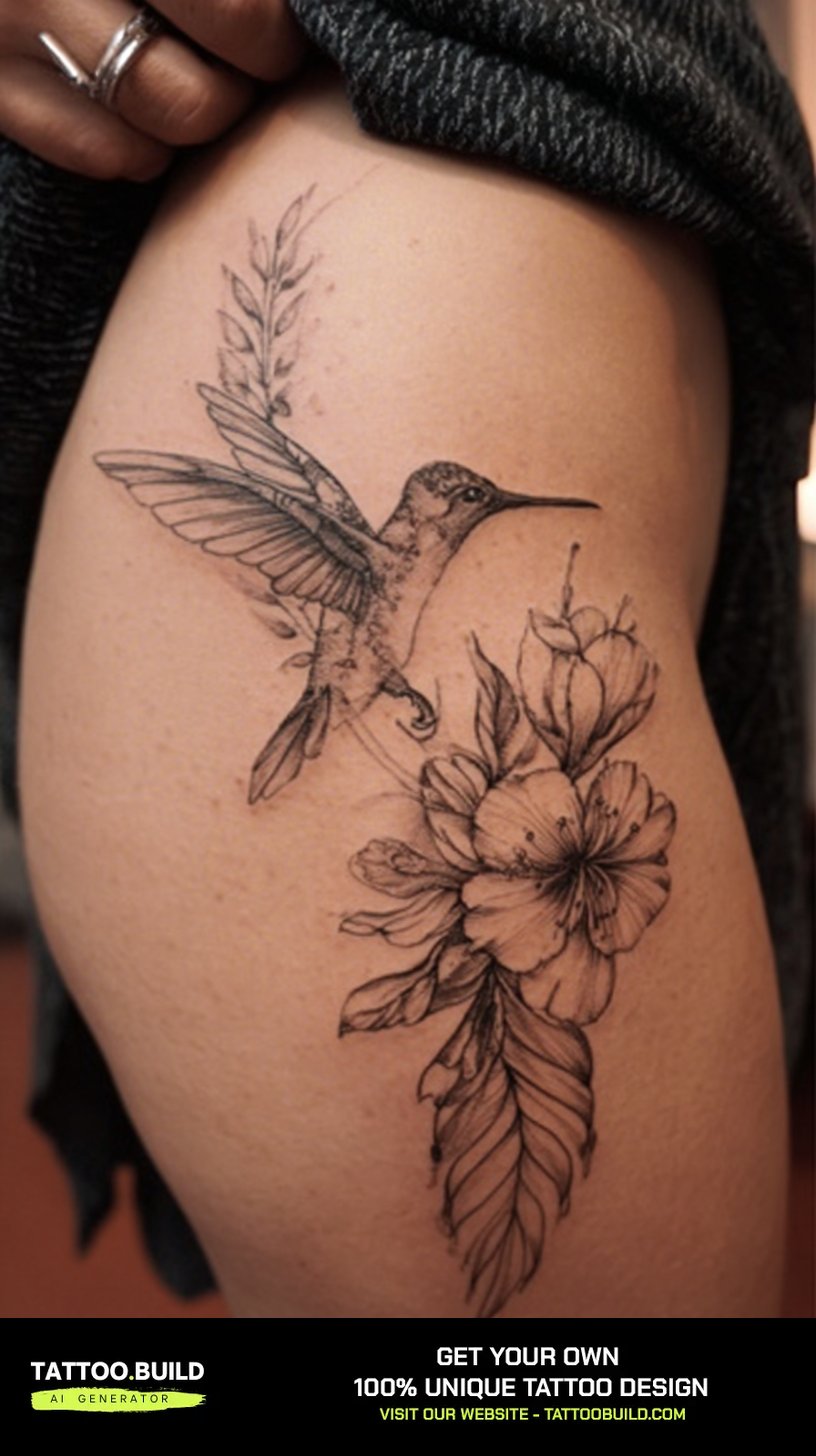
Tigers, elephants, dragons and serpents all appear constantly on hips, and almost always with botanicals around them. That framing is not decoration — it is structural.
An animal on its own tends to float, because there is no visual anchor telling your eye where the design begins and ends. Florals give it a border without needing a hard outline.
Serpents deserve a specific mention. A snake’s natural S-curve mirrors the curve of the hip better than almost any other subject, which is why so many of the snake tattoo designs I admire end up at this placement.
If you go this route, ask for the animal to be drawn to your body specifically. A tiger head traced from a reference photo and dropped onto a curved surface will look flat, and you will notice it every time you see yourself in a mirror.
Dragons and serpents work slightly differently from the big cats. Their bodies become compositional lines, so they can wrap the hip bone rather than sit on one side of it.
3. Fine Line and Minimalist Hip Tattoos
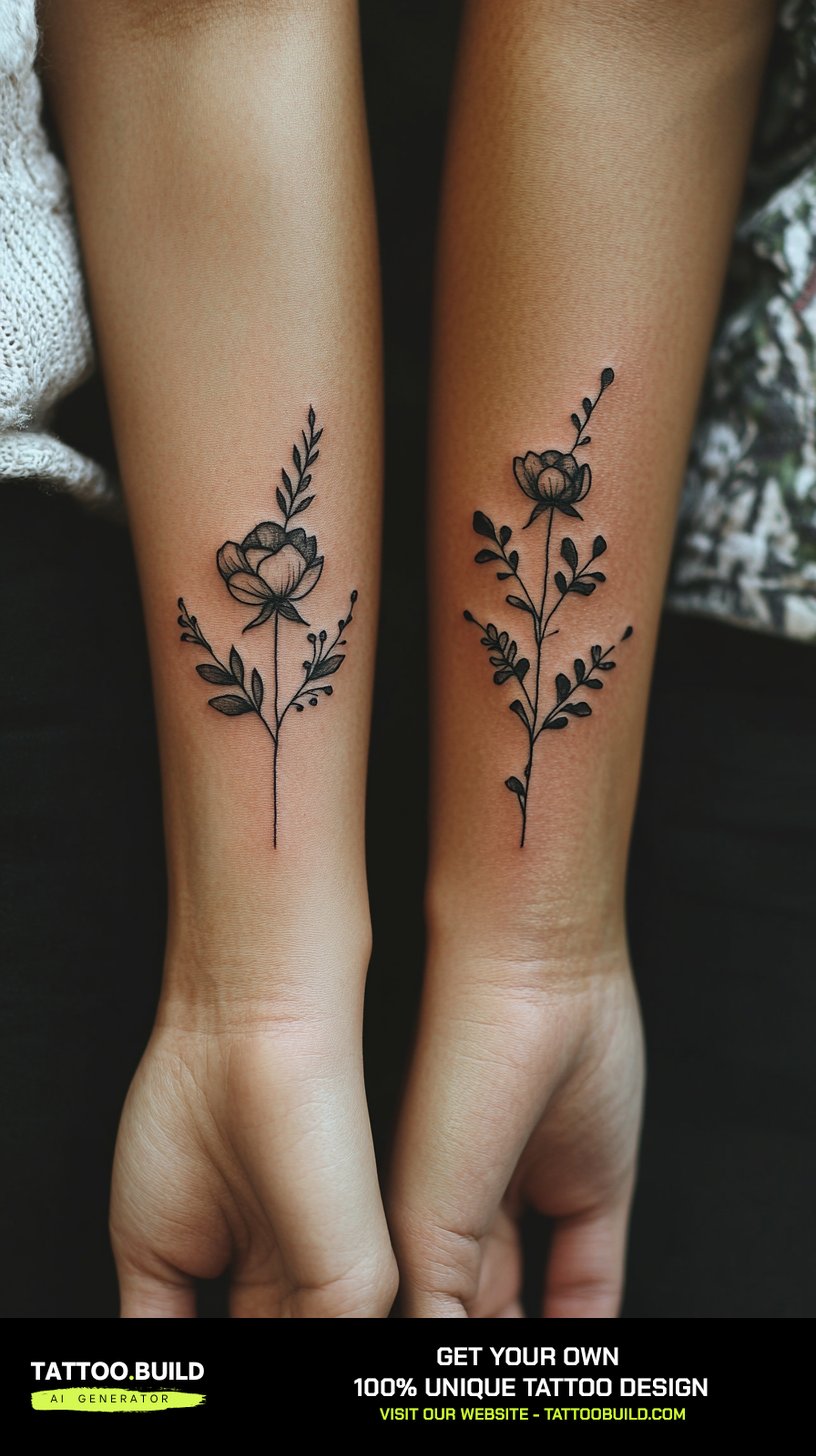
Fine line work is beautiful fresh and it is the style I am most cautious about recommending for the hip. That is not a criticism of the style — it is a statement about the location.
Very thin lines spread slightly as they settle into skin, and skin that stretches and moves accelerates that. A design with lines a millimetre apart can close those gaps over time.
The fix is spacing, not thicker lines. Give the design room to breathe and it will still read as delicate in fifteen years. The same principle applies across all the fine line tattoo ideas I recommend.
Budget for a touch-up. Most fine line hip pieces I have seen benefit from one somewhere between year three and year seven, and that is normal rather than a failure.
4. Peonies and Bold Blossoms
If I had to name one subject that consistently performs best on a hip, it would be the peony. The layered petal structure gives an artist natural places to put contrast.
That contrast is the whole game. A peony with deep blacks in the shadows between petals stays readable long after the mid-tones have softened.
Hibiscus, roses and magnolias behave similarly. If you want to see the range before committing, the peony tattoo collection is worth an hour of scrolling.
Where these go wrong is when they are shaded entirely in mid-grey with no true black anywhere. It looks soft and expensive on day one and washes out faster than anyone expects.
5. Botanical Linework and Wild Garden Compositions
A wild garden composition — mixed stems, seed heads, grasses, and asymmetric growth — is one of the most flattering things you can put on a hip.
It works because it has no obvious top or bottom. When a design has irregular edges, small distortions from body movement read as intentional rather than as mistakes.
These pieces usually cover more area than people expect. A convincing wild garden generally needs at least eight inches of length to look like a garden rather than three plants in a row.
In my experience this is the style that benefits most from a consultation with a real stencil applied to your body. Wild compositions are exactly the kind of design that needs adjusting once it is on skin.
6. Mandalas and Ornamental Patterns
Ornamental work on a hip is technically demanding for a reason that is easy to miss: symmetry only reads as symmetry on a flat plane.
The hip is curved in two directions at once. A perfect circle drawn on paper becomes an oval on the body, and a mandala with mathematically even spacing can look subtly off.
Good ornamental artists compensate by drawing the design distorted so it looks correct on the body. This is a specialist skill, and it is worth travelling for — the mandala tattoo designs that hold up are almost always from artists who do nothing else.
Dot-work mandalas carry an extra caveat. Individual dots placed too close together will merge, so the piece needs to be planned with the settled version in mind, not the fresh one.
7. Colour Work on the Hip
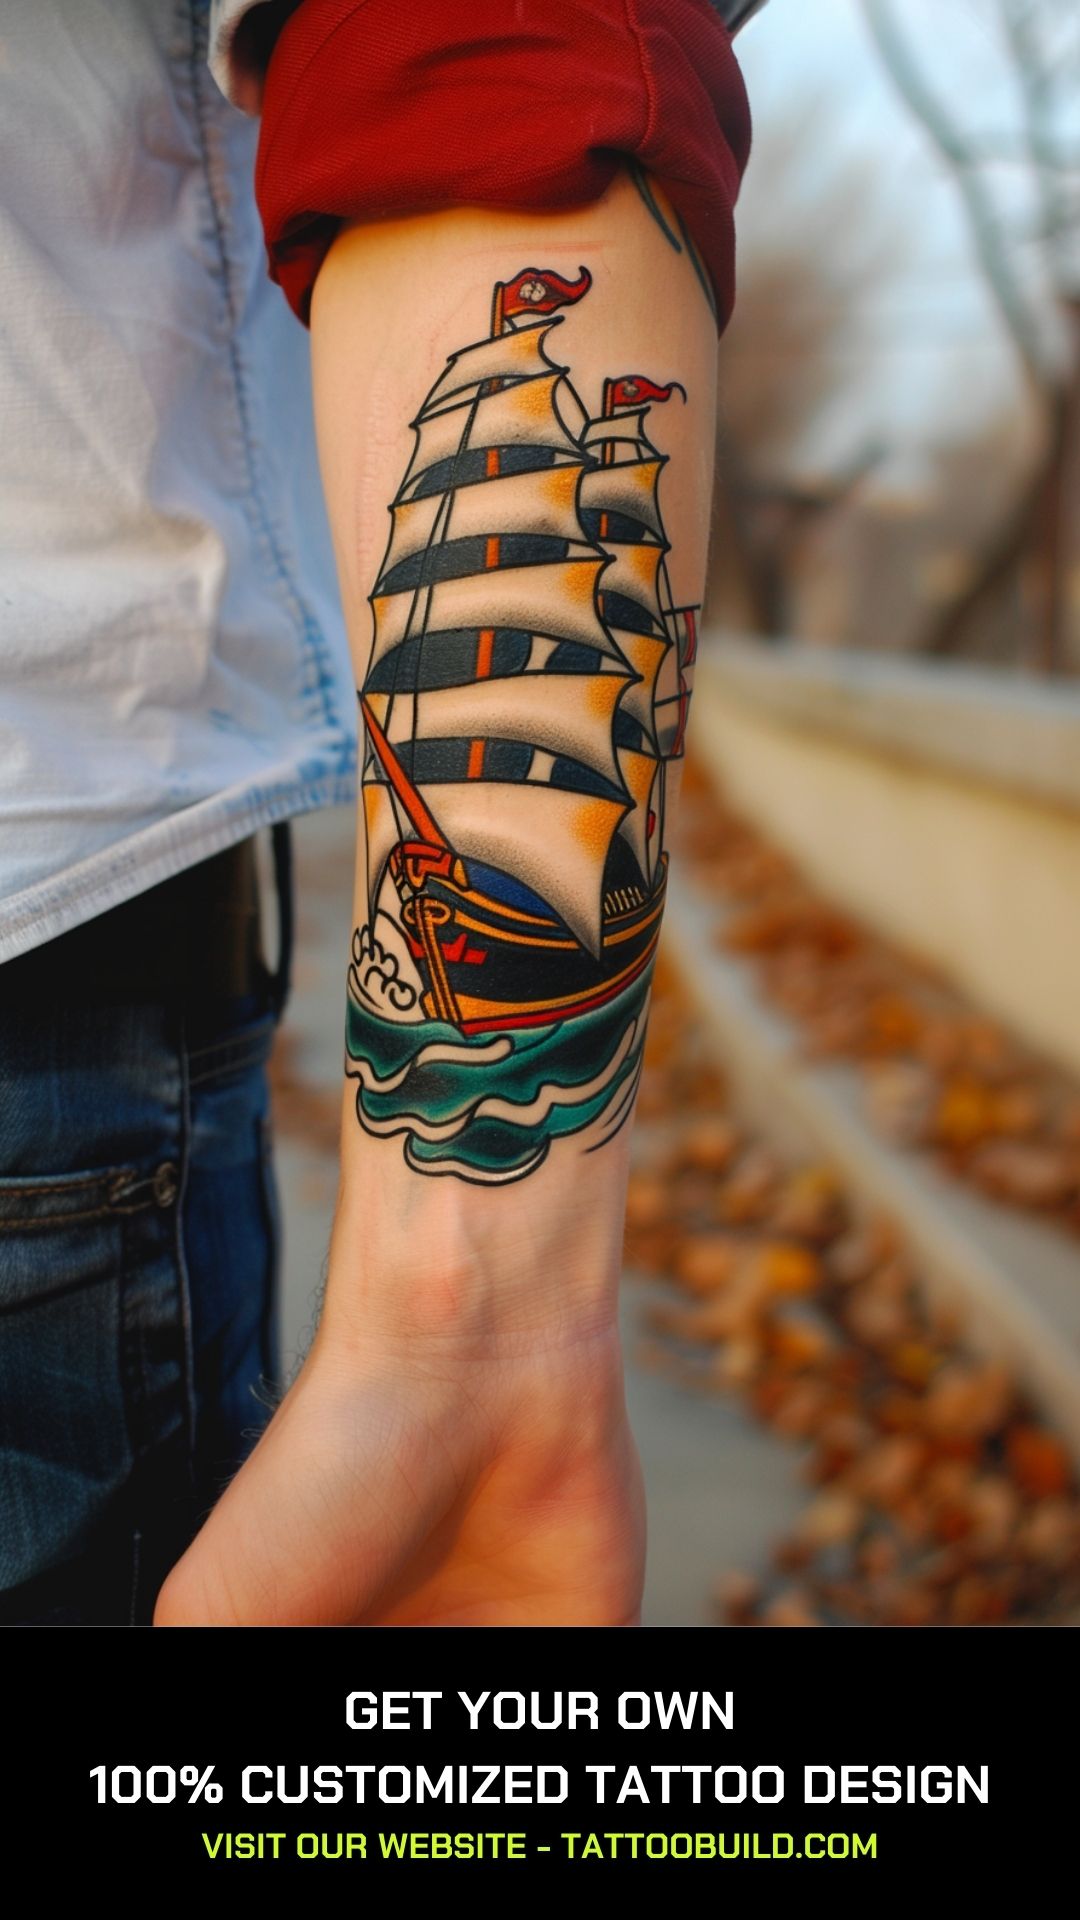
The hip is one of the best places on the body for colour, for one unglamorous reason: it almost never sees direct sun.
Ultraviolet exposure is the main driver of pigment fading, and a placement that is covered nearly every day of the year keeps its saturation far longer than a forearm.
That said, colour still needs contrast to hold its shape. Bright pigment with no dark linework or shadow behind it can go soft even without sun damage.
Two-tone palettes are an underrated middle ground. You get the lift of colour without the maintenance load of a full-spectrum piece.
8. Vines, Ferns and Trailing Designs
Trailing designs are the most versatile option on this list. A vine can start at the ribs, cross the hip, and end mid-thigh, and you can add to it for years.
They are also the easiest to expand later. Because there is no fixed border, a good artist can extend a vine in either direction without the join being visible.
Ferns in particular sit well on the hip. Their repeated frond structure gives a natural rhythm that follows a curve more comfortably than a single large bloom.
If you think you might eventually want a larger piece but are not ready to commit, a trailing design is how I would start.
Variations Worth Considering Before You Book
The design is only half the decision. Where exactly on the hip it sits changes the pain, the healing, and how often anyone else will see it.
Extending From Hip Into Thigh
The hip-to-thigh extension is the most common second stage I see. It turns a contained piece into something closer to a half-leg composition.
Plan for it early even if you are not doing it yet. Telling your artist that you may extend downward later changes how they finish the bottom edge, and it saves an awkward join. The same logic applies to floral back pieces that grow over time.
Side Hip Versus Front Hip
Side hip is the gentler option. There is more padding, the skin moves less against a waistband, and most people find the session easier to sit through.
Front hip, directly over the bone, is where the sharpest sensation is and where the most dramatic compositions live. It is a trade, not a wrong answer.
Building Around Work You Already Have
If you already have a thigh or rib piece, the hip is often the connector rather than the destination. Treating it that way tends to produce a more coherent result.
Bring photos of your existing work to the consultation, not just the new idea. An artist who can see the whole picture will design something that belongs to it.
Practical Advice for the Session and the Healing
Wear something loose. I mean genuinely loose — a skirt, a dress, or soft shorts you do not mind getting ink on, because the waistband question decides your first week.
Eat properly beforehand and bring something sugary. Hip sessions run long, and the front-of-hip bone work is exactly the kind of sensation that makes people light-headed on an empty stomach.
For the first two weeks, high-waisted anything is off the table. Friction on a healing tattoo pulls scabs early, and that is how you lose linework.
Sleep matters more here than most people expect. If you are a side sleeper and the tattoo is on your favourite side, expect a few uncomfortable nights.
Follow your artist’s specific aftercare instructions over anything you read online, including this page. If you see spreading redness, increasing pain after day three, or any discharge, contact a doctor rather than waiting it out — the American Academy of Dermatology has clear guidance on what normal healing looks like and what does not.
Never attempt to tattoo or remove a tattoo yourself. Both carry real infection and scarring risk, and removal in particular belongs with a qualified medical professional — the Mayo Clinic overview of tattoo risks is a sober read on why.
If you have a history of skin allergies or reactions to pigment, say so at the consultation. Reactions are uncommon but they are far easier to plan around than to treat, and the FDA’s consumer guidance on tattoo inks explains what is and is not regulated.
Still Not Sure? Common Mistakes to Avoid
Going too small is the first one. The hip is a large, curved surface, and a design sized for a wrist gets visually swallowed by it.
Approving a stencil lying down is the second. Always stand up, sit down, and look in a full-length mirror before the first line goes in.
Booking a hip piece as a first tattoo without knowing your own pain tolerance is the third. If that is your situation, it is worth reading through the most painful tattoo spots first so nothing surprises you.
Chasing detail that the placement cannot hold is the fourth. If you love intricate work but want it to stay crisp, a smaller, cleaner design in the spirit of these minimalist tattoo ideas will serve you better than a miniature portrait.
And the one I see most often: picking the design before picking the artist. Find someone whose healed work you admire, then build the design with them.
Frequently Asked Questions
How painful is a hip tattoo?
It depends almost entirely on which part of the hip. Directly over the hip bone, where the skin is thin and tight, most people describe it as sharp and hard to sit still through. The softer side of the hip and the wrap toward the lower back are noticeably more manageable. Pain is genuinely individual, so treat any pain chart as a rough guide rather than a prediction.
How long does a classy hip tattoo take?
A small fine line piece is often two to three hours. A detailed black and grey floral covering the hip usually runs four to six hours, and larger illustrative work spanning hip into thigh is commonly split across two or more sittings. Ask your artist for their estimate at consultation, since it varies with style and your own ability to sit.
Will a hip tattoo stretch if my weight changes?
The hip does change shape with significant weight change or pregnancy, and a tattoo there can distort somewhat. In practice most pieces settle rather than warp badly, and designs with irregular organic edges hide movement better than rigid geometric ones. If this is a concern, mention it during design so your artist can plan for it.
How do I sleep and dress while a hip tattoo heals?
Loose clothing for the first two weeks is the single most useful thing you can do, because waistbands sit exactly where the tattoo is. Sleeping on the untattooed side helps for the first several nights. Follow your artist’s aftercare instructions, and contact a doctor if you see spreading redness, worsening pain after day three, or any discharge.
Are hip tattoos easy to hide?
This is the main reason people choose the placement. Almost any clothing covers a hip tattoo completely, including most swimwear depending on where exactly the piece sits. If total coverage matters for your job, discuss the upper and lower boundaries with your artist before the stencil is finalised.
Quick Summary
- The hip is three different surfaces — bone, soft side, and the wrap to the lower back — and each one behaves differently.
- Bold traditional and high-contrast black and grey age best here; fine line is beautiful but expects a touch-up.
- Peonies and layered blossoms outperform most other floral subjects because their structure creates natural contrast.
- Animals on the hip need botanical framing so they do not float on the skin.
- Colour lasts unusually well at this placement because the area sees almost no direct sun.
- Always approve the stencil standing up, in a full-length mirror, before any line goes in.
- Wear loose clothing for the first two weeks — waistbands sit exactly where the tattoo is.
- Pick the artist first and build the design with them, rather than the other way around.