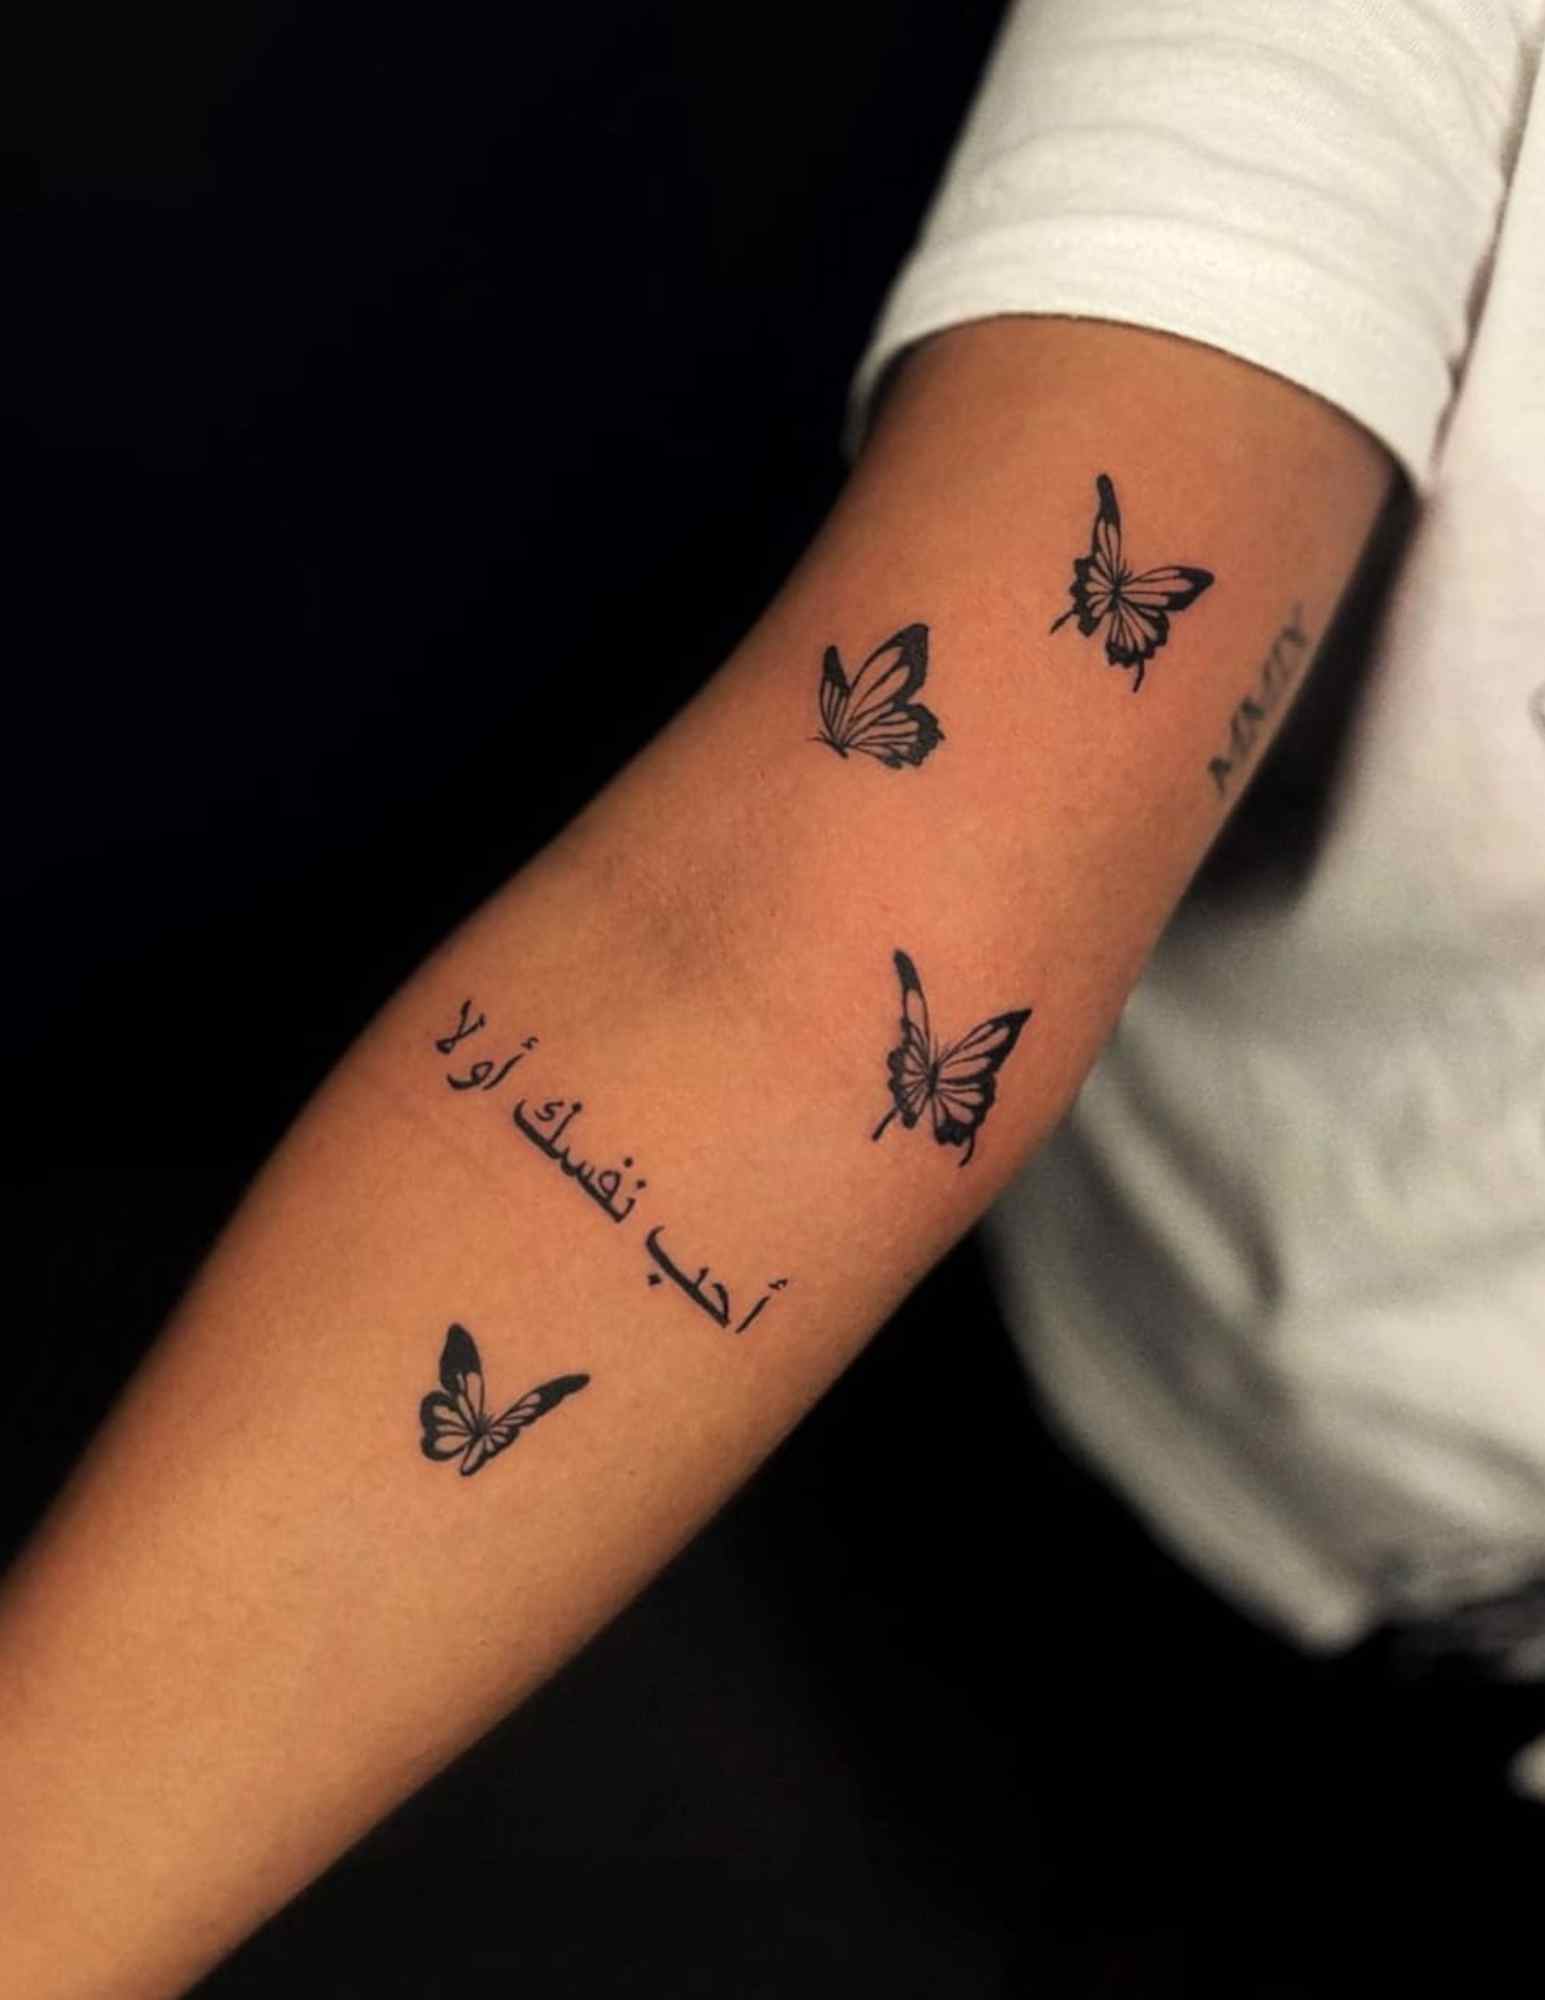
How you spend the week before a tattoo appointment matters almost as much as who is holding the machine. I have sat for pieces where I did everything right and pieces where I turned up dehydrated on four hours of sleep, and the difference is not subtle.
Well-prepared skin takes ink more evenly. A well-prepared client sits still longer, bleeds less, and gives the artist a cleaner surface to work on.
Poor preparation does not usually ruin a tattoo outright. It just makes everything harder: more breaks, more wiping, more trauma to the skin, and a heal that takes longer than it should.
This is the full timeline I follow now, from seven days out to the moment you sit down. If you are still choosing the piece itself, start with how to choose a tattoo design and come back here once the booking is made.
How Much Prep Does Your Session Actually Need?
Not every appointment demands the same level of preparation. A thirty-minute piece of fine line work and a seven-hour back session are different physical events.
This is roughly how I scale my own prep depending on what is booked.
| Session Type | Start Prepping | What Matters Most | Bring |
|---|---|---|---|
| Under 1 hour | The day before | Eat beforehand, skip alcohol, arrive clean | ID, payment, reference images |
| 2–3 hours | Two to three days out | Hydration, sleep, loose clothing over the placement | Snack, drink, headphones |
| Half day (4–5 hours) | A full week out | Hydration baseline, no sunburn, blood sugar plan | Real lunch, sugary drink, entertainment |
| Full day (6–8 hours) | A week out, plus the day after booked off | Sleep, food, pain strategy, break plan agreed in advance | Multiple meals, layers, phone charger |
| Cover-up or heavy black | A week out | Skin condition on the existing piece, realistic expectations | Photos of the original tattoo, patience |
Why Preparation Changes the Outcome
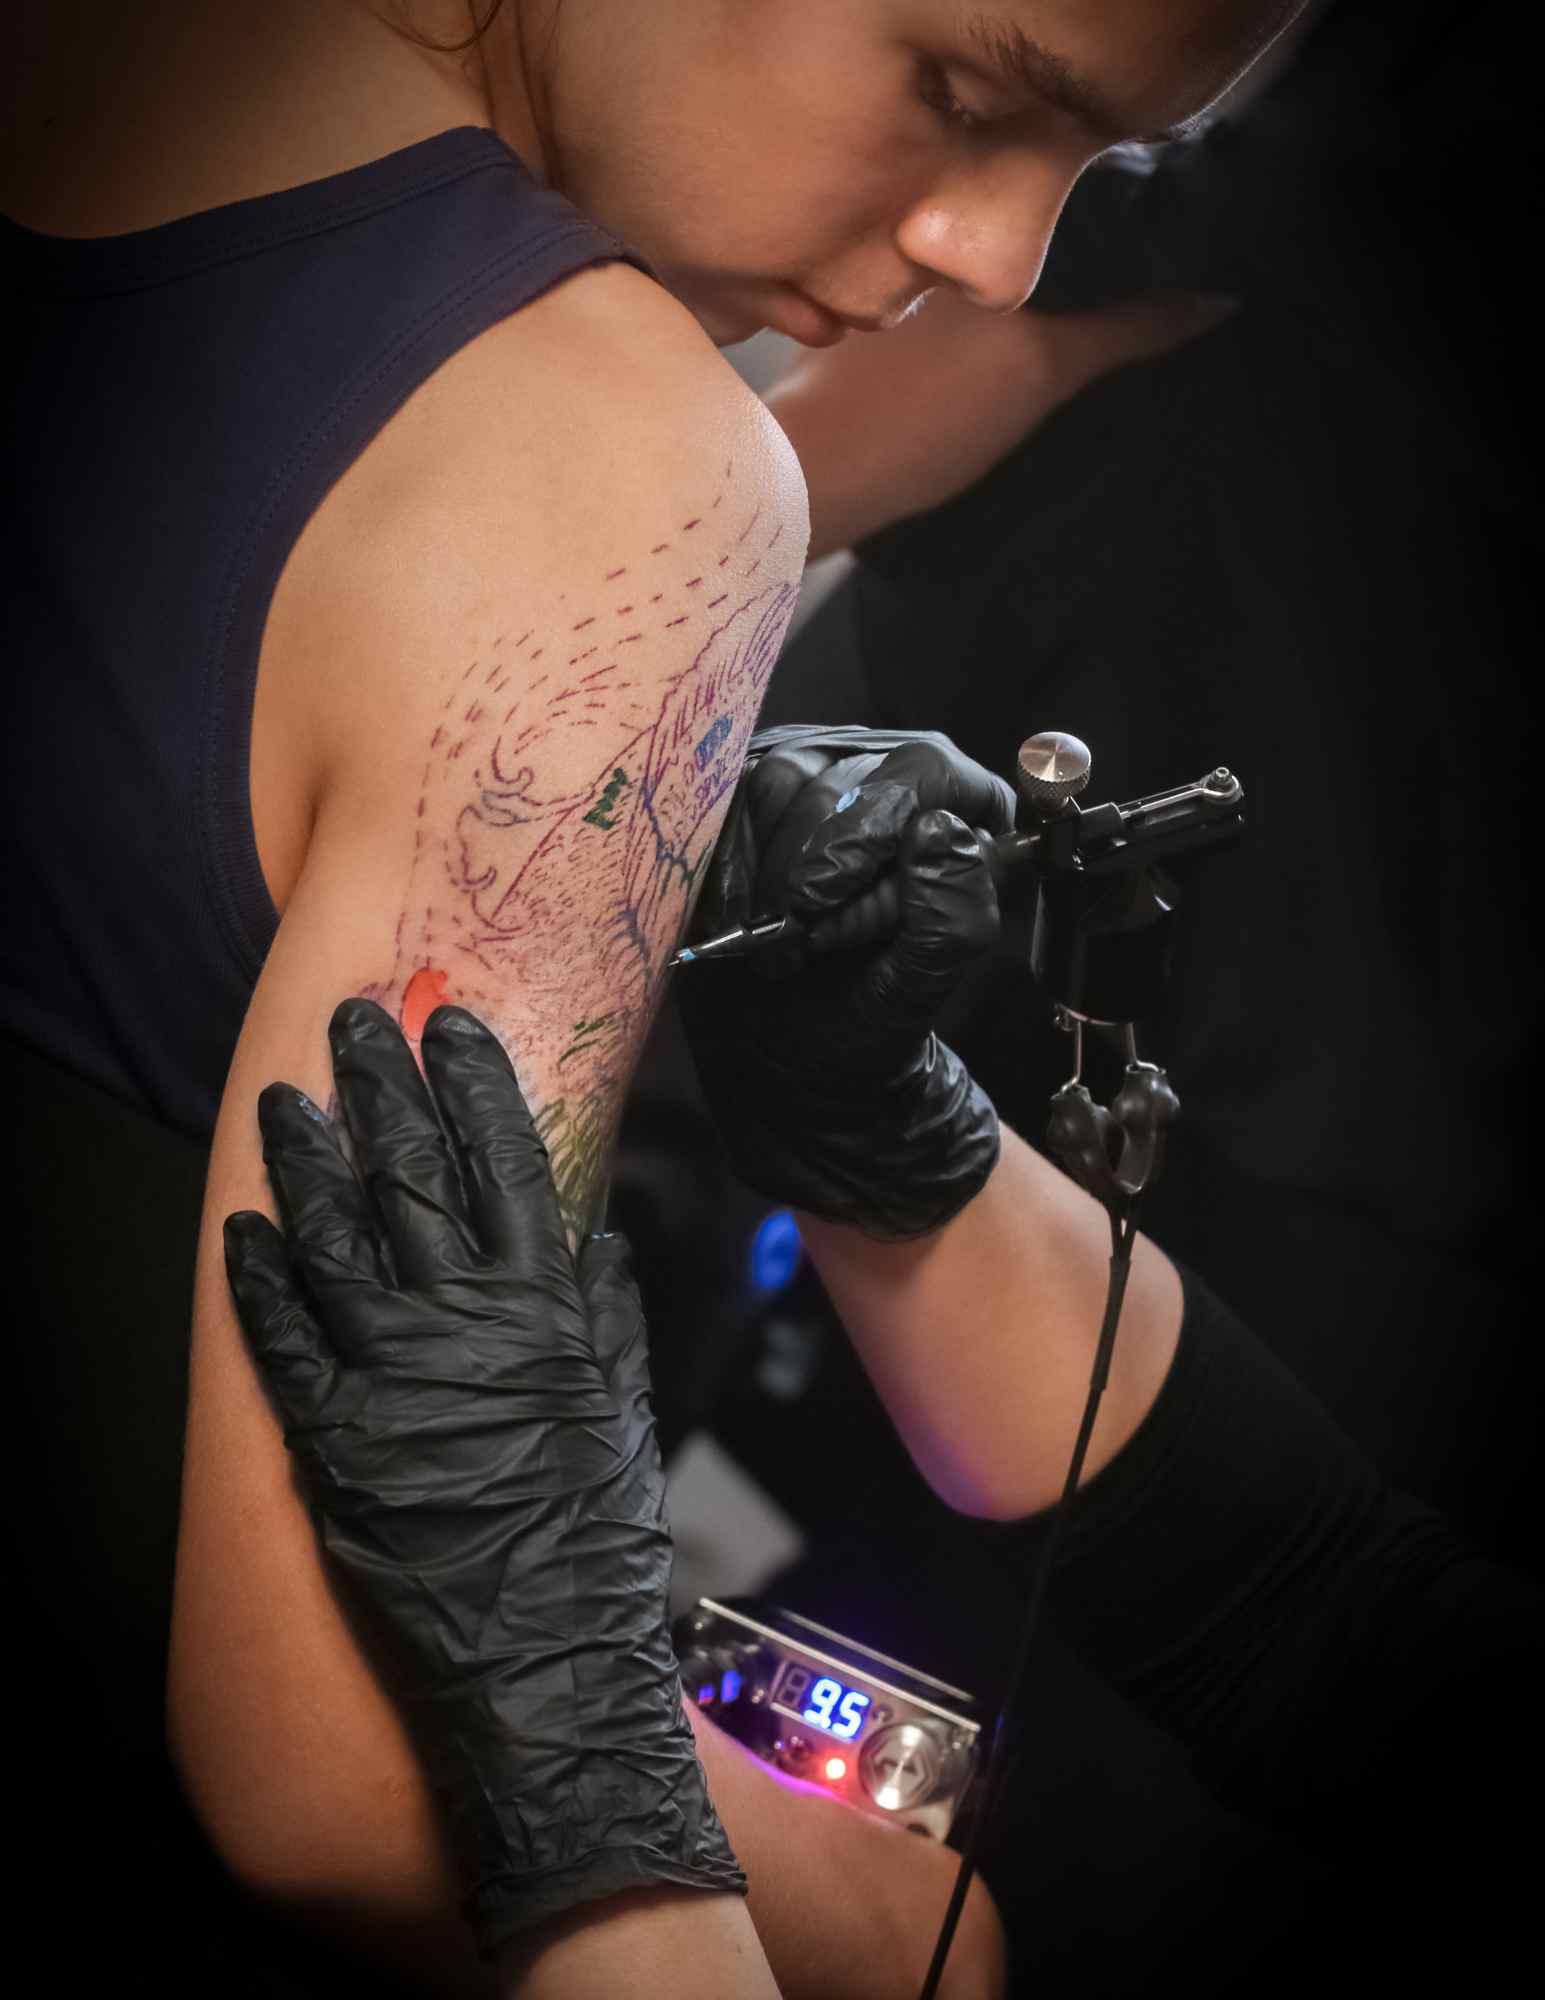
Tattooing is a controlled wound. The needle deposits pigment into the dermis, the layer beneath the surface, and everything about how that layer behaves affects the result.
Skin that is dry, sunburnt, inflamed or freshly waxed does not behave predictably. It bleeds differently, it swells differently, and it pushes ink back out during the heal.
Excess bleeding is the practical problem artists complain about most. When a client bleeds heavily, the artist spends the session wiping instead of working, and diluted plasma at the surface makes it genuinely harder to see the line being laid.
Almost everything on the “avoid” list is there because it thins the blood, irritates the skin, or drops your blood sugar. Once you understand that, the rules stop feeling arbitrary.
The other half of preparation is endurance. Sitting still while being tattooed is physically demanding in a way that surprises most first-timers, and fatigue, hunger and dehydration all shorten how long you can do it well.
Your Tattoo Prep Timeline, Step by Step
One Week Out: Build a Hydration Baseline
Hydration is not a day-of fix. Drinking a litre of water in the car park does very little for the state of your skin an hour later.
In my experience the difference shows up around day three or four of drinking properly. Skin that has been consistently hydrated for a week feels more pliable and takes solid black noticeably more evenly.
Start a week out, not the night before. Every artist I have asked says the same thing, and it is the one piece of advice clients most reliably ignore.
Cutting back on caffeine in the final couple of days helps too. Caffeine is mildly dehydrating and, more relevantly, it makes it harder to sit still through a long sitting.
Sun, Shaving and Skin You Should Not Touch
Keep the placement out of strong sun for the week beforehand. Sunburnt skin cannot be tattooed safely, and most artists will simply reschedule you if you turn up peeling.
A deep fresh tan is a milder version of the same problem. The skin is already irritated and the heal tends to be less predictable.
Do not wax, epilate or use depilatory cream on the area. All three inflame the follicles, and the irritation can last several days.
Let the artist shave it. They will do it with a fresh disposable razor right before starting, which is cleaner than anything you will manage at home the night before.
Medication, Alcohol and Anything That Thins the Blood
Aspirin and ibuprofen both thin the blood and will increase how much you bleed during the session. If you need something for a headache the day before, paracetamol is the usual alternative.
Never stop a prescribed medication to get tattooed. If you are on blood thinners, isotretinoin, immunosuppressants or anything that affects healing, speak to your doctor and tell your artist before the appointment rather than quietly skipping doses.
Alcohol is the big one. Skip it for at least 24 hours beforehand, and 48 if you can manage it, because it thins the blood and dulls your judgement about a permanent decision.
Reputable studios turn away visibly intoxicated clients, and they are right to. The FDA’s guidance on tattoo safety is worth reading if you want the regulatory picture on inks and infection risk.
Two Days Out: Moisturise, But Stop in Time
Use an unscented, non-medicated lotion on the placement for the two days before your appointment. Supple skin is easier to stretch and easier to work on.
The timing detail people get wrong is the stopping point. Do not moisturise on the morning of the appointment.
Lotion residue interferes with the stencil. A stencil that will not adhere properly, or that lifts halfway through outlining, is a genuine problem mid-session.
This is also the point to confirm the appointment, check the deposit situation, and ask the studio anything you have been meaning to ask. Sorting tipping and payment expectations in advance saves an awkward moment at the end.
The Night Before: Sleep and Clothing
Sleep is the most underrated variable in pain tolerance. When I have gone into a long session tired, the same placement that was manageable last time became something I wanted to stop after two hours.
Fatigue lowers your threshold and shortens your patience. For a full-day sitting, treat an early night as part of the preparation rather than a nice extra.
Lay your clothes out before bed. You want easy access to the placement without stripping down awkwardly, and nothing that presses on the fresh tattoo afterwards.
Assume whatever you wear may get ink on it. Green soap, plasma and pigment all transfer, and the stains do not always come out.
The Morning Of: Eat, Shower, Apply Nothing
Eat a real meal roughly two to three hours before you sit down. Protein and slow carbohydrates, not just coffee and something sugary.
Low blood sugar is the most common reason clients feel faint in the chair, and it is entirely avoidable. Turning up hungry to a long session is asking for a wobble in hour two.
Shower and wash the placement properly. Clean skin is basic courtesy and it reduces the amount of surface debris the artist has to work through.
Apply nothing to the area after that shower — no lotion, no sunscreen, no oils, and no numbing cream unless your artist has specifically approved it, since some products change how the skin takes ink. If you are considering one, read up on how tattoo numbing creams actually work first and then ask the artist.
What to Pack in Your Bag
Photo ID if it is your first visit to that studio, plus your deposit receipt if you paid one. Most shops keep records and will ask.
Payment in whatever form the studio takes. Cash is still preferred in plenty of shops, so check when you confirm rather than discovering it at the counter.
Reference images, printed or on a phone with the brightness turned up. Screens at low brightness misrepresent contrast, which matters when the artist is matching tone.
For anything over three hours: food, a sugary drink, headphones and a charger. Something to occupy the part of your brain that is not being tattooed makes the middle hours far easier than four straight hours of conversation.
Prep That Changes With Placement and Session Type
Bony and High-Sensitivity Placements
Ribs, sternum, spine, feet, hands and the inner arm all sit close to bone or dense nerve supply, and they are consistently reported as harder to sit through.
For these, sleep and food matter more than usual. If you want a placement-by-placement view before booking, the tattoo pain chart and our guide to the most painful tattoo spots are both worth a look.
Your First Tattoo
First-timers should book something small and forgiving in placement. It teaches you how your own body responds before you commit to a six-hour sitting.
Tell the artist it is your first. They will pace the session differently and check in more often, which is genuinely useful the first time round.
Multi-Session and Cover-Up Work
For work spread across several sittings, the previous section needs to be fully settled before the next one. Turning up with a section still peeling usually means being sent home.
Cover-ups need honest expectations more than anything else. Bring clear photos of the existing piece to the consultation so the design conversation happens before the machine is switched on.
Staying Comfortable Once You Are in the Chair
Breathe steadily and focus on the exhale. Holding your breath through the painful passes is instinctive and it makes everything worse.
Do not clench the muscle being tattooed. Tense skin distorts under the machine and the artist has to fight it, which slows the whole session down.
Ask for a break before you need one. Every artist I have worked with would far rather stop for five minutes than have a client go grey and slide off the bed.
Speak up if something feels genuinely wrong rather than just painful — sudden nausea, ringing ears, or tunnel vision. And when it is done, follow the studio’s aftercare instructions over anything you read online, this article included. If you notice spreading redness, heat, swelling that worsens after a few days, or discharge, contact your artist and see a doctor rather than treating it yourself.
Common Mistakes People Make Before an Appointment
Drinking the night before is the classic. It feels like a good idea and it costs you a visibly bloodier session.
Skipping breakfast because of nerves is the second most common. Nerves suppress appetite exactly when you most need the blood sugar.
Bringing an audience is the third. One support person is fine; four friends in a small studio is distracting for the artist and uncomfortable for everyone else being tattooed that day.
Arriving without a settled design is the most expensive mistake. Booking time you then spend redesigning is time you have paid for — sort the concept out during the consultation, and if you have not booked yet, start with finding the right artist and a realistic sense of what a small tattoo costs.
Frequently Asked Questions
Should I eat before getting a tattoo?
Yes, and it is one of the most important things you can do. Eat a proper meal with protein and complex carbohydrates roughly two to three hours before your appointment. Low blood sugar is the usual cause of feeling faint or light-headed in the chair. For sessions longer than about three hours, bring a snack and a sugary drink as well.
How long before a tattoo should I stop drinking alcohol?
At least 24 hours, and 48 hours is better. Alcohol thins the blood, which means more bleeding during the session and more plasma at the surface for the artist to wipe away. Most reputable studios will refuse to tattoo someone who turns up visibly intoxicated. It also affects your judgement about something permanent, which is reason enough on its own.
Should I shave the area myself before my appointment?
Usually not. Your artist will shave the placement with a fresh disposable razor immediately before they start, which is cleaner and avoids razor irritation from the night before. Definitely do not wax or use hair removal cream in the days beforehand, as both inflame the follicles. If your artist has specifically asked you to shave, follow their instruction instead.
Can I take painkillers before getting tattooed?
Avoid aspirin and ibuprofen, because both thin the blood and increase bleeding. Paracetamol is the usual alternative if you need something. Never stop or change a prescribed medication in order to get tattooed — talk to your doctor first and tell your artist about anything that affects your bleeding or healing. Numbing creams should only be used if your artist approves them in advance.
Should I moisturise the area on the day of my tattoo?
No. Moisturise for the two days beforehand with an unscented lotion, then stop. On the day itself the skin should be clean and completely product-free, because lotion residue stops the stencil adhering properly. Shower, wash the placement, and apply nothing afterwards.
Quick Summary
- Start drinking more water a full week out, not the morning of.
- Keep the placement out of the sun, and do not wax, shave or epilate it.
- Skip alcohol for 24 to 48 hours, and avoid aspirin and ibuprofen — but never stop prescribed medication without your doctor.
- Moisturise for two days beforehand, then stop; arrive with clean, product-free skin.
- Sleep properly the night before and lay out loose, dark, expendable clothing.
- Eat a real meal two to three hours before, and pack a snack and sugary drink for longer sittings.
- Bring ID, deposit receipt, payment in the right form, reference images and headphones.
- Ask for breaks early, speak up if something feels wrong, and follow your artist’s aftercare over anything online.
Get the week right and the appointment mostly takes care of itself. For what comes next, our guides to tattoo healing stages and how much a tattoo actually hurts pick up where this one stops. General health guidance on tattoo risks is also available from the American Academy of Dermatology.