I have sat in the chair for a first tattoo, and I have gone along with more friends than I can count for theirs. The pattern never changes: the people who end up genuinely happy spent their energy choosing an artist, not choosing a picture.
Getting a tattoo for the first time involves more decisions than most people expect. None of them are complicated. But the gap between a considered choice and a careless one shows up permanently, in your skin, in daylight, for the rest of your life.
This guide walks the whole thing through in order — how to research, what a consultation is actually for, what the appointment feels like, and what the first month of healing really looks like.
If you are still at the “I want one but I do not know what” stage, browse a tattoo styles guide before you book anything. Narrowing the style narrows the artist shortlist far faster than narrowing the subject does.
Which Placement Suits a First Tattoo?
Placement decides three things at once: how much the session hurts, how well the tattoo ages, and how easily you can cover it at work.
The pain column below is my own rough scale from watching and sitting through a lot of sessions. Pain is deeply individual, so treat it as a ranking rather than a measurement.
| Placement | How it sits (my rough 1–10) | How well it ages | Good first tattoo? |
|---|---|---|---|
| Outer forearm | 3 | Very well with sunscreen | Yes — the default for a reason |
| Outer upper arm | 3 | Excellent, low sun exposure | Yes, and it hides easily |
| Outer thigh | 3 | Excellent, almost always covered | Yes, especially for larger pieces |
| Calf | 4 | Good, swells a little while healing | Yes |
| Inner forearm | 4 | Very good, softer skin | Yes |
| Shoulder blade | 5 | Excellent | Yes, though you cannot watch |
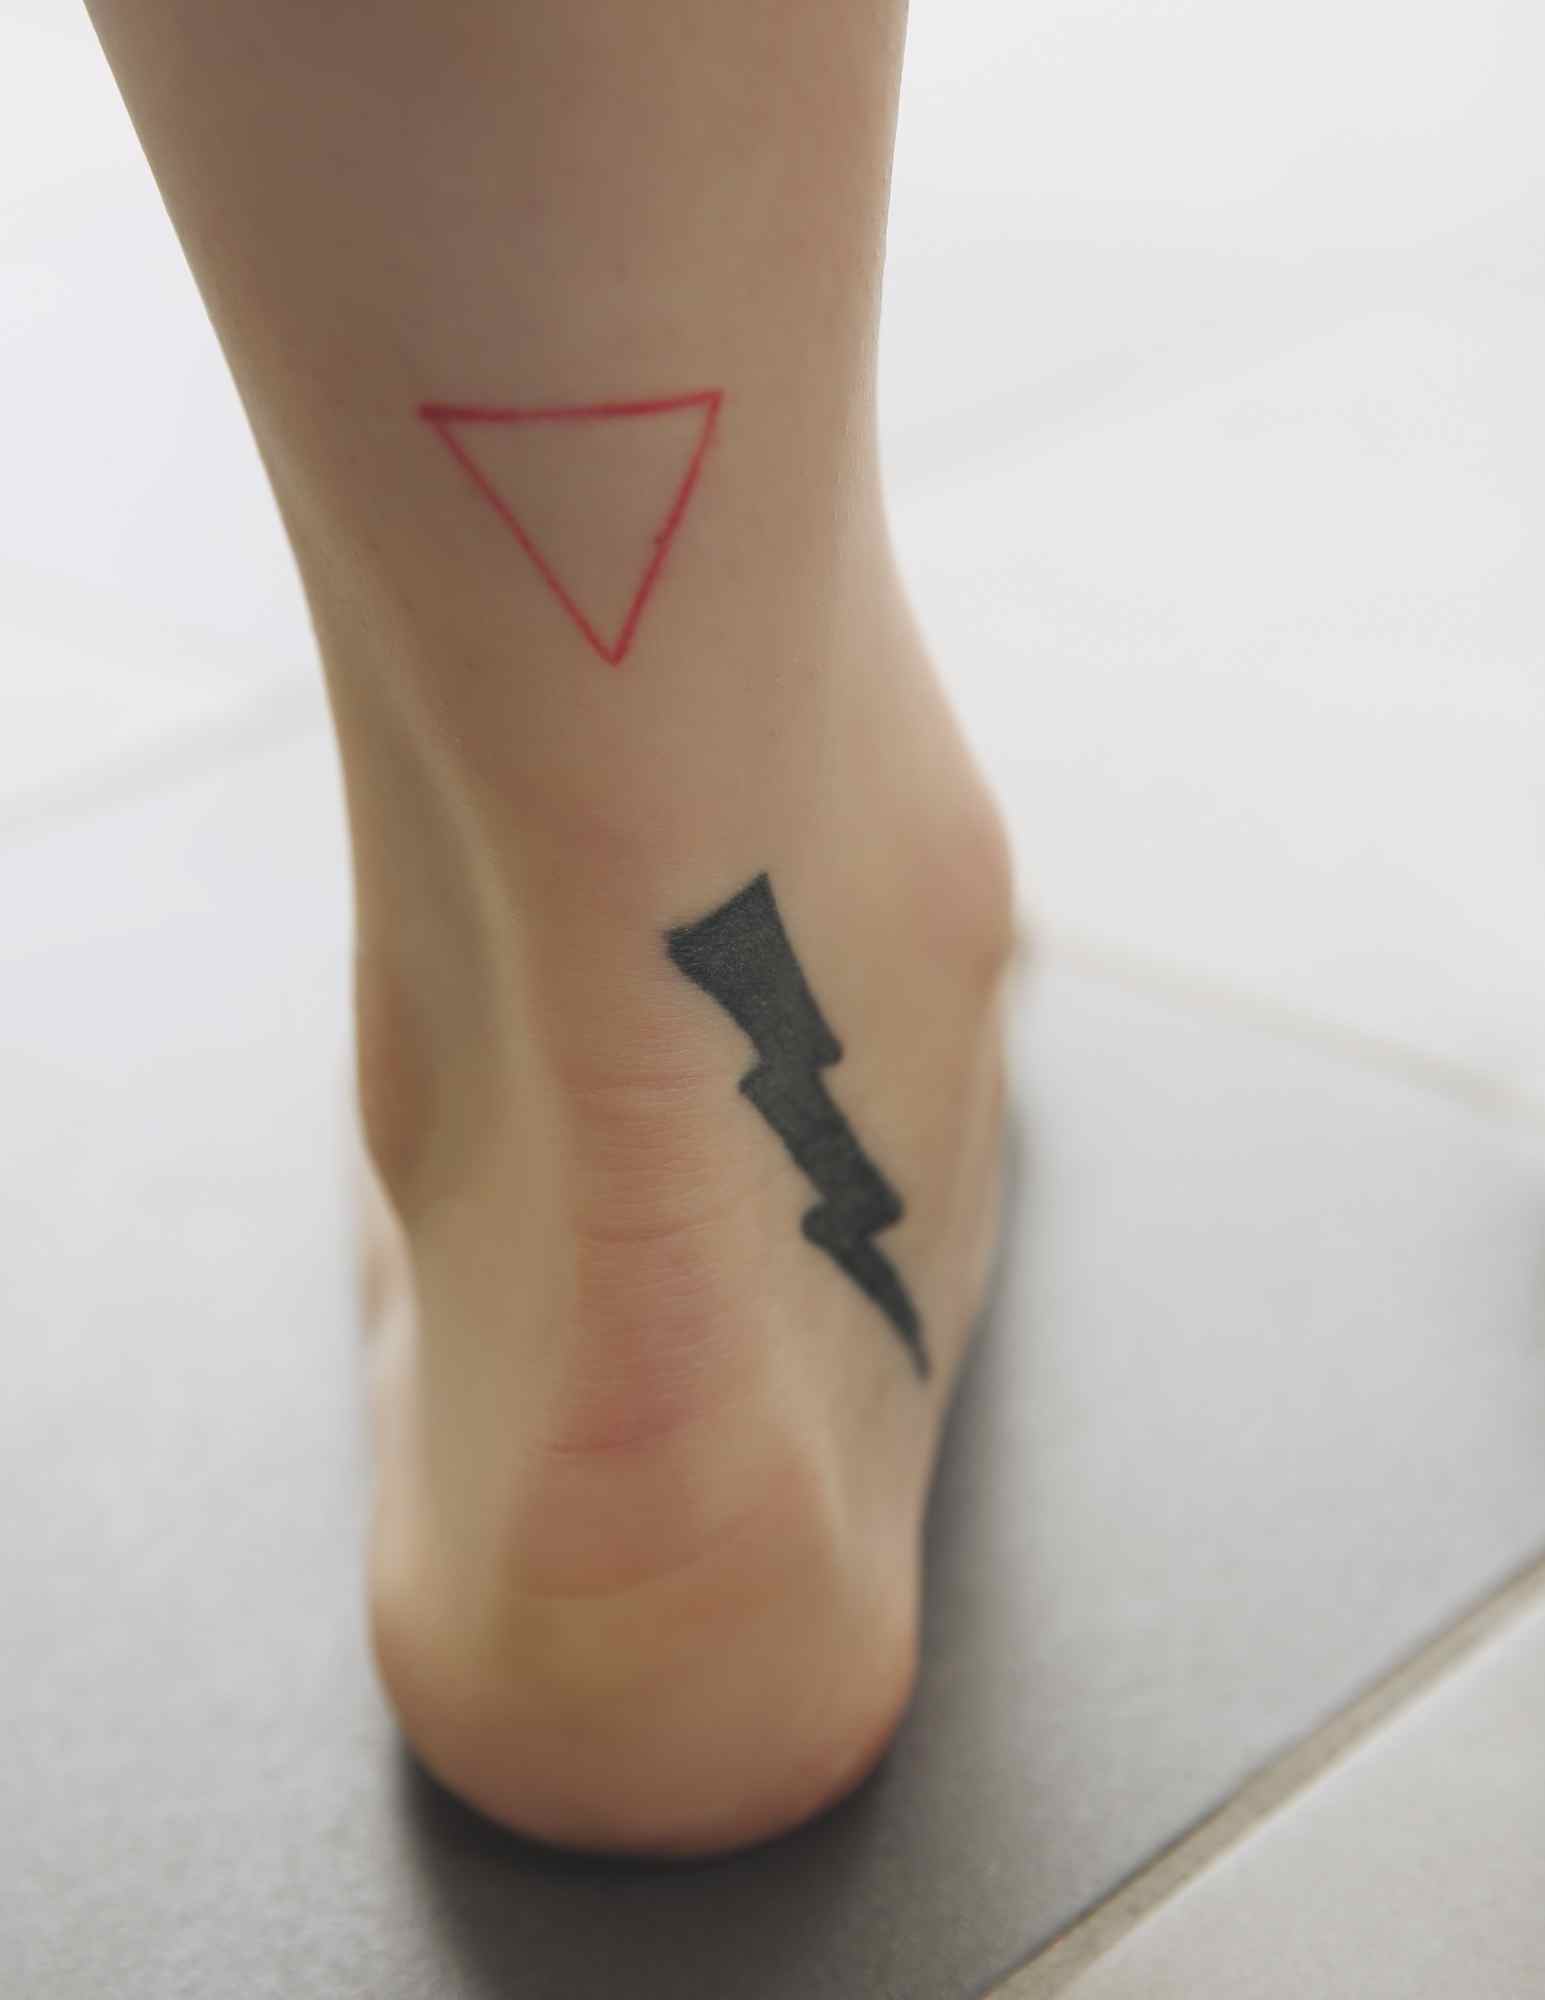
| Ankle / foot | 7 | Fades faster, friction from shoes | Only if you want it there specifically |
| Ribs | 8 | Very good once healed | Doable, but a hard introduction |
| Sternum / spine | 8 | Good | Not for a first sitting |
| Hands & fingers | 7 | Poorly — expect touch-ups | No |
The pattern is consistent: flat, fleshy, low-friction areas are kinder in every respect — easier to sit through, easier to heal, and slower to fade.
If you want a more detailed breakdown by body part, we have a dedicated guide to the most painful tattoo spots.
Why the Artist Matters More Than the Design
Most first-timers do this backwards. They arrive at a studio with a saved reference image and ask whoever has an opening to copy it.
That approach treats artists as interchangeable operators of the same machine. They are not. A fine line specialist asked to execute a bold traditional piece will produce something neither of you is proud of, and the reverse is just as true.
Every artist I have asked says the same thing: their best work comes from clients who brought a feeling and a rough direction, not a locked-down JPEG.
There is a second reason. A tattoo you did not love at first often grows on you if the craft is good, and a tattoo you loved on paper will still bother you if the linework is shaky. Execution outlives concept.
So spend the research time on people, not pictures. Our walkthrough on how to find a tattoo artist covers what to look for in a portfolio and which warning signs actually matter.
The First Tattoo Process, Step by Step
1. Research artists, not designs
Instagram is still the most efficient research tool available, because almost every working artist posts recent work there. Search your city plus the style you want.
Look specifically for healed photos, not just fresh ones. Fresh tattoos photograph beautifully; healed ones tell you whether the lines hold and the shading settles evenly.
When I am assessing a portfolio I look for consistency across many pieces rather than one standout image. Anyone can produce one good tattoo. A strong artist produces forty in a row at the same level.
Shortlist three or four people. Message them all. Waiting lists mean the person whose work you love most may be booked out for months, and that wait is almost always worth it for a piece you keep forever.
2. Book the consultation and actually use it
A good artist will offer a consultation before the session, either in person or over messages. It is not just a handover of your reference image.
It is where you find out whether they will push back on ideas that will not work at the scale or placement you have chosen, and where they suggest the adjustments that make the finished piece better.
If an artist agrees with absolutely everything you propose and offers no input of their own, that is not reassurance — it is a warning sign.
Bring the practical details too: rough size in centimetres or inches, exact placement, whether you want colour, and any deadline you are working towards. Those answers change the quote more than the subject does.
3. Understand the money before you sit down
Most studios charge either an hourly rate or a flat piece price, and nearly all have a shop minimum that covers setup, needles, ink and the single-use supplies that get thrown away after you.
Small pieces very often land at that minimum regardless of how quick they are, which surprises people. You are paying for a sterile setup as much as for drawing time.
Expect to leave a deposit at booking, usually deducted from the final price. It is normally non-refundable if you cancel late, which is fair — that slot cannot be resold at short notice. Our breakdown of how much a small tattoo costs goes into the variables in more detail.
Budget for a tip on top. In North America it is customary and genuinely appreciated; if you are unsure what is normal, read our short guide on how to tip a tattoo artist.
4. Choose placement with the next twenty years in mind
First tattoo ideas tend to land on the wrist, the forearm, or behind the ear. Those are sensible choices: easy to conceal, straightforward to execute, quick to heal.
What is worth knowing is that some placements fade noticeably faster. Hands and fingers live in constant friction and sunlight. Feet and ankles get movement, sweat and shoe rub.
Ribs, sternum and inner biceps are consistently reported as among the more uncomfortable places to sit, because the skin is thin and close to bone.
There is no wrong placement for a first tattoo — only informed ones. If you want your ribs done, get your ribs done, just go in knowing what the second hour feels like.
5. Prepare properly in the 24 hours before
Eat a real meal before your appointment. Low blood sugar makes discomfort far harder to manage and is the single most common reason people feel faint mid-session.
Stay hydrated across the whole day, not just the morning of. Well-hydrated skin takes ink more smoothly and tends to bleed less.
Skip alcohol for at least 24 hours beforehand. It thins the blood, makes the session messier for your artist, and most reputable studios will turn you away if you arrive impaired.
Sleep. And wear clothing that gives easy access to the area — arriving in a turtleneck for a collarbone piece creates an entirely avoidable problem.
Bring snacks and a drink for anything over two hours. A sugary snack partway through does more for your tolerance than any breathing technique I have tried.
6. Approve the stencil like it is permanent, because it nearly is
The artist will clean and shave the area, then apply a stencil of the design for your approval before starting.
Check it properly at this stage. Look in the mirror. Turn. Raise and lower your arm. See how it sits against the natural lines of your body rather than flat on a screen.
This is the last cheap moment in the whole process. Once the first line goes in, repositioning becomes genuinely complicated.
Asking for a stencil to be moved two centimetres is normal and expected. Every artist I have asked would far rather reposition three times than tattoo something you will resent.
7. What the session itself is like
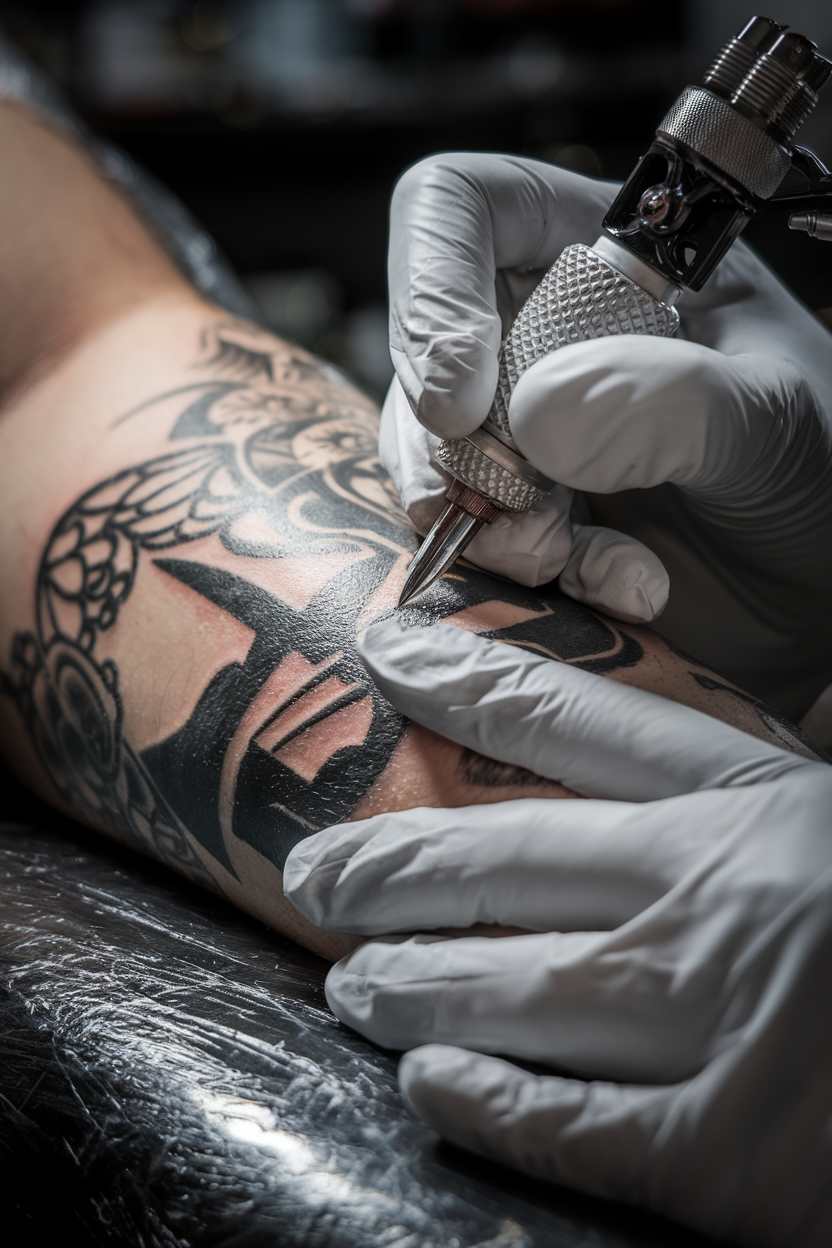
You will hear the machine and feel the needle within a few seconds. It is less a single sharp pain and more a sustained scratching burn.
Outlining generally feels sharper than shading, because a single-needle pass is more acute than the softer pressure of filling. Colour packing sits somewhere in between.
Most people find the first twenty minutes hardest, as the novelty wears off and reality arrives. After that something closer to adaptation takes over and the time moves faster.
Take the breaks your artist offers. Sitting still for three hours is its own kind of fatigue, separate from the needle.
How Much It Actually Hurts
Tattoos hurt. Anyone telling a first-timer otherwise is being kind rather than accurate.
The degree varies dramatically with placement, your own threshold, how much sleep you had, and the style of work. Bony areas with thin skin — ribs, spine, knees, ankles, elbows — are consistently harder than fleshy ones.
The inner arm, outer thigh and outer upper arm tend to be the most manageable spots, which is part of why so many first tattoos live there.
Something nobody warns you about: the discomfort is not constant. It spikes when the needle crosses a bony ridge or an area that has already been worked, and eases across open flesh.
If you are anxious about the sitting itself, our tattoo pain management tips cover the practical things that help, from breathing to session length.
Styles That Suit a First Tattoo
You do not have to pick a style label before you book, but knowing the vocabulary makes conversations with artists far more productive.
Fine line
Delicate single-needle work, usually black, often botanical or figurative. It looks effortless and is anything but — it needs a specialist.
Worth knowing: very fine lines can soften over the years, particularly at small scale. Ask your artist how their fine line work looks at five years.
American traditional
Bold outlines, limited colour palette, simple shapes. It is the most reliably ageing style there is, because heavy lines stay readable as skin changes.
If you want a tattoo that looks intentional in thirty years with minimal maintenance, this is the safest bet on the board.
Blackwork and dotwork
Solid black shapes or stippled shading. High contrast, ages well, and reads clearly from a distance.
Larger blackwork means longer sessions, so it is often a second or third tattoo rather than a first.
Black and grey illustrative
Smooth graduated shading without colour — florals, animals, portraits. It sits comfortably between delicate and bold.
This is what I most often suggest for a first medium-sized piece, because it holds up well and suits most placements.
Script and lettering
Deceptively difficult. Spacing, weight and letterform all have to be right, and a badly spaced word is unfixable in a way a wobbly leaf is not.
Get any lettering proofread by a second pair of eyes before the stencil goes on. Twice, if it is in a language you do not speak.
Aftercare: The First Four Weeks
Your artist will wrap the tattoo and give you specific instructions. Follow theirs, not generic advice from a forum or a friend who got tattooed six years ago.
Aftercare practice has changed considerably, particularly around adhesive healing films, and what your artist recommends reflects the style of work they just did on you.
The fundamentals are simple: keep it clean, keep it lightly moisturised, keep it out of direct sun, and do not submerge it for at least two weeks. Almost everything else is variation on those four points.
Wash gently with clean hands and unscented soap, pat dry, and use a thin layer of whatever your artist recommends — thick layers suffocate the skin. The American Academy of Dermatology publishes solid general guidance on caring for tattooed skin.
Peeling and flaking around days four to ten is normal. Picking at it is how ink gets pulled out and patchy healing happens.
For a week-by-week picture of what is normal and what is not, see our guide to the tattoo healing stages and our full tattoo aftercare breakdown.
When to stop reading articles and call someone
Contact your artist and a medical professional if pain increases after day three, if redness spreads outward, if the area is hot and swollen, if there is pus, or if you develop a fever.
Allergic reactions to pigment are uncommon but real, and red inks are the most frequently implicated. The Mayo Clinic has a clear overview of tattoo risks worth reading before your first appointment.
None of this is medical advice, and a photo on the internet is no substitute for someone looking at your arm. If something feels wrong, get it seen.
Common First Tattoo Mistakes
Booking on price alone. The cheapest quote in town is cheap for a reason, and correcting bad work costs several times what good work would have.
Choosing the design before the artist, which locks you into asking someone to work outside their strengths.
Going too small with too much detail. Ink spreads slightly over the years, so a design with fifteen elements crammed into three centimetres will blur into a smudge.
Judging the tattoo the next day. It will look duller, slightly blurry and irritated, and that is simply what a settling tattoo looks like.
Skipping sunscreen for the rest of its life. Sun is the single biggest cause of faded tattoos, and it is the easiest one to control.
Still not sure what to get?
Browsing collections of what other people chose is a legitimate research method, not a cop-out. Start with our roundups of first tattoo ideas for women and first tattoo ideas for men.
Save twenty images you like, then look for what they have in common. Nine times out of ten a clear preference emerges — weight of line, amount of black, level of realism — even when the subjects are completely different.
Take that pattern to your consultation. “I like heavy black and simple shapes” is far more useful to an artist than a single reference photo.
Frequently Asked Questions
How long does a first tattoo usually take?
Most first tattoos are small enough to finish in one sitting of about one to three hours, including setup, stencil placement and wrapping. A palm-sized piece of fine line work is often under two hours; something heavily shaded or in colour takes longer. Your artist can give you a realistic estimate once they have seen the design at the size you want. In my experience the appointment always runs longer than the tattooing itself, so do not schedule anything tight afterwards.
Can I bring someone with me?
Most studios allow one person, though some restrict it during busy hours or for hygiene reasons. Ask when you book rather than turning up with a friend and hoping. A calm companion genuinely helps for a first session — someone who talks to you and does not comment on every needle pass. If the studio says no, that is a normal policy and not a red flag.
Should I use numbing cream?
Some artists are fine with it and some refuse it, because certain products change how the skin takes ink and can make the surface rubbery to work on. Always ask your artist before you buy anything, and follow their guidance over the packaging. Numbing products also wear off partway through, which can make the second half feel worse by contrast. If pain is your main worry, choosing a forgiving placement and a shorter session usually helps more.
What if I hate it once it heals?
Give it a full four to six weeks before you judge it, because a settling tattoo genuinely looks worse than a healed one. If you still dislike it after that, talk to the original artist first — a lot of pieces can be improved with a touch-up, reworked, or built into something larger. Cover-ups and laser removal are both real options, though removal is a slow, expensive medical process rather than an undo button. A good artist will tell you honestly which of those routes your tattoo actually suits.
Is it normal for a new tattoo to be red, warm and swollen?
Mild redness, warmth and swelling in the first two or three days is the normal response to thousands of small punctures. What is not normal is pain that increases after day three, spreading redness, a hot swollen area, pus, or a fever. Those can indicate an infection, and they need a doctor rather than a forum thread — contact your artist and a medical professional the same day. Nothing in this article is medical advice, and an in-person assessment beats any checklist.
Quick Summary
- Pick the artist first. Find someone whose healed portfolio you already love, then let the design follow their strengths.
- Match the style to the specialist. Fine line, traditional, blackwork and realism are different crafts, not settings on one machine.
- Use the consultation. An artist who pushes back on a bad idea is doing their job.
- Choose placement with ageing in mind. Forearm, upper arm and thigh are the safest first-tattoo real estate; hands and feet are the least forgiving.
- Eat a real meal, sleep, hydrate, and skip alcohol for 24 hours before the appointment.
- Check the stencil in the mirror from several angles before anyone starts. Repositioning after that is far harder.
- Follow your artist’s aftercare instructions specifically, not generic advice from six years ago.
- Wait four to six weeks before deciding how you feel about it.