A sleeve is not one tattoo. It is a long-term design project that happens to live on your arm, and the pieces that look effortless are almost always the ones that were planned as a whole from the start.
I have watched a lot of arms come together over the years, and the pattern is consistent. The sleeves that age beautifully were mapped before the first needle touched skin.
The ones that look cluttered usually started as three good tattoos that had no plan for what came next. That is the single biggest difference, and it has very little to do with budget.
This guide walks through the styles that actually work at sleeve scale, how to plan the flow of your arm, what the process realistically costs in time, and how to keep the finished piece sharp. If you are still deciding on coverage, the full sleeve tattoo ideas for women guide is a useful companion read.
Which Sleeve Style Is Right for You?
Style choice drives everything downstream: session count, healing, touch-up frequency and how the arm looks in ten years.
Here is how the main sleeve styles compare on the factors that matter in practice.
| Style | Typical Sessions | Ages Best When | Best For |
|---|---|---|---|
| Black & grey realism | 6–10 full days | Contrast is built in from the start | Portraits, animals, dramatic depth |
| Fine line | 4–8 shorter sessions | Elements are spaced generously | Delicate, understated arms |
| Traditional / neo-traditional | 5–8 full days | Outlines stay bold | Longevity and readability |
| Blackwork / ornamental | 4–8 full days | Negative space is preserved | Graphic, high-impact sleeves |
| Colour / watercolour | 7–12 full days | Structure sits under the colour | Vivid, illustrative arms |
| Floral / botanical | 5–9 full days | Flow follows the muscle | Wrapping coverage that suits any arm |
Session counts vary widely by artist speed, arm size and how much detail you commit to, so treat these as planning ranges rather than quotes.
What Actually Makes a Sleeve Work
Flow is the thing nobody mentions until it is missing. A sleeve should follow the shape of the arm, not fight it.
The bicep and outer forearm are broad and relatively flat, so they carry your main subjects. The inner arm and the ditch are softer and more awkward, so they carry filler, texture and transitions.
Value is the second pillar. Every sleeve needs light areas, mid tones and dark anchors or it flattens into grey mush from three feet away.
In my experience the arms that photograph well are the ones with deliberate empty skin left in them. Untattooed space is a design element, not wasted room.
Finally, unity. One style, one palette and a consistent line weight will do more for your arm than any single brilliant idea will.
Sleeve Tattoo Ideas for Women, Style by Style
These are the directions I see working most often at full-arm scale, with the practical trade-offs for each.
1. Floral and Botanical Sleeves
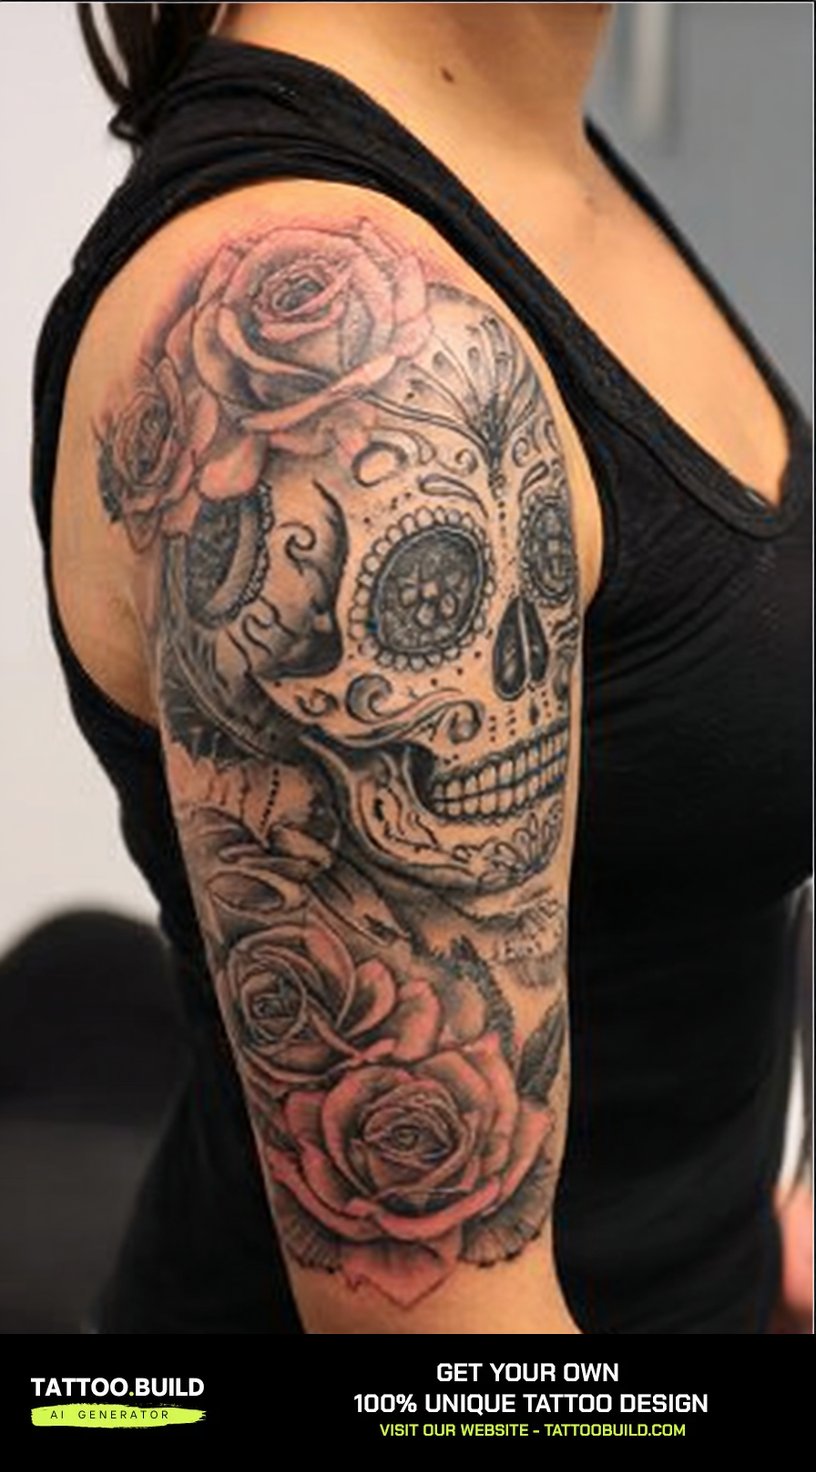
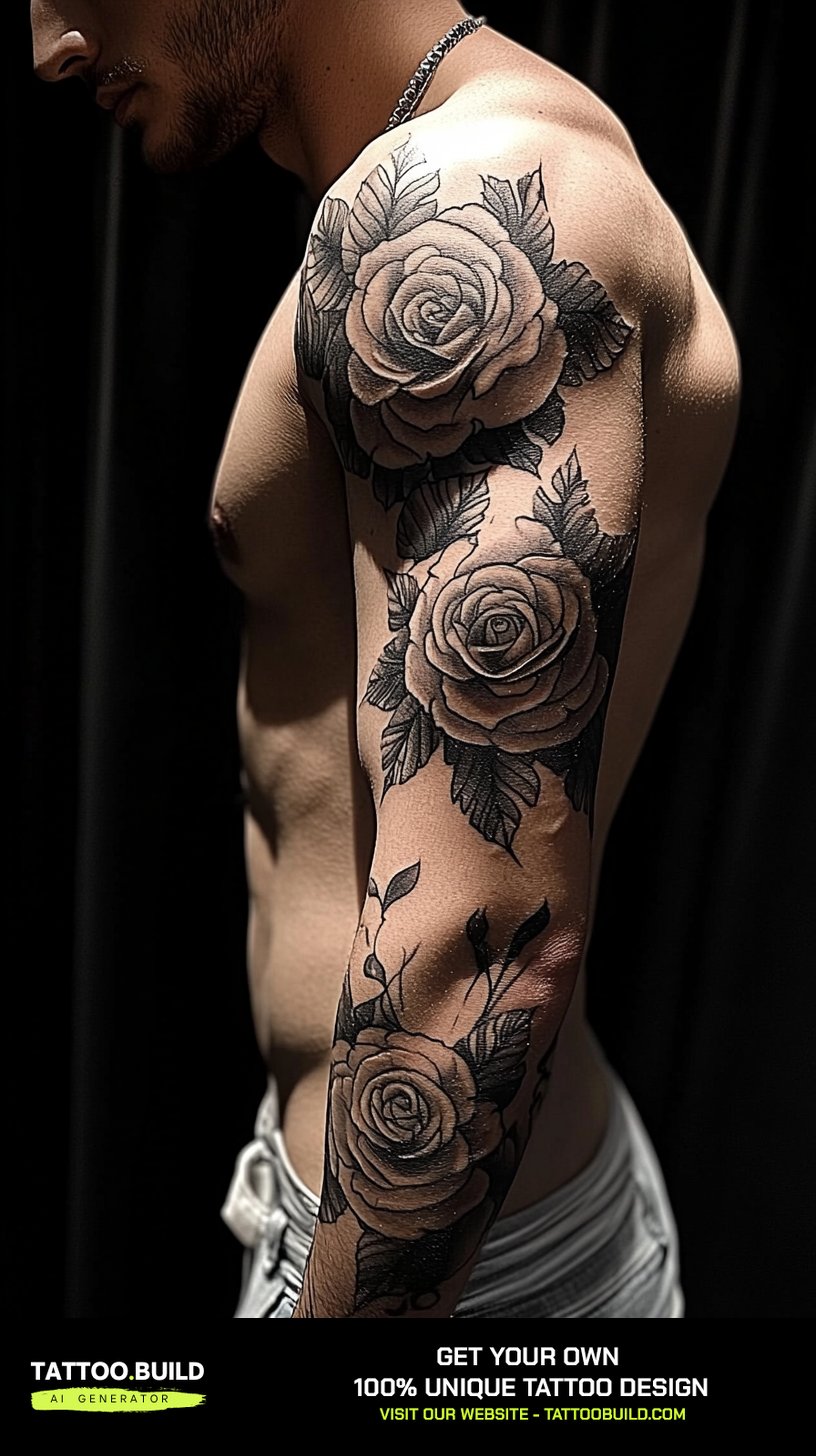
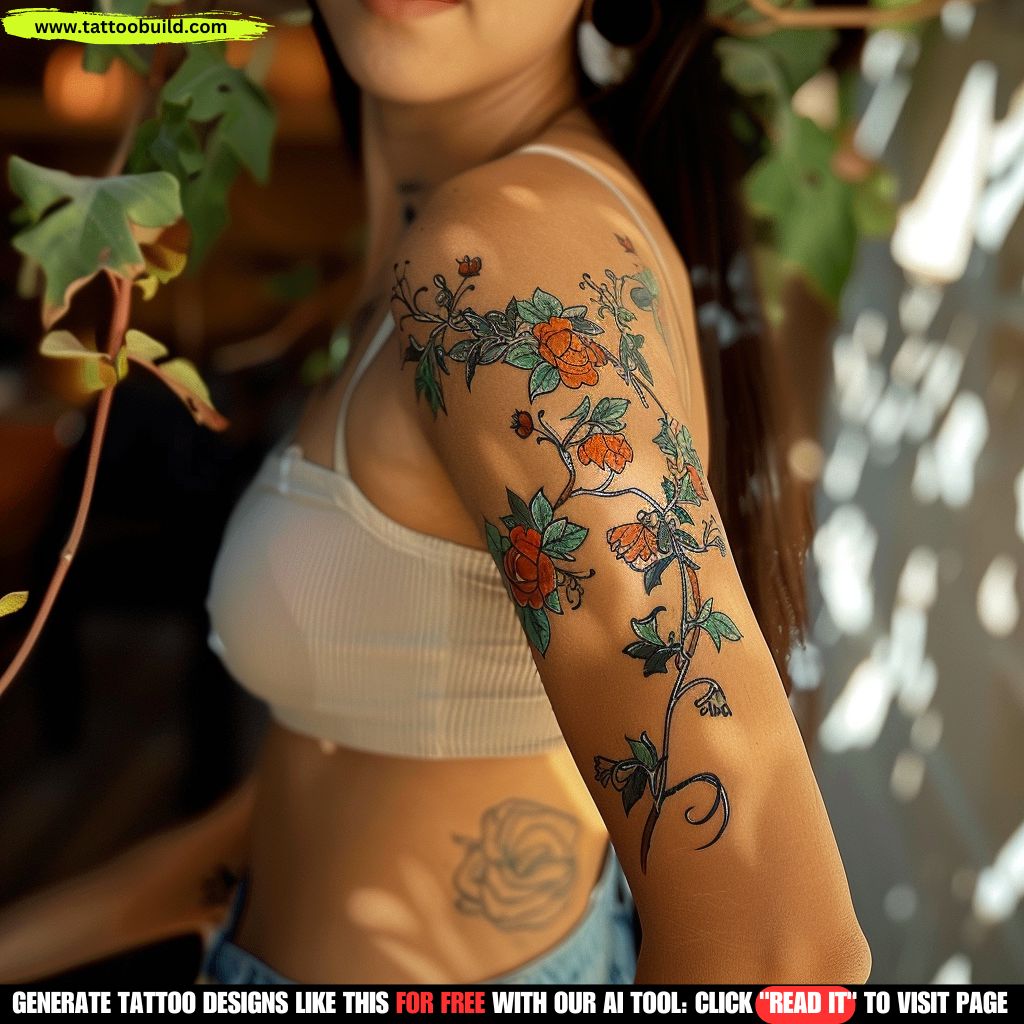
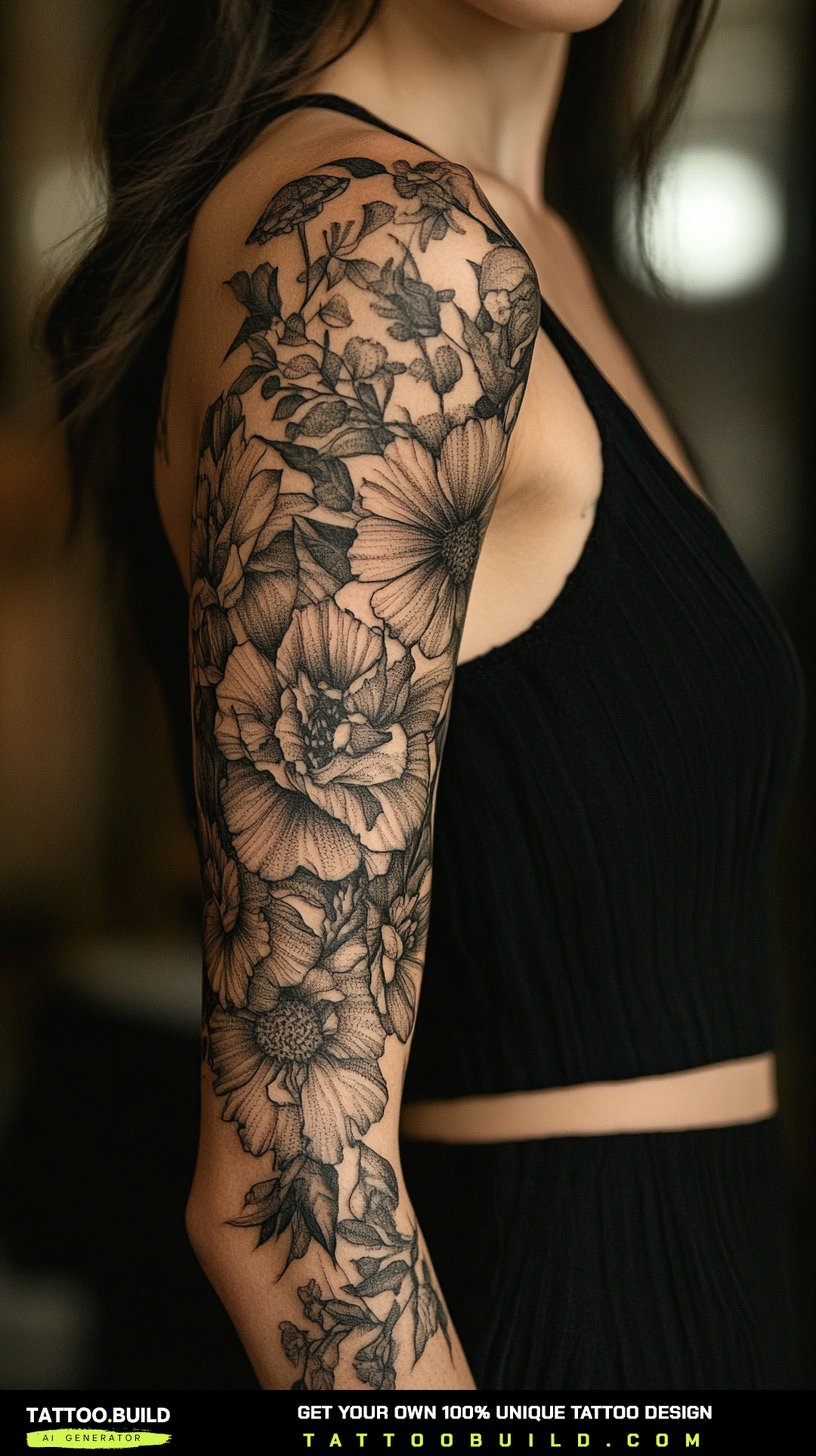
Florals are the default sleeve choice for good reason: petals and stems curve naturally around a cylinder.
That means an artist can wrap the design without awkward seams where the arm turns, which is exactly where less flexible subjects fall apart.
Peonies, roses and magnolias give you big readable shapes; wildflowers, ferns and eucalyptus give you the connective tissue between them.
When I have asked artists what they would change about most floral sleeves, the answer is nearly always the same: fewer blooms, bigger blooms. Crowding is the common failure.
If you want a florals-only arm, the rose sleeve tattoo ideas collection shows how a single flower can carry a whole piece.
2. Fine Line and Illustrative Detail
Fine line sleeves look weightless on the arm, which is the appeal — coverage without heaviness.
The trade-off is real: thin lines applied too close together can soften and merge as the skin ages, so spacing matters more here than in any other style.
Ask to see healed photographs of fine line work that is at least two years old before you commit. Fresh photos tell you almost nothing about how a light sleeve will hold.
A skilled specialist will space elements more generously than you expect and will resist the urge to fill every gap. That restraint is the technique.
Our fine line sleeve tattoo ideas gallery is worth browsing for spacing references.
3. Black and Grey Realism
Realism is the most demanding style on this list and the one where artist choice matters most.
It needs smooth grey transitions, genuine black anchors and enough scale to hold detail — which is why realistic subjects belong on the outer bicep and forearm rather than the wrist.
Every realism artist I have spoken to says the same thing about longevity: build more contrast than looks right on day one, because grey softens as it settles.
Expect long sittings. Realism sleeves are usually built in full-day sessions rather than in two-hour appointments, because shading needs continuity.
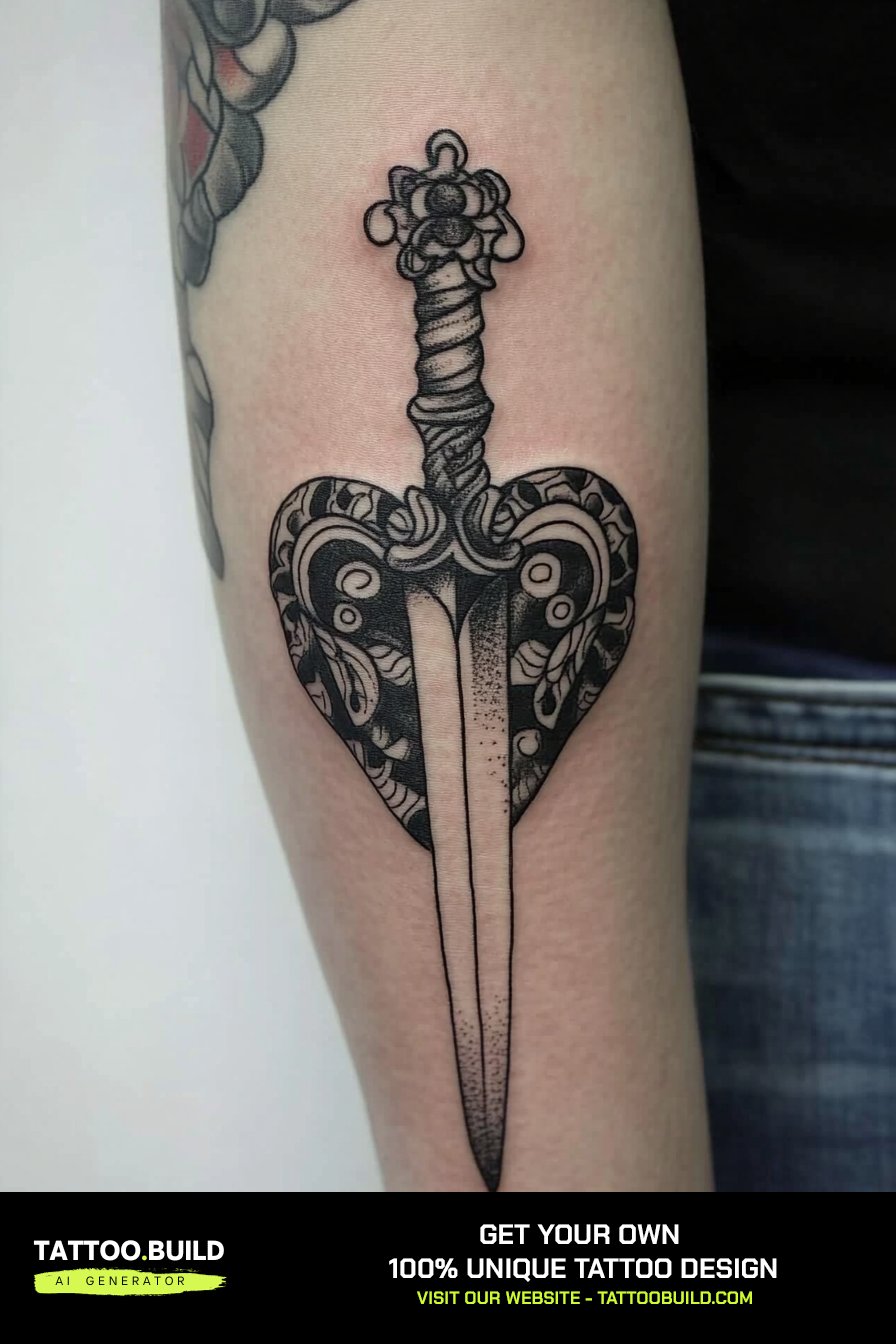
4. Mandala, Geometric and Ornamental
Ornamental sleeves are built from repetition — mandalas, lace patterning, dotwork and repeating geometry.
They suit the shoulder especially well, because a circular motif sits naturally on the deltoid’s curve.
The strength of this style is that it fills space cleanly. The risk is symmetry: crooked geometry is far more visible than a crooked flower, so the stencil work has to be exact.
Sit through a proper stencil fitting and look at your arm in a mirror from several angles before anyone starts. It is the cheapest correction you will ever make.
See the mandala sleeve tattoo ideas guide for layout examples.
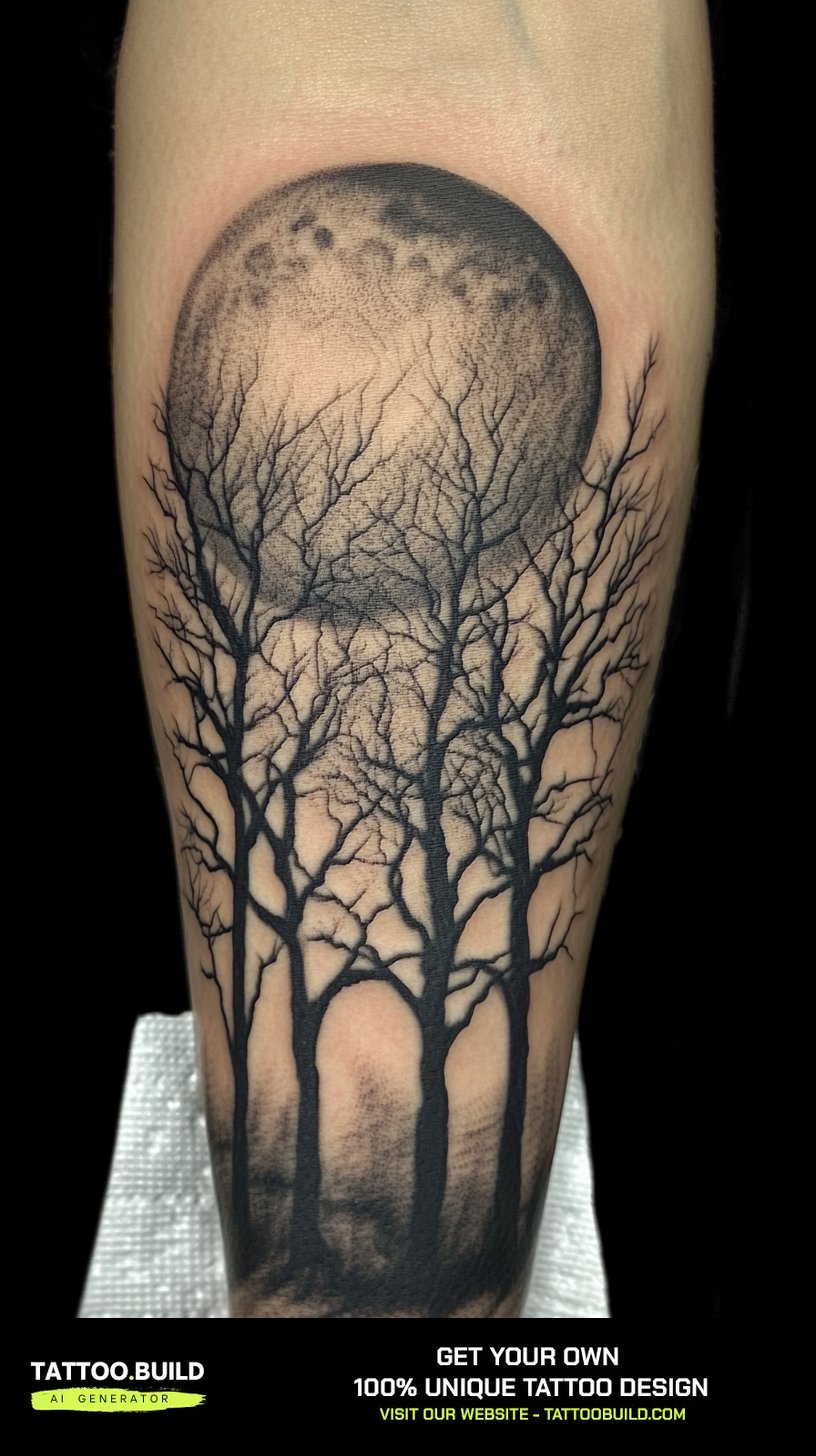
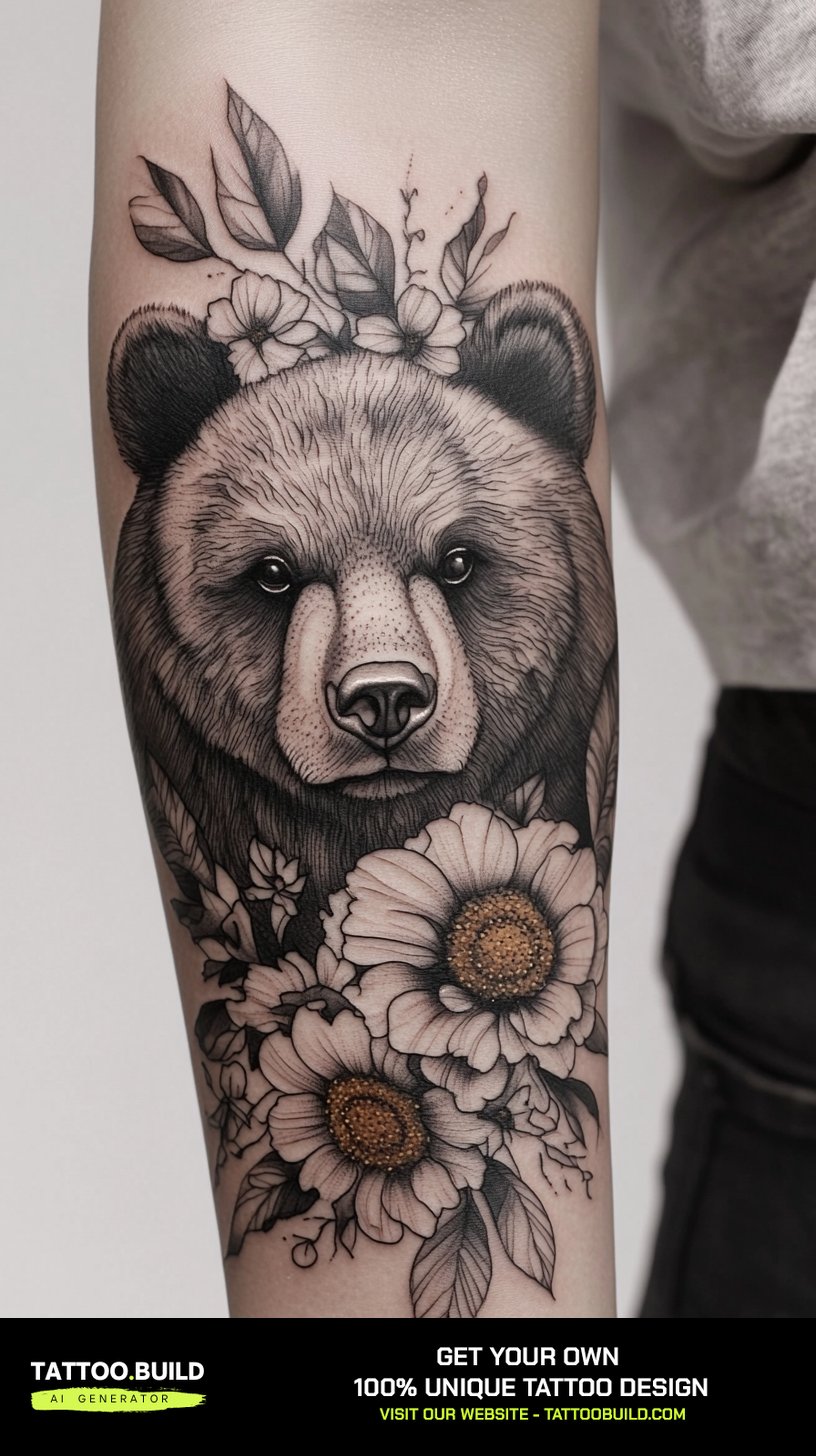
5. Nature, Animals and Landscape Scenes
Narrative sleeves — a wolf, a horse, a mountain range, a stretch of ocean — give you an obvious focal point to design around.
The rule I would hold to is one hero subject per arm. Two competing focal points is the most common reason a sleeve reads as busy.
Landscape elements earn their place as connectors. Clouds, water and rock texture can join otherwise unrelated ideas into a single scene.
If you are picturing a leg version of the same approach, the half leg sleeve tattoo ideas for women guide covers the same logic on a different canvas.
6. Dark Feminine and Blackwork
Heavy black is having a long moment, and it does age unusually well — solid black tends to stay solid black.
The honest caveat is permanence. Large areas of dense black are the hardest thing to cover up or lighten later, so be more certain about this style than any other.
Good blackwork sleeves leave deliberate skin showing. Without negative space the arm loses all shape at a distance.
If you want the aesthetic with less commitment, ask about heavy linework and open shading rather than full saturation.
7. Colour and Watercolour
Colour sleeves are the most vivid option and the most demanding to maintain.
They generally take more sessions than black and grey, and they need more diligent sun protection over the years.
Watercolour specifically depends on hidden structure. Washes with no underlying linework or value plan tend to lose definition, so ask your artist how the piece is anchored.
In practice, most durable colour sleeves I have seen have a traditional or illustrative skeleton underneath the softness.
Alternatives: You Do Not Have to Start With a Full Sleeve
A full arm is not the only route, and it is rarely the best first step.
Half Sleeve
Shoulder to elbow, or elbow to wrist. It is the most common starting point I see, and it can always be extended later if you leave the border open.
Browse the classy half sleeve tattoos for women gallery for finished examples.
Quarter Sleeve
Shoulder cap down to mid-bicep. It stays hidden under most short-sleeved clothing, which matters in some workplaces.
Patchwork Sleeve
Separate tattoos placed with intentional gaps rather than one connected scene. It is flexible and forgiving, but it needs consistent style and line weight or it turns into a scrapbook.
Built-Up Sleeve
Existing tattoos joined together with background, texture and ornament. This is where sleeve filler ideas do the heavy lifting.
Planning, Pain and Aftercare
Book a consultation before you book ink. A good artist will talk about arm flow and session mapping, not just the picture.
On pain: the outer bicep and outer forearm are usually the easiest areas, while the inner elbow, inner bicep and the wrist bone tend to be the sharpest. Our most painful tattoo spots chart and tattoo pain management tips both go deeper than I can here.
Follow the aftercare your own artist gives you, because it is matched to the products and technique they used. The American Academy of Dermatology’s guidance on caring for tattooed skin is a solid general reference alongside it.
Long-term, sunscreen is the single most effective thing you can do. Sun exposure fades colour and softens black and grey contrast faster than anything else.
If an area becomes increasingly red, swollen, hot or painful after the first few days, or you develop a fever or a spreading rash, contact your artist and see a doctor. Tattoo infections and ink allergies are uncommon but real, and they are treated medically, not with more ointment. The Mayo Clinic overview of tattoo risks is a reasonable place to read further, and nothing in this article is medical advice.
Common Mistakes I See With Sleeves
Starting with the forearm. It is the most visible panel and the one most people want to redesign once the rest of the arm exists — start at the shoulder if you can.
Mixing styles mid-project. Switching from fine line to bold traditional halfway up an arm rarely resolves.
Underestimating time and money. A sleeve is a multi-session commitment spread over months; the sleeve tattoo cost guide sets more realistic expectations than most quotes do.
And rushing the artist search. Booking someone eight months out who specialises in exactly your style will serve you far better than booking someone next week who does a bit of everything.
Frequently Asked Questions
How long does a full sleeve take to finish?
Most full sleeves are built over several months rather than weeks. Artists typically work in full-day or half-day sessions with several weeks of healing between them. The style matters a great deal: dense colour and detailed realism usually need more sittings than open linework. Your artist can give a realistic session estimate once the design is mapped.
Should I get the outline of the whole sleeve first?
Some artists prefer to line the entire arm early so the layout is locked in, and others build section by section. Both approaches are legitimate and depend on how the artist works. What matters more is that the full arm is designed before any of it is tattooed. Ask which method your artist uses so you know what to expect between sessions.
Do sleeve tattoos hurt more than smaller tattoos?
Not more intensely, but for much longer, which is a different kind of difficult. The outer bicep and outer forearm are generally the more comfortable areas. The inner elbow, inner bicep and areas over bone tend to be sharper for most people. Eating properly beforehand and scheduling breaks makes long sessions considerably more manageable.
Can I cover old tattoos with a sleeve?
Often yes, though it depends on the size, darkness and placement of what is already there. Dark, heavily saturated pieces are the hardest to work over and sometimes need laser lightening first. Many artists prefer to incorporate an existing tattoo into the new design rather than bury it. Bring clear photographs to your consultation so the artist can assess it honestly.
How do I keep a sleeve looking sharp long-term?
Daily sunscreen on exposed skin is the most effective habit by a wide margin. Keeping skin moisturised helps the tattoo read clearly, though it does not change the ink itself. Expect that some fine detail may need a touch-up eventually, particularly in fine line and colour work. Your artist is the right person to judge when that is worth doing.
Quick Summary
- Design the whole arm before tattooing any of it — flow is what separates a sleeve from a collection.
- Pick one style and one palette and stay with it for the full project.
- Put your main subjects on the outer bicep and outer forearm, and use the inner arm for transitions.
- Leave deliberate negative space; untattooed skin gives the design its shape.
- Build more contrast than feels necessary, since shading softens as it settles.
- Start at the shoulder rather than the forearm if you plan to extend later.
- Budget for months of sessions, not weeks, and choose a specialist over availability.
- Sunscreen daily, and see a doctor rather than guessing if healing looks wrong.