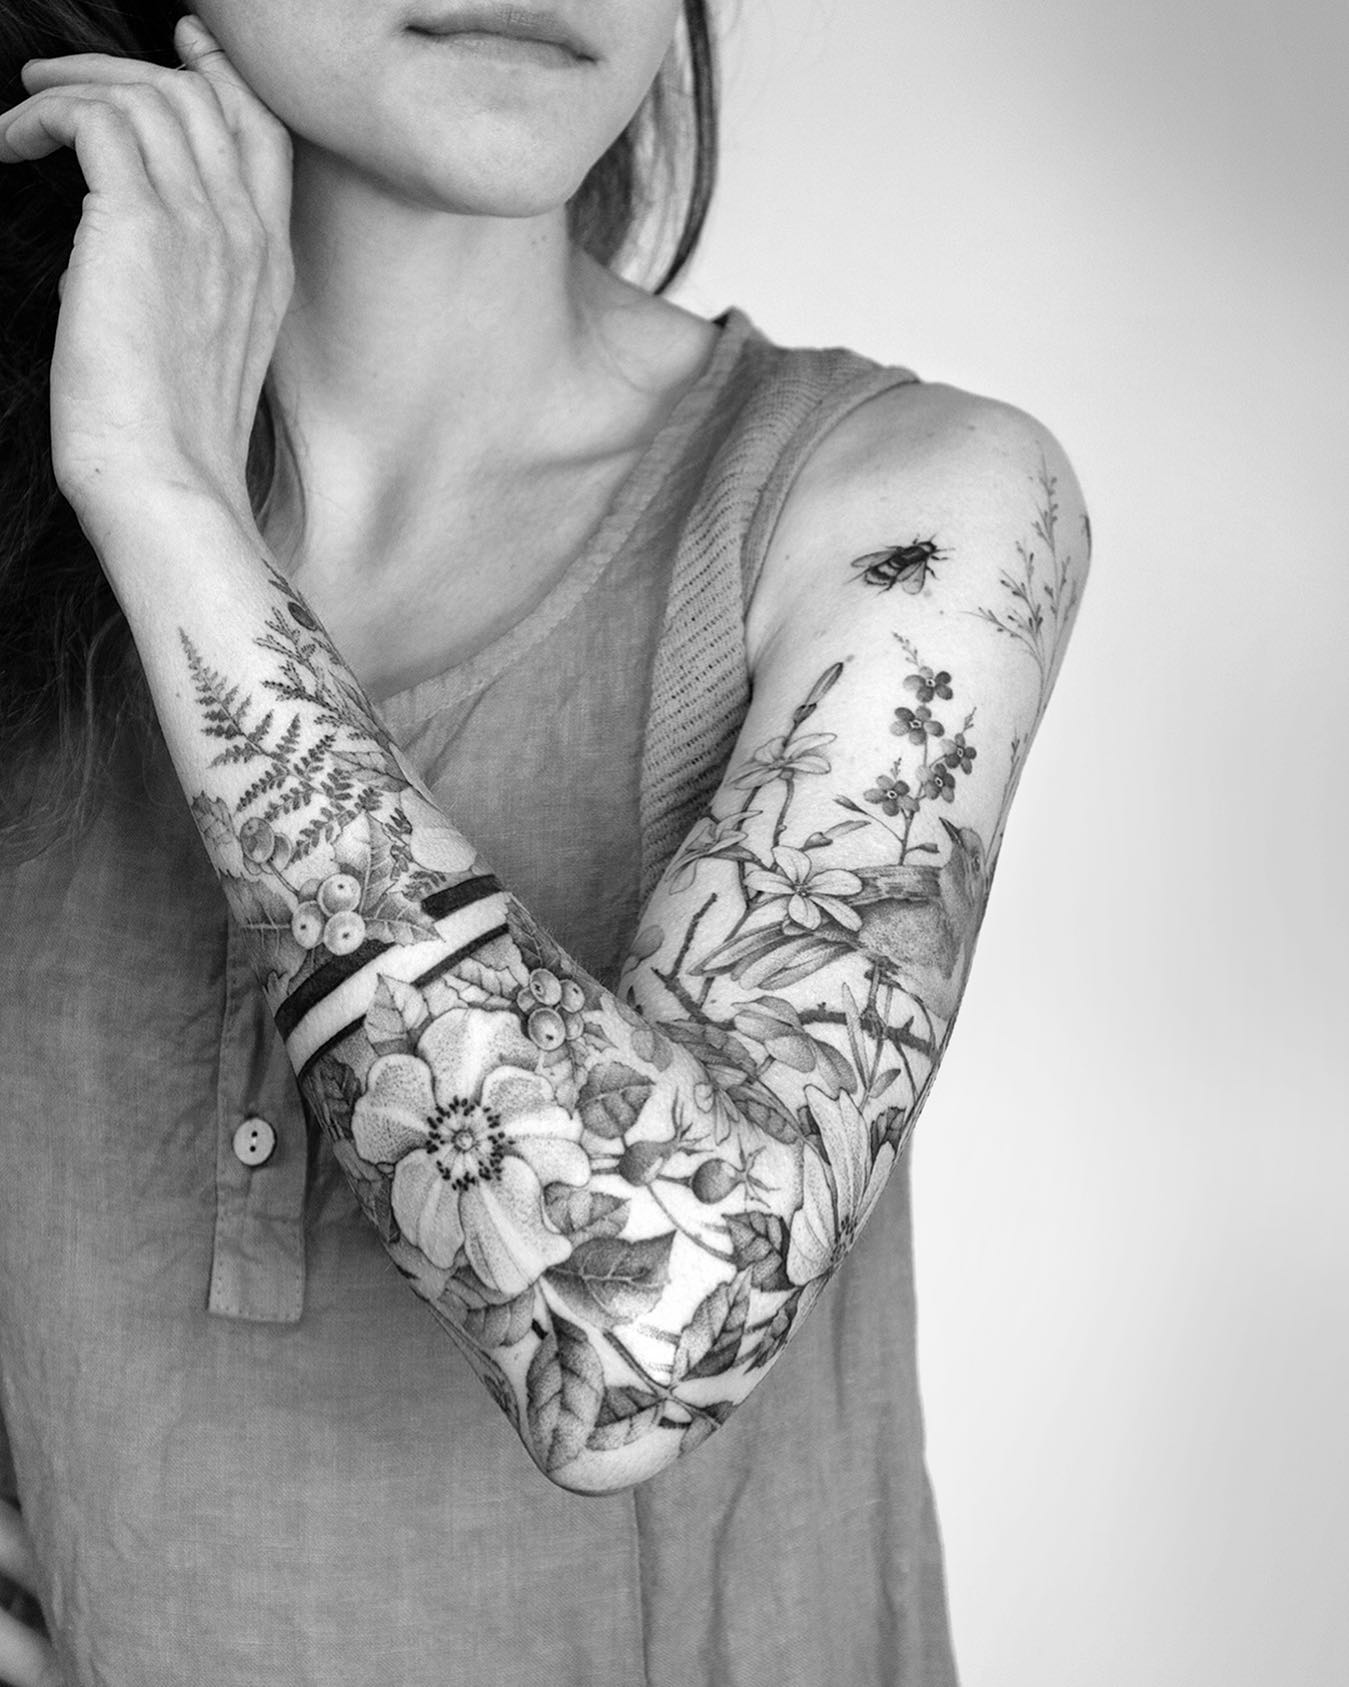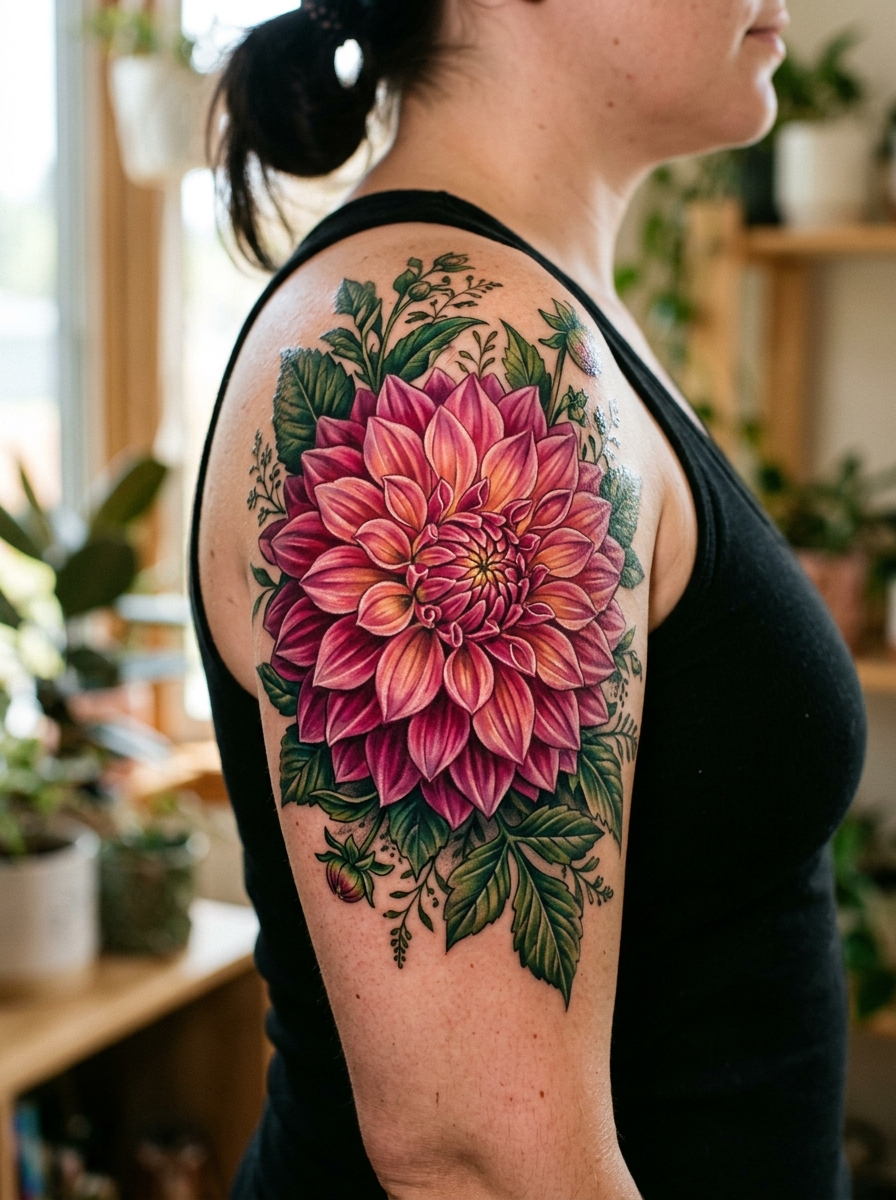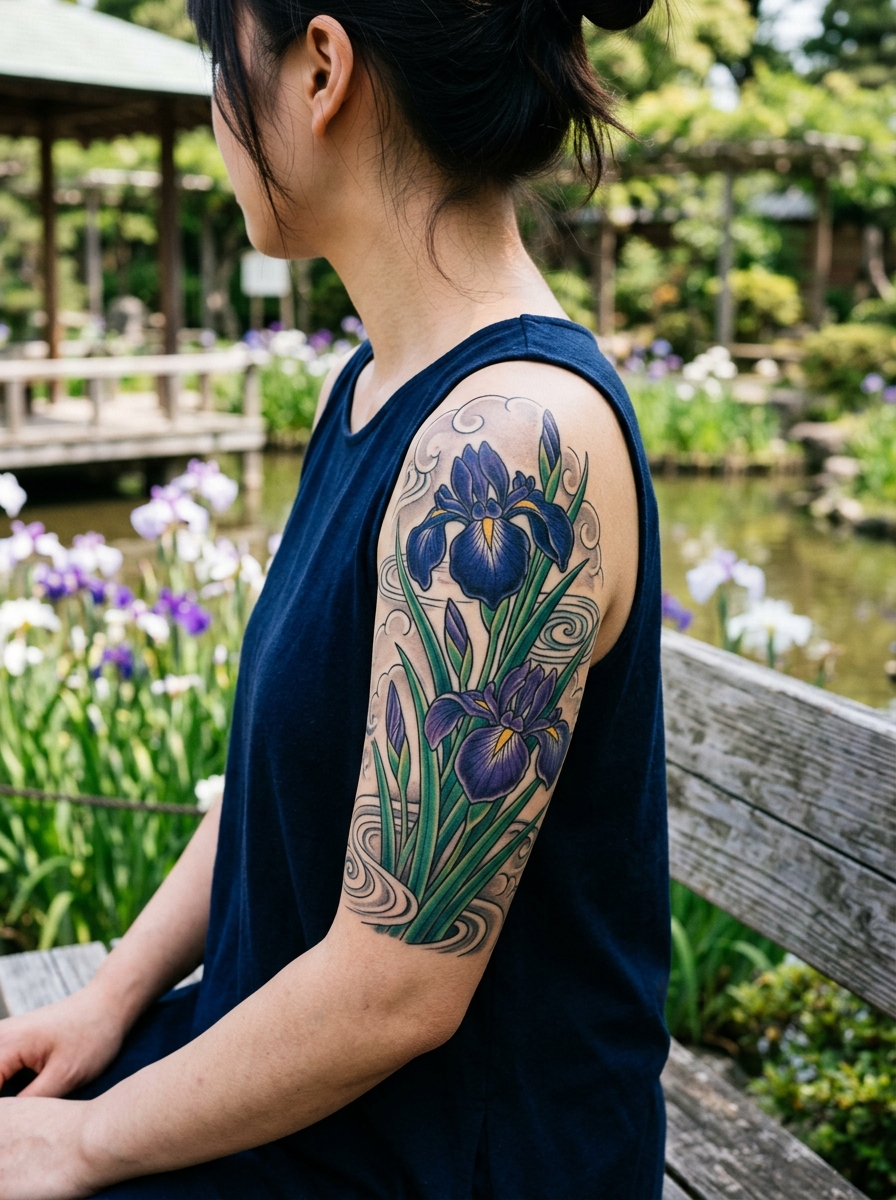
A full sleeve is the closest thing tattooing has to a commitment ceremony. It is not one tattoo – it is a single design that has to work from the shoulder cap to the wrist bone, and it usually takes multiple sittings spread over months.
I have sat through enough sleeve sessions, and watched enough friends sit through theirs, to know where the regret usually comes from. It is almost never the subject matter. It is the layout.
The guys who are happiest a decade later are the ones who let an artist plan the whole arm before the first needle went in. The ones who are patching things up are usually the ones who collected separate tattoos and hoped they would eventually join. If you are still weighing the size of the commitment, starting with a half sleeve for men is a legitimate way in.
What follows is a walk through the styles that actually hold up on an arm, what drives the price and the timeline, and the 40+ ideas below to point your reference folder in a useful direction.
Which Full Sleeve Style Is Right for You?
Style choice decides more than how the arm looks on day one. It decides how often you will be back for touch ups and how the piece reads once the skin has aged.
| Style | Best For | Typical Sittings | How It Ages |
|---|---|---|---|
| Japanese / Irezumi | Guys who want the whole arm to flow as one story | Often 6 to 12 full days | Very well – bold outlines and heavy filler are built for it |
| Blackwork / Tribal | Strong shapes, minimal upkeep | Often 4 to 8 full days | Excellent – solid black holds longer than anything else |
| Black & Grey Realism | Portraits, statues, detailed objects | Often 8 to 15 full days | Fine detail softens – plan touch ups |
| Biomechanical | Arms with defined muscle to work around | Often 6 to 12 full days | Good, provided the contrast was strong to begin with |
| Geometric / Dotwork | Clean, symmetrical, modern looks | Often 5 to 10 full days | Dotwork can blur – line weight matters a lot |
| Neo-Traditional Colour | Bold, saturated, illustrative work | Often 6 to 12 full days | Depends on sun exposure – outlines carry it |
Those sitting counts are ranges I have heard quoted by artists rather than fixed prices. Ask your own artist for a session estimate before you budget anything.
What Actually Decides How a Full Sleeve Turns Out
The first thing is layout. A sleeve needs a clear focal point, usually on the outer bicep or the outer forearm, and everything else exists to lead your eye there.
The second is the artist’s specialism. In my experience, an artist who does one style beautifully will always beat a generalist who agrees to do whatever you ask. Budget accordingly – it is worth reading up on what a sleeve tattoo costs before you start booking.
The third is your own skin. Pale, well-hydrated skin holds fine detail longer. Sun-damaged forearms do not, and any honest artist will tell you so.
The fourth is pain tolerance across very different zones. The outer arm is manageable for most people. The inner bicep, the elbow ditch and the wrist are where sessions get cut short.
The fifth, and the one most people underestimate, is time. A full sleeve is usually a project measured in seasons, not weeks, because the skin needs weeks to settle between sittings.
Full Sleeve Tattoo Ideas for Men, by Style
The 40+ designs below are grouped by style so you can see how each one behaves across a whole arm rather than in isolation.
1. Japanese and Irezumi Sleeves
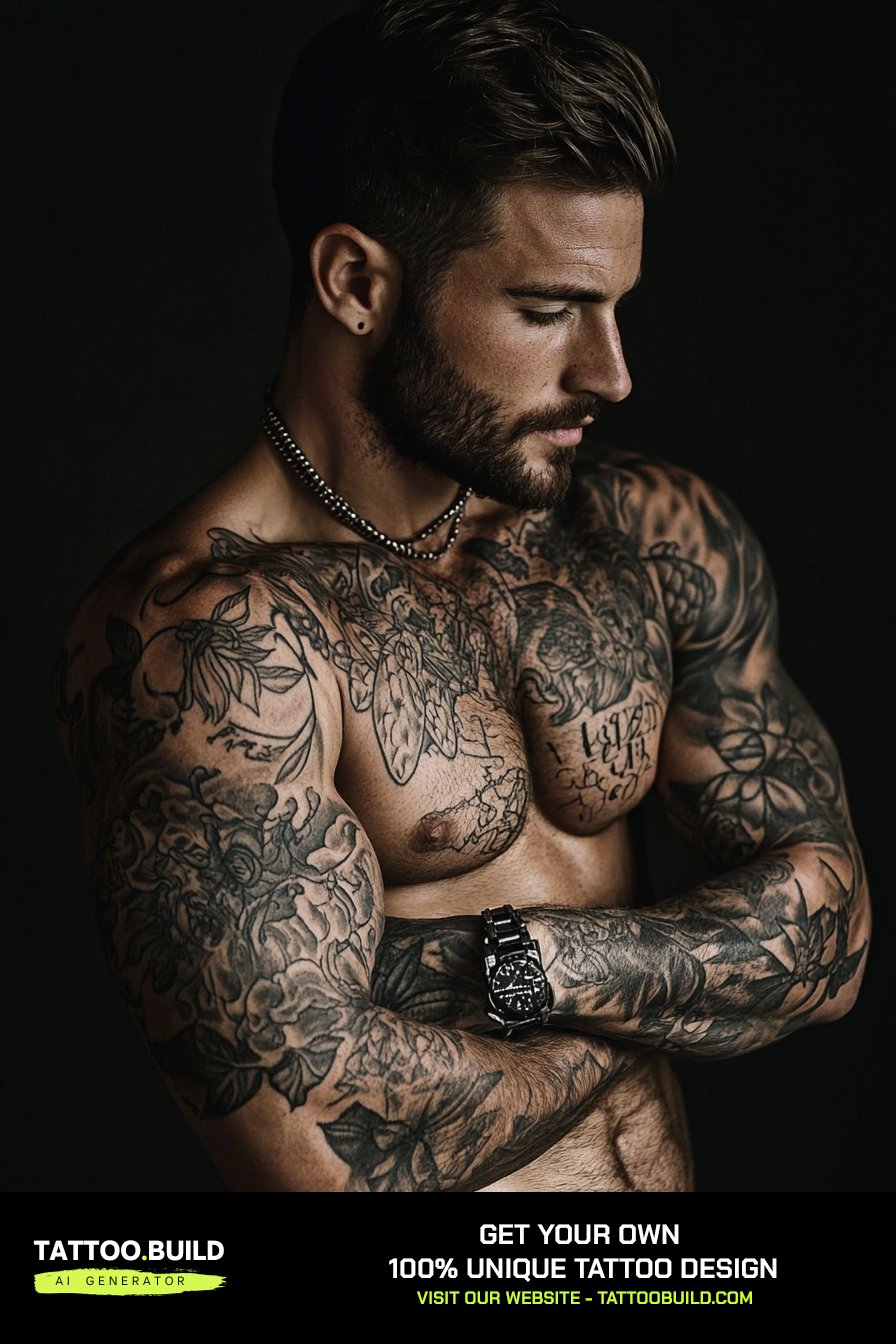
Japanese sleeves are the oldest solved problem in this format. The tradition already assumes the whole arm is the canvas, so the compositions are designed to wrap.
Dragons, koi, hannya masks, tigers and phoenixes carry the main weight, and wind bars, waves and blossoms fill everything between them.
What I like about this style is that the filler is not decoration – it is structure. It is what stops a sleeve looking like a collection of stickers.
Every artist I have asked about longevity puts traditional Japanese near the top, because the outlines are bold and the black is generous.
2. Blackwork and Tribal Sleeves
Blackwork is the low-maintenance option. Solid black and confident linework hold their edges longer than any other approach.
Modern blackwork borrows heavily from Polynesian, Maori and Filipino traditions, and if you are drawn to that language of shapes it is worth reading about tribal tattoo designs and their meanings before you commit.
A word of caution I would give anyone: some of those patterns carry specific cultural meaning. Ask your artist whether a design is generic ornamental work or something borrowed from a living tradition.
Blackout sleeves – where large areas are filled solid and the design lives in the negative space – look striking, but they are difficult and expensive to cover or lighten later.
3. Black and Grey Realism Sleeves
Realism is the style people request most and understand least. It is the most demanding thing you can ask of an arm.
Portraits need space. When I have seen realism sleeves fail, it is nearly always because too many subjects were crammed into too little skin.
The healthy version puts one large focal subject on the upper arm, one on the forearm, and lets smooth grey washes connect them.
Expect to book touch ups. Fine detail and soft highlights are the first things to soften as skin ages, usually noticeably within several years.
4. Nature and Wildlife Sleeves
Animals and landscapes are the most personal category here, and they are forgiving because natural shapes wrap around a limb without fighting it.
Wolves, bears, eagles and stags dominate, though a lion tattoo design remains the single most requested animal I see on men’s upper arms.
Landscape sleeves – mountains, pines, a river running down the forearm – work when the horizon lines wrap around the arm rather than cutting straight across it.
A composite trick worth knowing: one large animal on the outer bicep, environment filler everywhere else. It gives the arm a focal point without crowding.
5. Biomechanical and Abstract Sleeves
Biomech is the style that most rewards a good artist and most punishes a mediocre one, because it has to be drawn onto your specific arm.
Done properly, the mechanical parts follow the direction of your actual muscle, so the tattoo appears to move when you do.
Abstract and trash polka work sits nearby – brush textures, splatter, graphic red and black shapes. It photographs brilliantly.
My honest read on trash polka is that it dates faster than anything else on this list. It is a style with a clear era attached to it, which is fine if you know that going in.
6. Religious and Spiritual Sleeves
Religious sleeves are among the most common full arm pieces on men, and they tend to be the most carefully planned.
Praying hands, angels, cathedral architecture, rosaries and script are the recurring elements, usually rendered in black and grey.
The composition trick is the same as realism: one dominant figure, everything else in support. Two competing focal points make the arm feel busy.
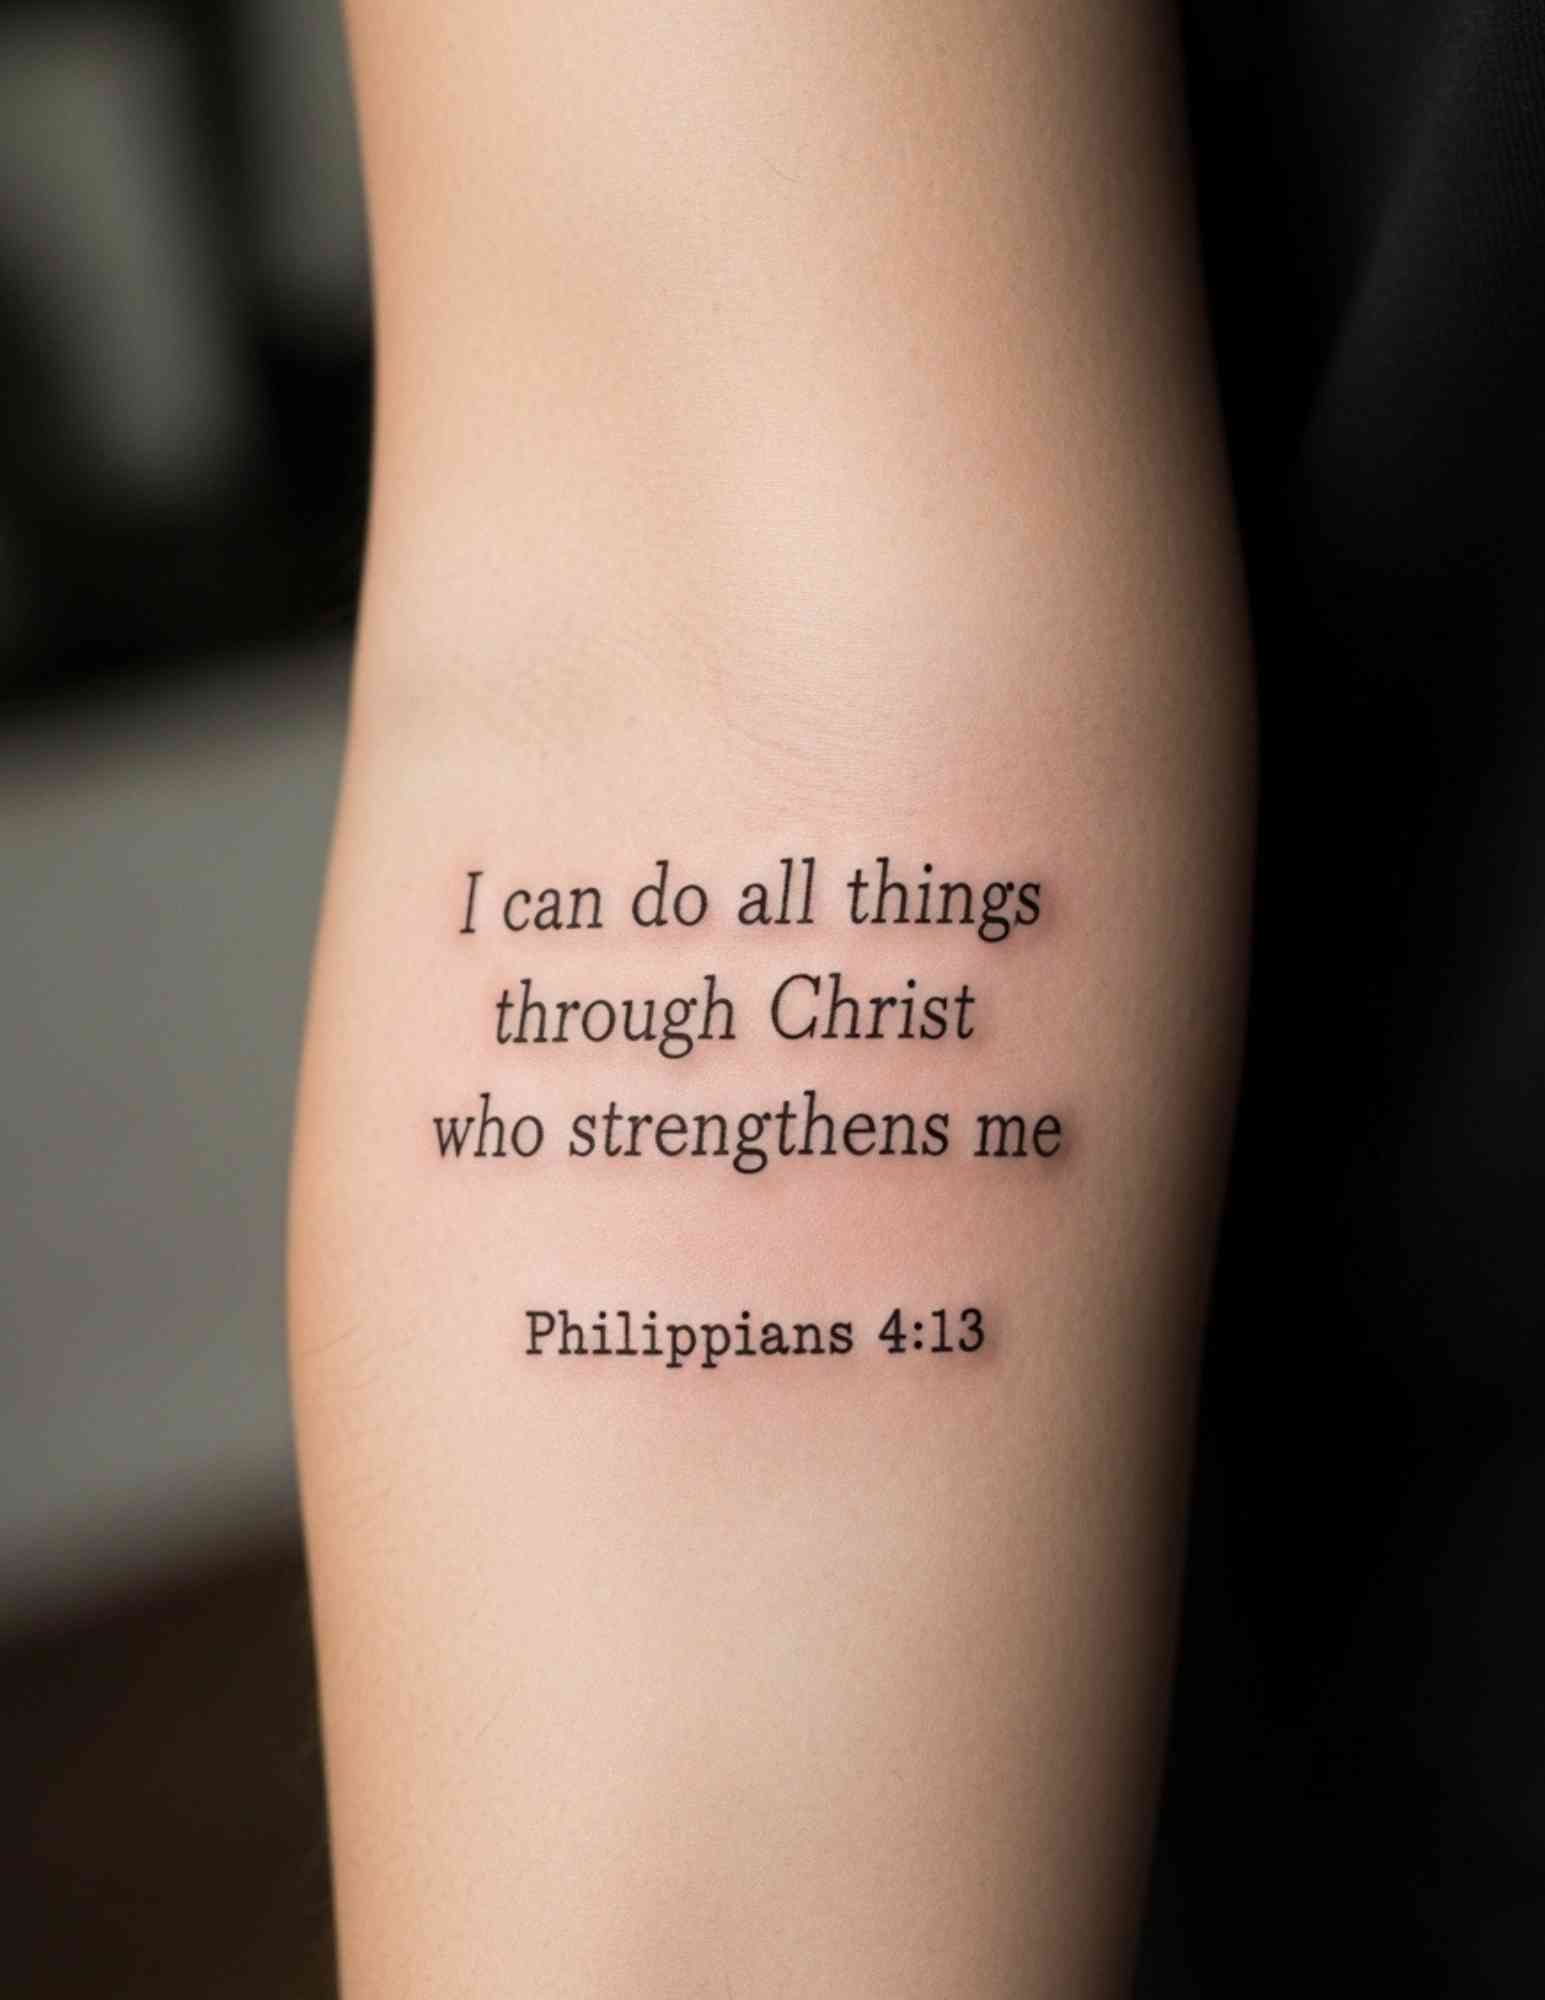
If you want script, give it room. Lettering closes up as the tattoo settles, and tight script is the most common thing I have seen need reworking.
7. Geometric and Dotwork Sleeves
Geometric sleeves are the modern arrival, and they suit guys who want something clean rather than something loud.
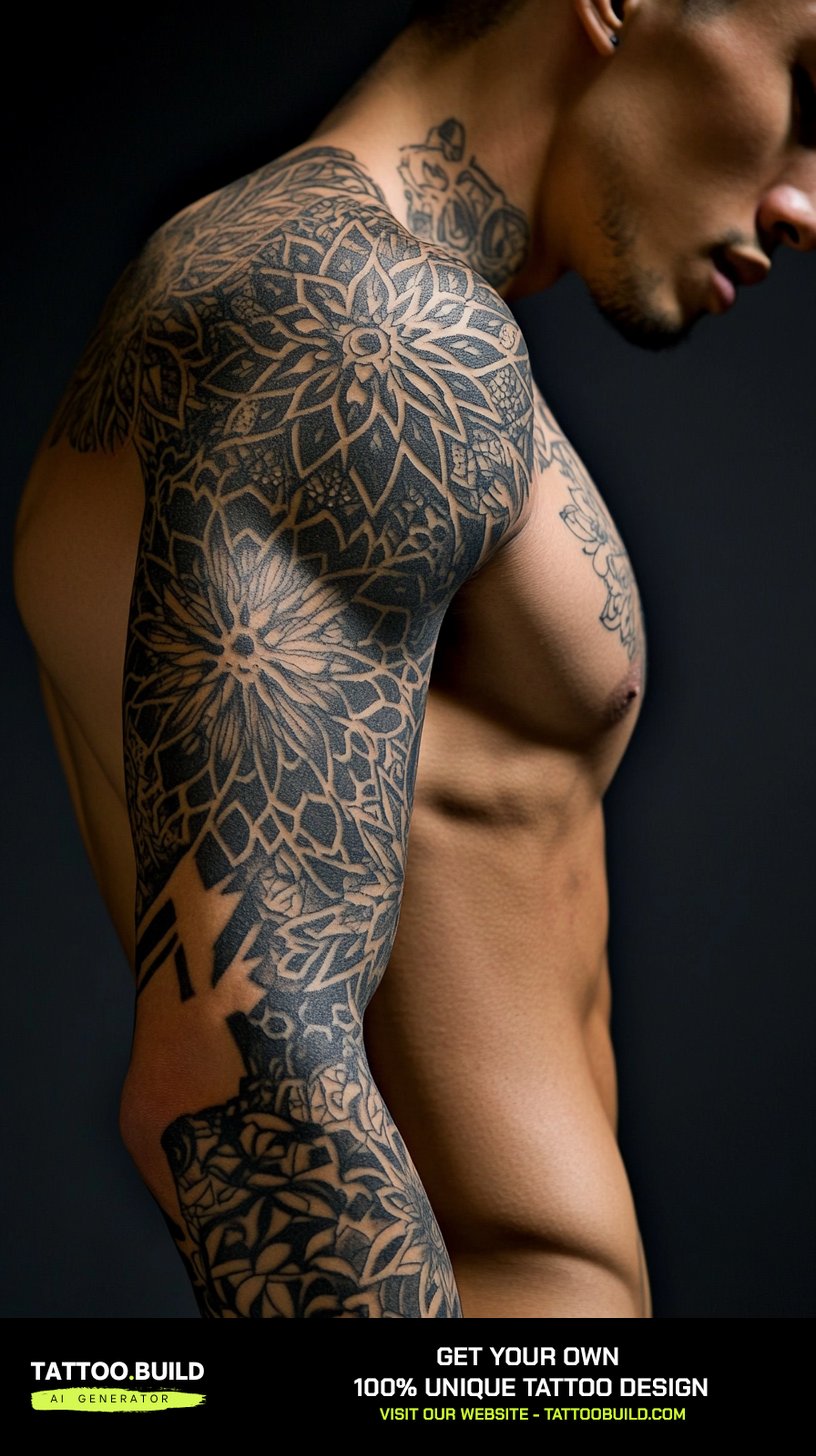
Mandalas anchor the shoulder, and the pattern fades down the arm. If the language appeals, browsing geometric tattoo designs first will help you brief an artist properly.
The catch is precision. Geometry only works if the layout is measured on your arm before anything permanent happens, because a wobbly line has nowhere to hide.
Dotwork shading is slower in the chair than most people expect, and very fine stippling can blur over time. Ask your artist how heavy they build their dots for longevity.
8. Colour and Neo-Traditional Sleeves
Colour sleeves are less common on men than black and grey, and the good ones are usually neo-traditional rather than photorealistic.
Bold outlines, simplified shapes and saturated fills – panthers, roses, skulls, snakes. The style was built for arms.
Colour asks more of you afterwards. Sun is the main enemy, and the reds and yellows are usually the first to shift.
When I have compared healed colour work, the pieces that still look sharp are always the ones with strong black outlines underneath. The outline is the investment.
Alternatives to a Full Sleeve
A full sleeve is not the only way to get the effect. These are the options I suggest most often to guys who are not ready for the whole arm.
Half Sleeve (Shoulder to Elbow)
The most popular compromise. It covers the highest-impact real estate, hides easily under a t-shirt sleeve, and can be extended later if the layout allowed for it.
Lower Arm Sleeve (Elbow to Wrist)
More visible day to day, and a shorter project. A lower arm sleeve for men is a fair test of whether you want the rest of the arm covered.
Upper Arm Only
The most conservative option, and the easiest to keep private. Upper arm tattoo designs give you a large flat area without touching the forearm at all.
Leg Sleeve Instead
If your job makes visible ink complicated, the leg gives you comparable space with none of the exposure. Leg sleeve designs follow most of the same layout rules.
Planning and Aftercare for a Full Sleeve
Book a consultation before you book a session. A good artist will draw or stencil the whole arm layout first, even if you are only paying for the first section.
Start where you are most certain. Most artists I have spoken to prefer to begin at the shoulder or the outer bicep, because those areas are less painful and set the tone for everything below.
Aftercare is where sleeves are won or lost, and it is worth reading proper medical guidance rather than forum advice – the American Academy of Dermatology covers healing, reactions and long-term skin care clearly.
On safety: infections and allergic reactions are real risks, and the FDA notes that even sealed tattoo inks can carry contamination. Use a licensed studio, and if an area becomes hot, swollen, or increasingly painful days after a session, see a doctor rather than waiting it out.
Sunscreen is the single highest-return habit for a healed sleeve. It costs nothing and it is the difference between a sharp arm and a faded one in ten years.
Still Not Sure? Common Mistakes to Avoid First
Collecting first, planning later. This is the number one reason sleeves need expensive cover-up work. Scattered tattoos rarely merge into a coherent arm.
Choosing an artist by price. A cheap sleeve you dislike is far more expensive than a good one, because fixing it means laser sessions and more chair time.
Starting on the hands or wrist. Those areas fade fastest and carry the most social cost. Leave them until the rest of the arm is finished and you know how you feel about visibility.
Not knowing what you actually like. If you are still narrowing it down, meaningful forearm tattoos for guys and back tattoo designs for men are useful for testing whether it is the style or the placement you are drawn to.
Rushing the healing between sessions. Skin needs weeks, not days, and going back too early makes the next session more painful and the result patchier.
Frequently Asked Questions
How long does a full sleeve tattoo take?
Most full sleeves are built over multiple full-day sittings rather than in one go, and the whole project commonly runs across several months to a year or more. The exact number depends heavily on style – solid blackwork moves faster than detailed realism. Your skin also needs weeks to settle between sessions, which is usually what stretches the calendar rather than the chair time itself. Ask your artist for a session estimate at consultation, because it varies enormously between studios.
How much does a full sleeve tattoo cost?
Pricing is normally quoted per session or per day rather than per piece, so the total depends on how many sittings the design needs. Style, artist demand and your location all move the number significantly. In my experience, the most useful question to ask is the artist’s day rate and how many days they estimate. Get that in writing before the first session so there are no surprises halfway through the arm.
Which part of a sleeve hurts most?
For most people the inner bicep, the elbow ditch and the wrist are the worst, because the skin is thin and close to bone or nerve. The outer bicep and outer forearm are generally the most tolerable. Pain tolerance varies a lot between individuals, so treat this as a rough map rather than a rule. Eating properly beforehand and telling your artist when you need a break both make more difference than anything else.
Can I combine different styles in one sleeve?
You can, but it is difficult to do well and it is where a lot of sleeves go wrong. Mixing realism with traditional linework, for instance, usually needs a deliberate connective element – a consistent background, a shared colour palette, or a unifying frame. If you want a mix, find an artist who has healed examples of exactly that combination in their portfolio. Otherwise the safer route is committing to one style for the whole arm.
Should I start a sleeve at the shoulder or the wrist?
Most artists prefer starting at the shoulder or outer bicep and working down. It is less painful, it establishes the focal point of the design early, and it keeps the most visible areas until you are certain about the direction. Starting at the wrist means the most exposed skin is committed first, with no easy way back. There are exceptions, so follow your own artist’s preference for their layout.
Quick Summary
- Plan the whole arm before the first session, even if you pay for it in sections.
- Pick a style that suits how the arm will age, not just how it photographs on day one.
- Japanese and blackwork hold up best long term; fine realism and dotwork need touch ups.
- Give the sleeve one clear focal point – usually the outer bicep or outer forearm.
- Choose an artist by healed portfolio in your chosen style, never by price.
- Expect multiple full-day sittings spread over months, with real healing time between them.
- Leave hands and wrists until last, once you know how you feel about visibility.
- Sunscreen on healed work is the cheapest way to keep a sleeve sharp for decades.