A half sleeve is the point where a tattoo stops being a picture on your arm and starts being a piece of design that has to work with your body.
That shift catches a lot of guys off guard. I have sat with people who booked a half sleeve expecting to pick a cool image, and left the consultation talking about muscle shape, stopping points and how the arm reads when it is hanging by their side.
It is also the most sensible commitment in tattooing. You get the visual weight of a sleeve without the hand, the neck, or the years of chair time a full sleeve demands, and you can still cover the whole thing with a t-shirt.
Below are the styles that actually hold up, what each one costs you in sittings and upkeep, and the mistakes I see people make in the planning stage rather than the chair.
Which Half Sleeve Style Is Right for You?
Style choice drives everything else — session count, cost, how much touch-up work you sign up for. Here is how the main options compare.
| Style | Best if you want | Rough session count | How it ages |
|---|---|---|---|
| Japanese irezumi | A full, wrap-around scene with no gaps | Three to six long sittings | Excellent — bold outlines hold shape for decades |
| Black and grey realism | Portraits, objects, landscapes, photographic detail | Three to five sittings | Good, but soft grey washes fade first and need touch-ups |
| Blackwork and ornamental | Symmetry, bands, mandalas, high contrast | Two to four sittings | Very well — solid black is the most durable ink there is |
| Colour illustrative | Bright, eye-catching pieces that stand out at a glance | Four to six sittings | Needs the most upkeep; sun exposure is its main enemy |
| Polynesian and tribal | Pattern that follows your muscle shape | Two to four sittings | Excellent, provided the black is packed evenly |
| Fine line and minimal | A quieter piece you can cover with a shirt sleeve | One to three sittings | Softens and thickens over time — plan for touch-ups |
Session counts here are what I have typically seen for a shoulder-to-elbow or elbow-to-wrist piece. Your artist’s pace, your skin, and how much detail you ask for will move those numbers in either direction.
What Actually Makes a Half Sleeve Work
The single biggest difference between a half sleeve that looks intentional and one that looks like a collection is flow — whether the design follows the shape of the arm or ignores it.
Arms are cylinders that taper. A composition drawn flat on paper will distort when it is wrapped, which is why good artists draw directly on the skin or use stencils built from photos of your actual arm.
The second factor is negative space. Skin left bare is not wasted room; it is what lets the eye find the focal point instead of drowning in detail.
Third is the stopping point. A half sleeve needs a deliberate edge — a band, a fade, a natural break at the elbow or the wrist bone. An arbitrary cut-off is the thing people regret most.
Budget belongs in this conversation too. Hourly rates vary enormously by city and by artist experience, and it is worth reading up on what drives sleeve tattoo costs before you set a number in your head.
Half Sleeve Tattoo Ideas for Men, Style by Style
Every design below is a real half sleeve build rather than a flash sheet. Look at how each one handles its edges as much as its subject.
Japanese Irezumi Half Sleeves
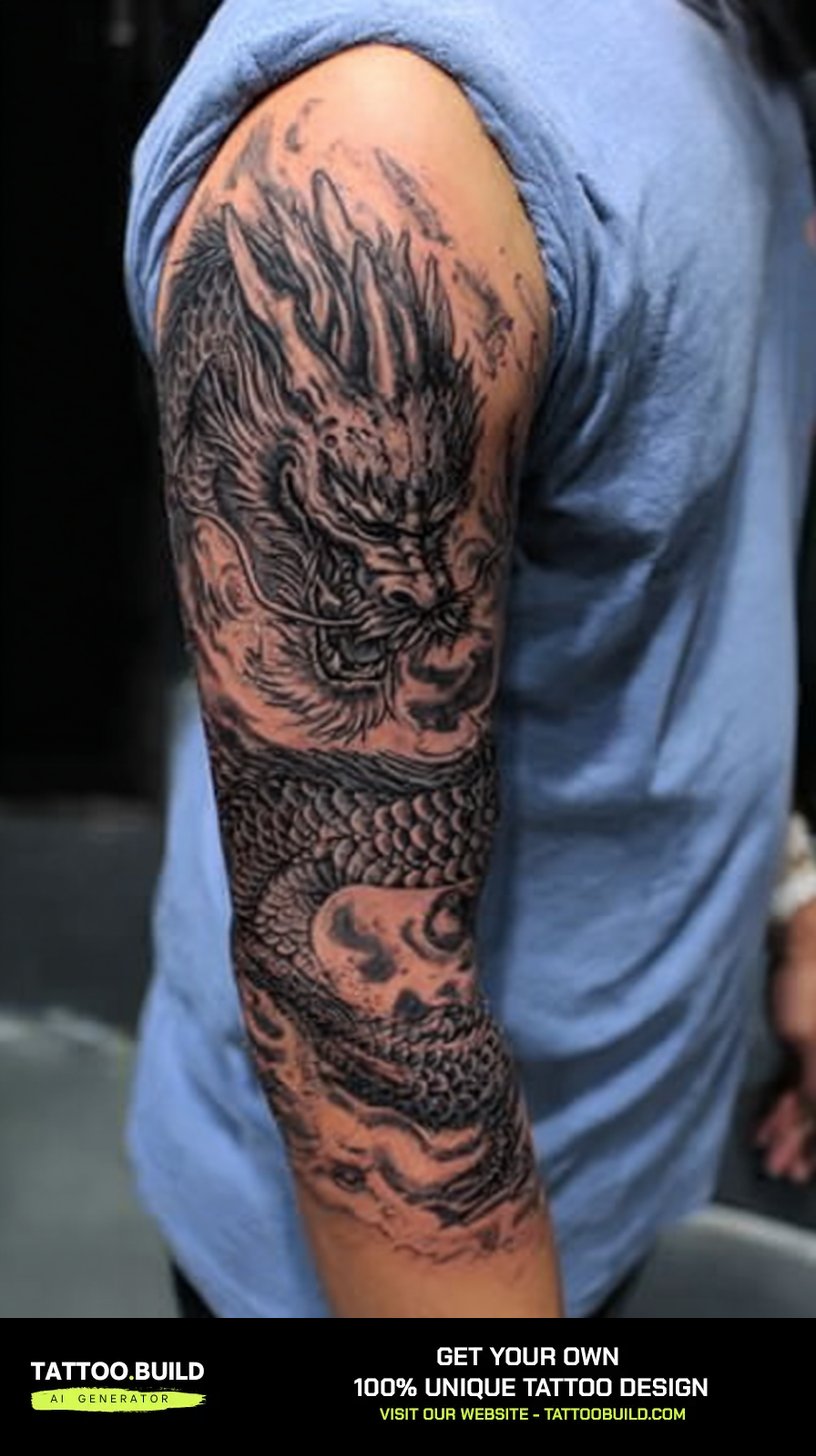
Irezumi solves the flow problem better than any other style, because it was designed for wrapped body panels in the first place.
The structure is consistent: a main subject — dragon, koi, snake, hannya — surrounded by background elements like wind bars, clouds or water that carry the eye around the arm.
That background is the reason these age so well. Bold outlines and packed fill hold their shape when finer work has softened.
The trade-off is commitment. A proper irezumi half sleeve is planned as one unit, so you cannot easily bolt pieces on later. If the imagery interests you, the vocabulary of Japanese tattoo designs is worth learning before your consultation, since the motifs carry specific meanings.
Black and Grey Realism
Realism gives you photographic detail — compasses, watches, roses, landscapes, portraits — rendered in greywash rather than colour.
It is the style most people picture when they imagine a modern men’s half sleeve, and it is genuinely difficult to do well.
Ask any artist for healed photos, not fresh ones. Fresh realism always looks sharp; healed realism is where you see whether the shading was packed properly.
Plan for touch-ups. The soft light-grey passages are the first thing to fade, and most realism sleeves I have seen benefit from a refresh within five to ten years.
Blackwork, Mandalas and Ornamental Bands
If you want maximum visual impact for the fewest sittings, this is the category.
Solid black and dense dotwork read clearly from across a room, heal predictably, and hold up better over decades than any other approach.
Symmetry is the appeal and the risk. A mandala that is slightly off-centre on a curved arm is obvious, so this style rewards artists who specialise in it.
I have consistently found that blackwork designs suit guys who are unsure about imagery — you commit to a pattern language rather than a specific subject you might feel differently about in ten years.
Nature, Forest and Landscape Scenes
Landscape half sleeves have been one of the most requested categories for several years now, and the good ones use the arm’s shape rather than fighting it.
Pine silhouettes work because their vertical lines follow the forearm naturally, and a treeline makes a clean horizontal stopping point at the wrist.
Adding a wolf, a moon or a mountain range gives the scene a focal point so it does not read as texture.
Keep the value range wide. Landscapes that are all mid-grey turn muddy after a few years; the ones that survive have real blacks and real bare skin in them.
Floral Half Sleeves for Men
Florals on men have moved from unusual to mainstream, and in black and grey they read as botanical illustration rather than decoration.
Large single blooms are the smart entry point — chrysanthemums, peonies, magnolias — because scale is what keeps them from looking delicate.
They also solve a practical problem: flowers and leaves are excellent connective tissue for linking separate tattoos into one sleeve later.
Every artist I have asked says the same thing about florals — get the largest bloom placed first, then build outward, never the reverse.
Polynesian and Tribal Patternwork
Polynesian half sleeves follow anatomy more closely than almost anything else, with pattern bands that trace the deltoid and bicep.
That anatomical fit is why they look powerful on a built arm and can look heavy on a slim one — worth an honest conversation with your artist.
These designs carry genuine cultural meaning, and motifs are not interchangeable decoration. If you are drawn to this direction, read about Polynesian tattoo traditions and work with an artist who understands the symbolism rather than copying shapes.
Even black packing is everything here. Patchy fill is very visible in solid pattern and unpleasant to correct later.
Serpents and Botanical Fusion
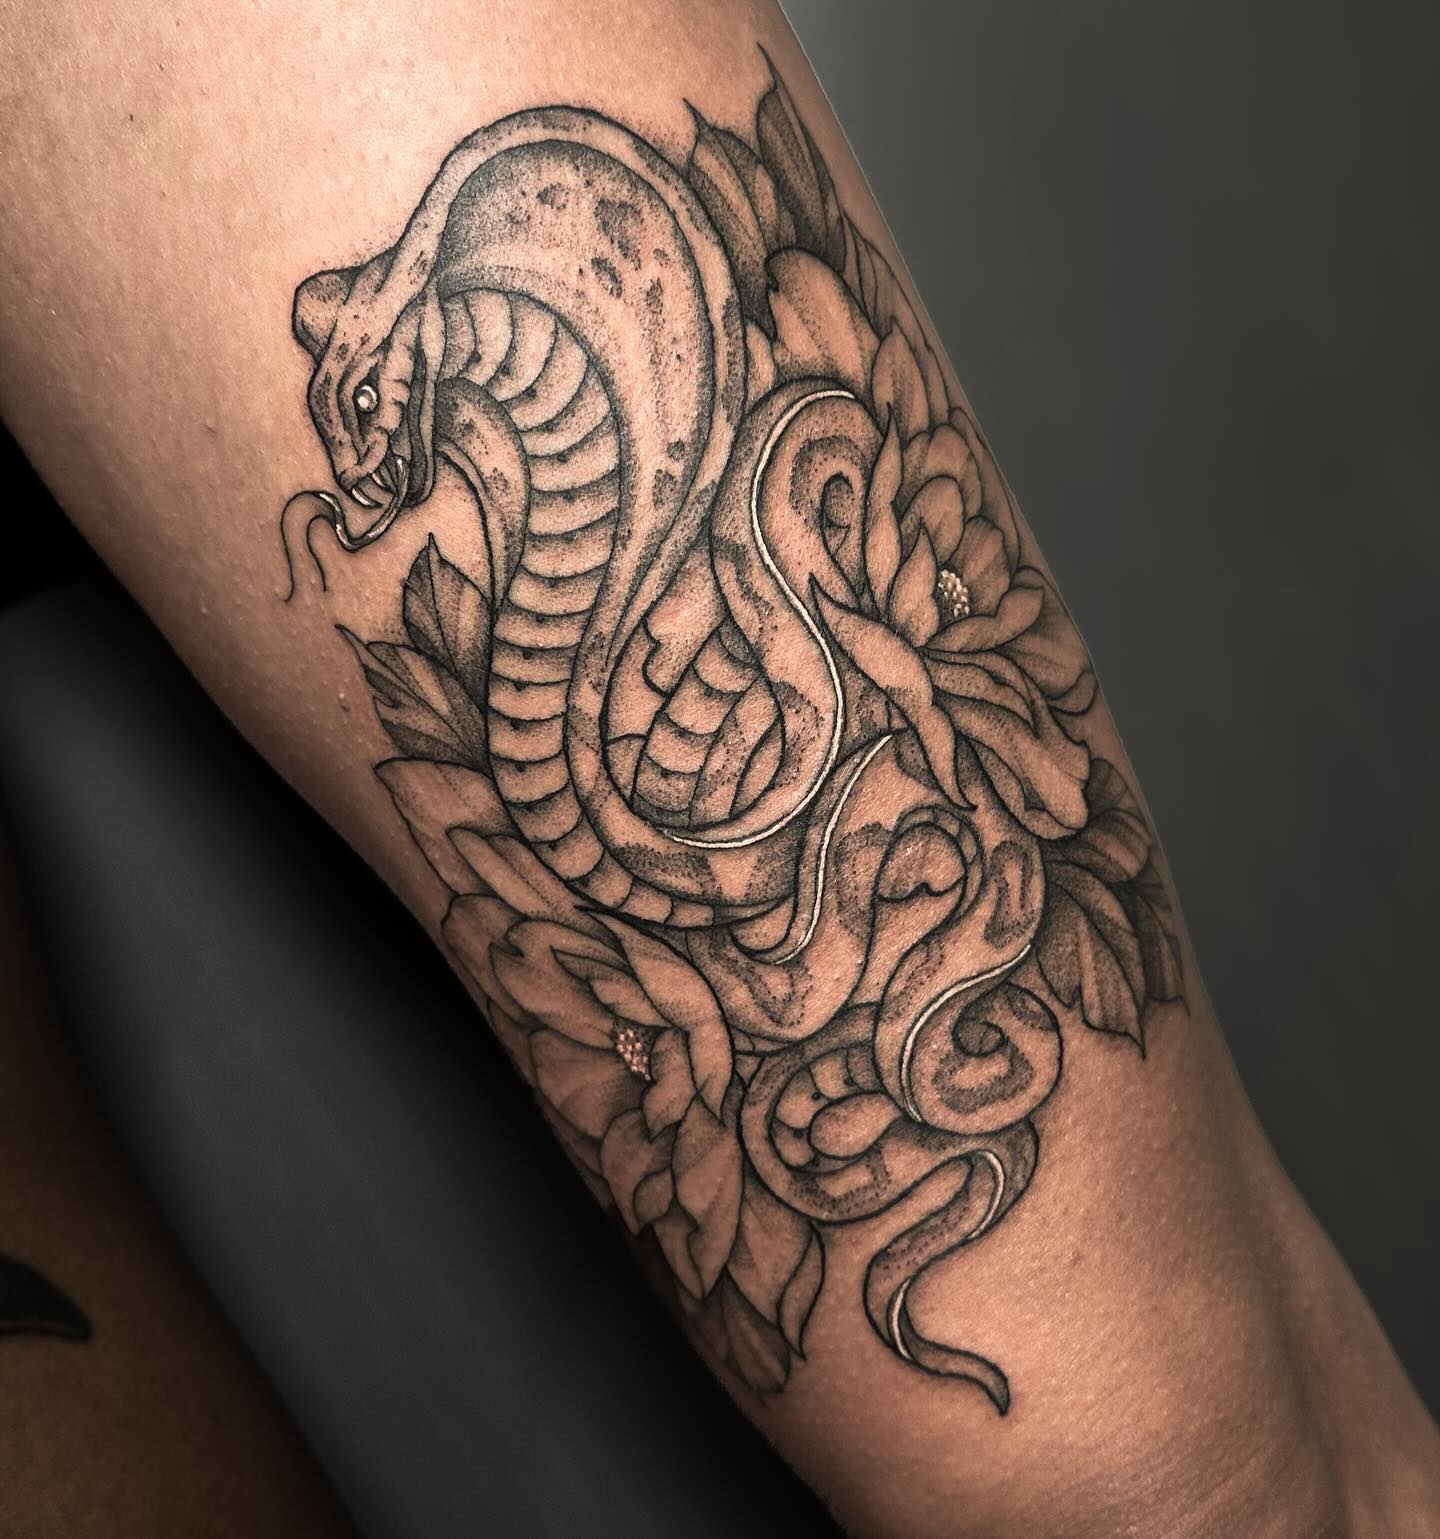
Snake-and-flower combinations have quietly become one of the most reliable half sleeve formulas going.
The reason is structural: a snake’s body is a natural curve that spirals around a limb, and flowers fill the spaces the coils leave behind.
It works in colour and in black and grey, and it scales from a small forearm piece up to a full shoulder build without redrawing the concept.
I have seen this composition used as a rescue plan more than once, wrapping a serpent around older tattoos to pull them into a single design.
Band and Illustration Hybrids
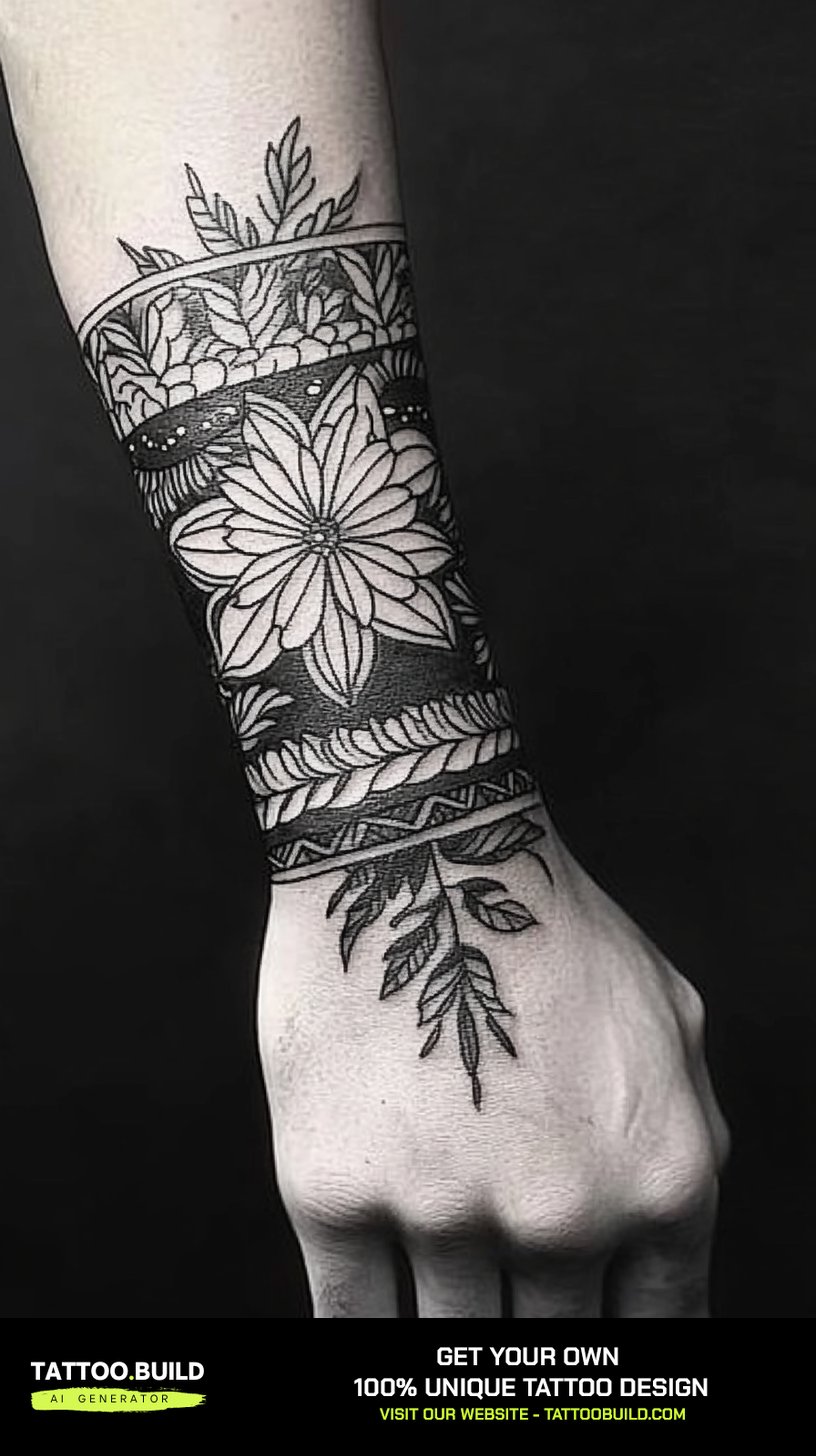
A solid black band paired with illustrative work above or below it is the most underrated structure in this whole list.
The band gives you a hard, deliberate edge — no fading out, no ambiguity about where the tattoo ends.
It also breaks the arm into panels, which means you can add sections over years without the result looking accidental.
If you already have scattered pieces and want to connect them, this structure plus some sleeve filler ideas will usually get you there more cheaply than a cover-up.
Alternatives If a Full Half Sleeve Feels Like Too Much
Not everyone should start with a shoulder-to-elbow commitment, and there is no shame in scaling down.
The Upper Arm Build
Concentrating the work above the elbow keeps everything hidden under a t-shirt sleeve, which matters in some workplaces.
It also leaves the forearm free, so you can extend downward later once you know how you feel about being visibly tattooed.
The Quarter Sleeve
Shoulder to mid-bicep, or elbow to mid-forearm. Roughly half the cost and half the chair time of a full half sleeve.
It is the honest recommendation for a first large tattoo. You learn how you sit, how you heal, and whether you and the artist work well together before spending four figures.
The Minimal Approach
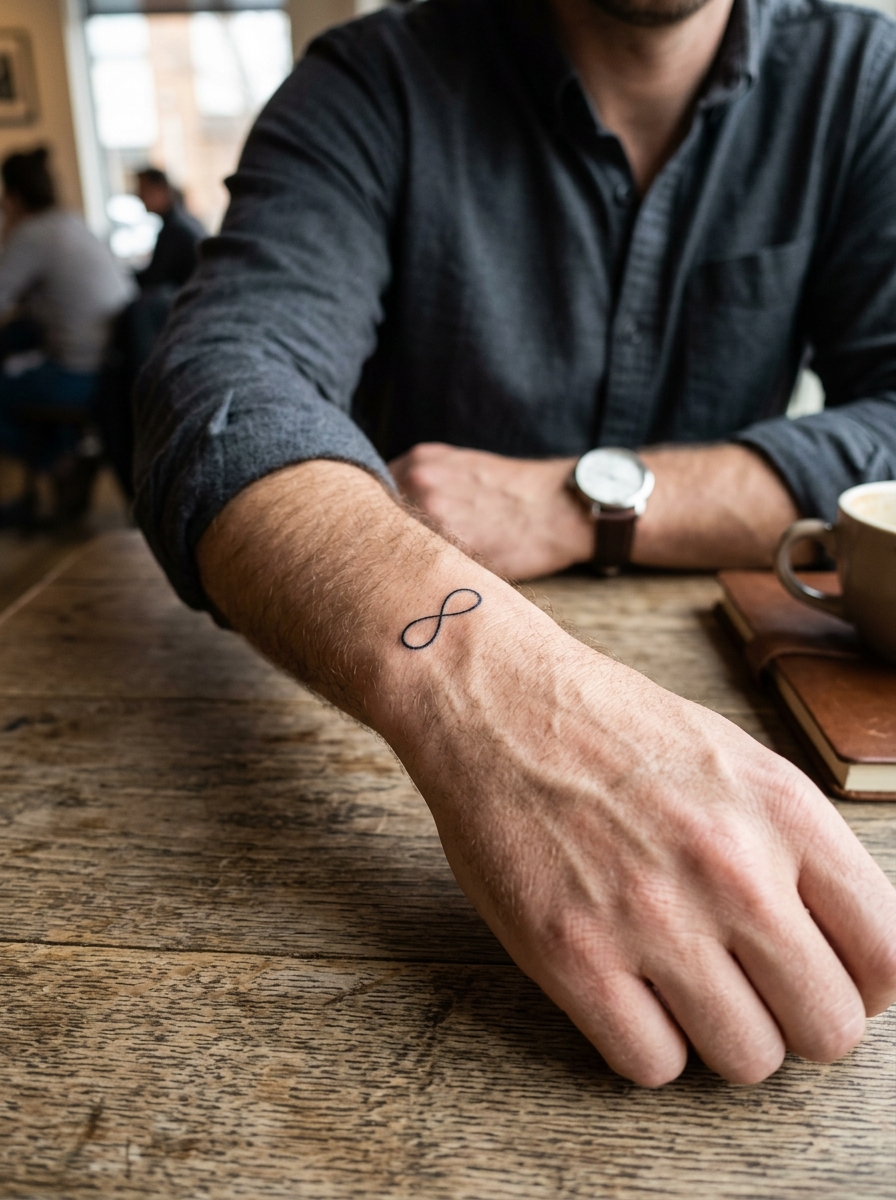
A narrow band, a small scene and a lot of bare skin can carry an arm perfectly well.
Restraint reads as confidence, and it is far easier to add to a sparse arm than to reclaim space from a crowded one.
Practical Advice Before and After You Sit
Pick the artist before the design. Look for a portfolio full of the style you want and, ideally, healed work — and be realistic that popular artists book months out. Knowing which areas hurt most also helps you plan the order of your sessions.
Eat a proper meal beforehand and skip alcohol the night before. Long sessions punish an empty stomach far more than short ones.
Aftercare is where half sleeves are won or lost, because you are healing a large area for weeks rather than days. Follow your artist’s instructions over anything you read online, including this page, and use a general tattoo aftercare guide only as background. The American Academy of Dermatology also publishes straightforward guidance on caring for tattooed skin.
Sun is the long game. Once healed, sunscreen on the arm does more to preserve a sleeve than any aftercare product, and the Mayo Clinic has a clear rundown of tattoo risks worth reading before your first session.
Common Mistakes and Still Not Sure?
The most expensive mistake is collecting instead of designing — filling an arm with unrelated pieces and hoping an artist can unify them later.
The second is choosing an artist by price or availability rather than by portfolio fit. A great blackwork artist is not automatically a great realism artist.
The third is rushing the stencil. If the placement looks wrong on your skin, say so before the needle starts. Every artist I have asked would far rather redraw than fix it afterwards.
Still weighing your options? It can help to look at narrower ideas first — outer bicep designs if you want something contained, or geometric sleeve concepts if pattern appeals more than imagery.
Frequently Asked Questions
How long does a half sleeve tattoo take to finish?
Most half sleeves I have watched come together over three to five sittings of roughly four hours each, spread across a couple of months. The gap between sessions matters as much as the chair time, because your artist cannot shade over skin that is still healing. Highly detailed colour work can stretch past six sittings. Ask your artist for their own estimate at the consultation — a good one will give you a realistic range rather than a single number.
Does a half sleeve hurt more than a smaller tattoo?
It is not usually more intense minute to minute, it is just longer, and fatigue is the part people underestimate. The outer bicep and outer forearm are among the easier spots on the arm; the inner bicep, the elbow ditch and the wrist are noticeably sharper. In my experience the last hour of a long session is worse than any single area. Eat properly beforehand and take the breaks your artist offers.
Can I combine separate tattoos I already have into a half sleeve?
Often yes, and it is one of the most common requests artists get. Whether it works depends on how far apart the existing pieces sit, whether their styles clash, and how dark they are. An artist will usually propose connective filler — smoke, waves, foliage, or ornamental patterning — to tie things together. Bring photos of everything on the arm to the consultation, not just the pieces you like.
Should I start at the shoulder or at the elbow?
Start wherever you are most certain about the design, because that section will get the most careful planning. Working shoulder-down is the traditional approach and makes it easier to extend into a full sleeve later. Working elbow-up gives you a piece you can hide under a short sleeve while you decide how far to go. Both are fine, and neither locks you out of finishing later.
What should I do if my healing tattoo looks red, swollen or painful after a week?
Mild redness and tightness in the first few days is normal, but symptoms that worsen after the first week are not. Spreading redness, heat, swelling, pus or a fever are reasons to contact a doctor promptly rather than wait it out. Message your artist too, since they will want to know and can tell you what is typical for their work. Nothing in this article is medical advice — for anything that looks like an infection or an allergic reaction, see a healthcare professional.
Quick Summary
- A half sleeve runs shoulder to elbow or elbow to wrist, and gives you sleeve-level impact that a t-shirt still covers.
- Flow matters more than subject — the design has to follow the arm’s taper, not sit flat on it.
- Blackwork and Japanese irezumi age best; soft colour and fine line work need the most upkeep.
- Leave deliberate negative space and give the piece a real stopping point, such as a band or a natural break at the wrist.
- Expect roughly three to five sittings for most builds, spread over weeks so each stage can heal.
- Choose the artist by portfolio fit for your specific style, and ask to see healed work rather than fresh photos.
- A quarter sleeve or upper arm build is a sensible first step if you are not ready for the full commitment.
- Follow your artist’s aftercare instructions, and see a doctor for anything that looks like infection or an allergic reaction.