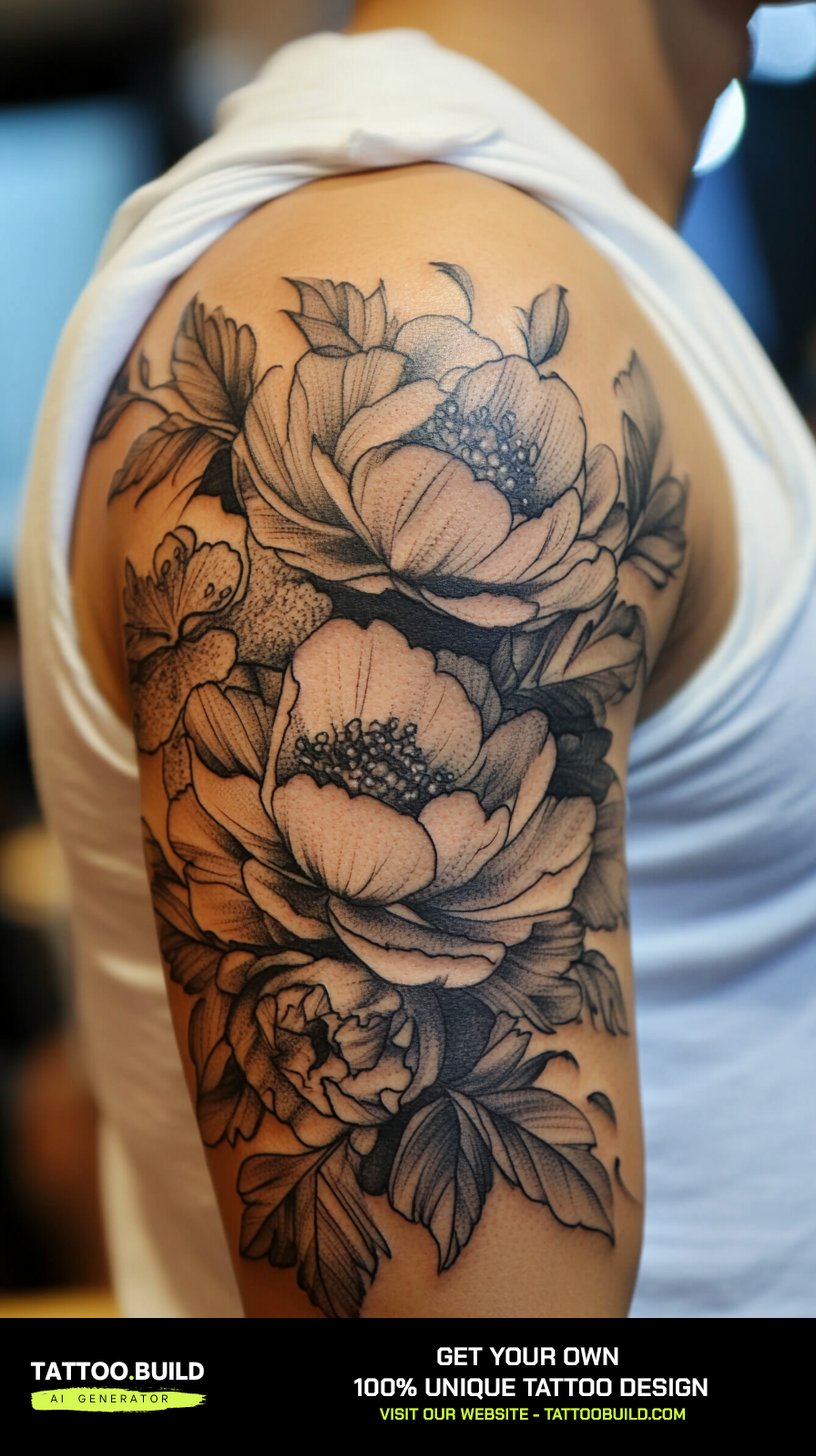
An upper arm tattoo drawing is not finished until it has been redrawn to fit the specific arm it is going on. That is the single thing I wish someone had told me before I walked into my first consultation with a printout.
I have brought reference sheets to four different artists over the years, and every one of them redrew the design before it touched skin. Not because the drawing was bad, but because a flat sketch and a curved bicep are two different surfaces.
This guide is about the drawing stage specifically: what to sketch, how to size it, which styles hold up on the upper arm, and where people go wrong. If you are still deciding on subject matter rather than placement, the broader roundup of cool arm tattoo ideas is a better starting point.
Everything below comes from consultations, sketchbooks I have filled badly, and questions I have put to working artists. Where I am unsure, I say so.
Which Upper Arm Placement Is Right for You?
The upper arm is not one canvas. It is four, and they behave differently under a needle and in a drawing.
| Placement | Best for drawings that are | Typical discomfort | Everyday visibility |
|---|---|---|---|
| Outer bicep | Bold, self-contained, roughly oval | Mild to moderate | Hidden by a t-shirt sleeve |
| Inner arm | Vertical, narrow, script or single motif | Moderate to sharp | Only when you lift your arm |
| Shoulder cap | Rounded, ornamental, mandala-like | Mild over muscle, sharper on bone | Peeks out of most sleeves |
| Full upper arm wrap | Continuous, designed as a cylinder | Mixed, hardest on the inner side | Reads as the start of a sleeve |
Pain varies enormously between people, so treat that column as a rough ordering rather than a promise. A general tattoo pain chart is useful for the same reason: it ranks areas, it does not predict your day.
What Actually Makes an Upper Arm Drawing Work on Skin
A drawing that looks balanced on paper can look lopsided on an arm, and the reason is geometry rather than talent.
The upper arm is closer to a cone than a cylinder. It is wider at the shoulder, narrower above the elbow, and the surface curves away from the viewer on both sides.
Roughly the middle third of the arm is what anyone sees from the front. Detail drawn near the edges disappears around the curve, which is why experienced artists push the focal point of a design toward the outer bicep.
Muscle movement matters too. Skin over the bicep stretches and compresses noticeably, so tight repeating patterns drawn as perfect grids tend to look distorted when the arm flexes.
Then there is time. Lines spread slightly as skin ages, and dense detail crowded into a small area tends to blur first. Every artist I have asked has said the same thing in different words: draw it bigger than feels necessary.
Upper Arm Tattoo Drawing Styles Worth Sketching
These are the styles I keep seeing hold up well on the upper arm, with what each one demands at the drawing stage.
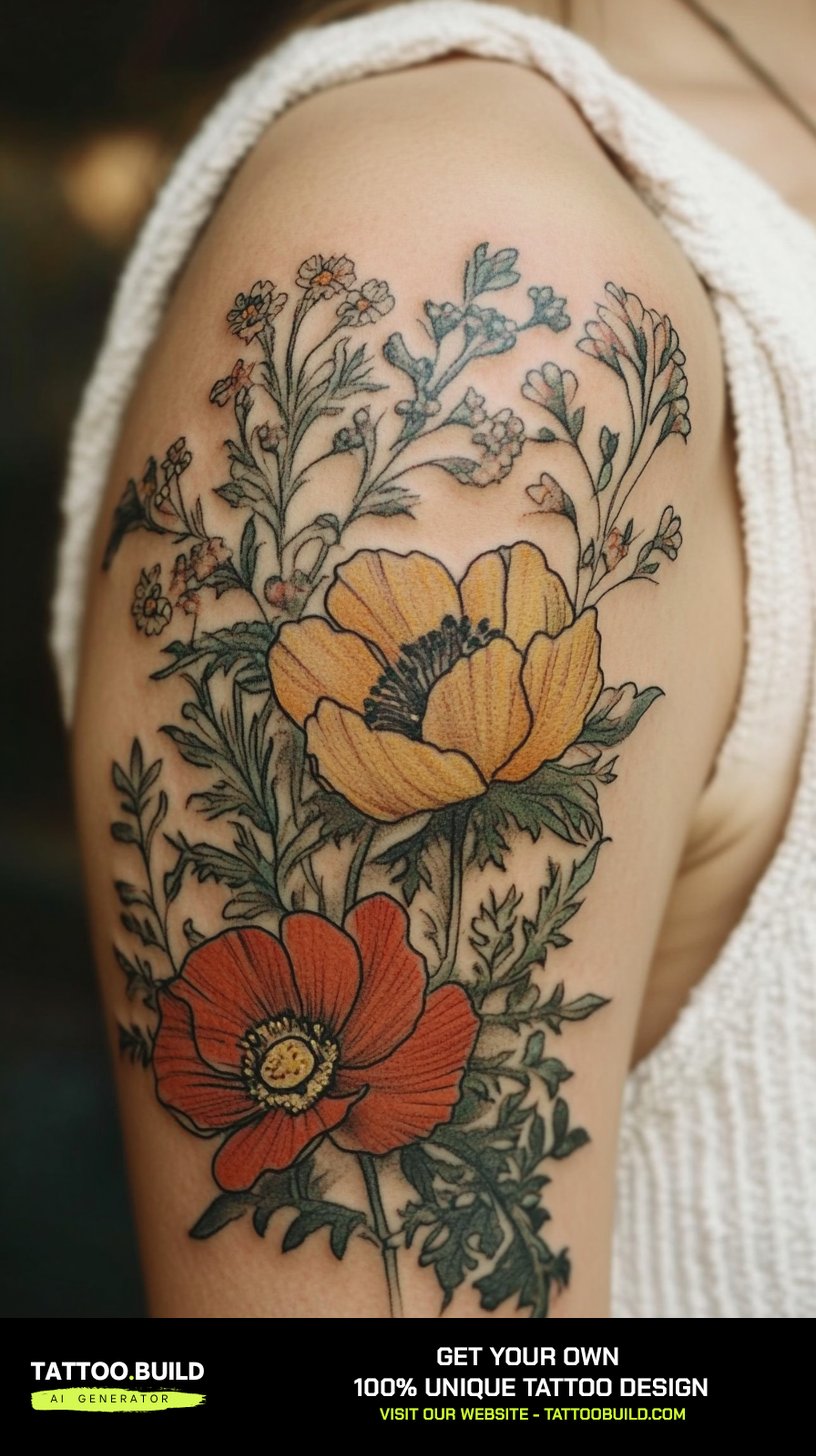
Fine Line Botanicals
Fine line work is drawn at the size it will be tattooed, never scaled down afterwards. Shrinking a sketch pulls thin lines closer together until they merge into a grey smudge on skin.
When I tested this with my own sketches, a stem drawn at eight centimetres and reduced to five lost every gap between the leaves. The artist redrew it from scratch.
Single-needle botanicals suit the inner arm and the front of the bicep, where the skin is flatter. If the style appeals more than the subject, there is a wider set of fine line tattoo ideas worth scrolling through first.
The honest limitation: fine line ages less predictably than bolder work, and touch-ups are more common. Ask your artist how their healed fine line pieces look after a few years, and ask to see photos.
Blackwork and Negative Space
Blackwork drawings are really two drawings at once — the black shape and the untattooed skin left inside it.
In my experience the negative space is the part beginners forget to draw. If you only sketch the black and leave the gaps to chance, the design fills in solid once it is on the arm.
The upper arm handles blackwork well because there is enough surface area for a large solid shape to look intentional rather than like a patch.
Large areas of solid black take longer to heal comfortably than linework and often need a second pass to look even. Budget for that when you plan sessions.
Geometric and Ornamental Patterns
Geometric drawings live or die on measurement. I sketch these with a compass and a ruler, then trace the result freehand to check it still looks right by eye.
Symmetry has to be drawn onto the curve, not onto the paper. A mandala that is perfectly circular flat will read as an oval once it is wrapped around a bicep, so artists usually stretch it slightly along one axis.
Ornamental patterning is forgiving in one way: because it repeats, a small distortion reads as part of the texture rather than as a mistake.
Animal Portraits
Animal portraits need more space than people expect. The eyes carry the whole piece, and eyes drawn small heal into dark dots.
When I asked an artist why a wolf portrait had to sit across most of the outer bicep, the answer was blunt: anything smaller and the fur texture becomes grey mush within a decade.
Front-facing portraits suit the flat outer bicep. Profiles work better on a wrap, because the muzzle can follow the curve of the arm naturally.
Reference photography matters more than drawing skill here. Bring several photos of the specific animal, in the specific lighting you like, rather than one stylised illustration.
Floral Wraps
Floral drawings are the easiest style to make fit an arm, because flowers can be rearranged along a spiral without looking wrong.
I plan these by drawing a single curved guideline down the arm first, then hanging blooms off it at intervals. It stops the design from looking like a bouquet pasted onto a tube.
Leaves and filler do the structural work. In every good floral wrap I have seen up close, the gaps between the main flowers are as carefully planned as the flowers themselves.
Mythology and Statue Shading
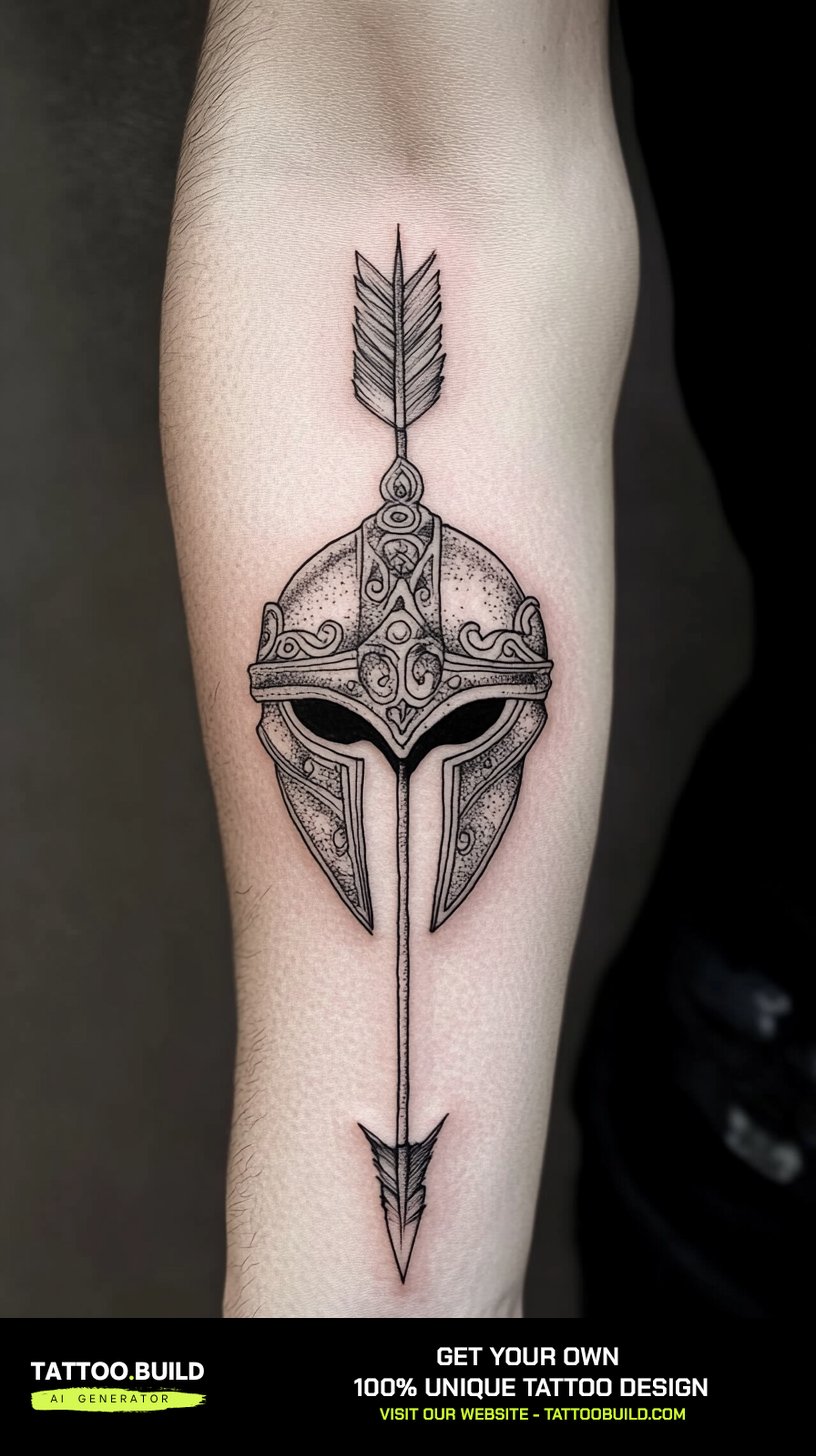
Statue-style drawings — busts, draped figures, classical hands — rely almost entirely on grey tone rather than outline.
That makes them hard to judge as a pencil sketch. Ask for a greyscale digital mock-up on a photo of your own arm before committing, which most artists will do as part of the design fee.
These pieces reward size. Drawn large enough, the tonal transitions have room to be smooth; drawn small, they collapse into flat grey.
Armbands and Wraparound Bands
A band is a deceptively hard drawing. The arm is a cone, so a band drawn as a straight strip will meet itself at an angle rather than lining up.
Artists solve this by drawing the band slightly angled, or by breaking the pattern at the inner arm where the join is least visible. Ask which approach yours uses.
Decide in advance where you want the seam. Every wraparound design has one, and pretending otherwise is how people end up with a mismatch on the front of the arm.
Traditional and Neo-Traditional
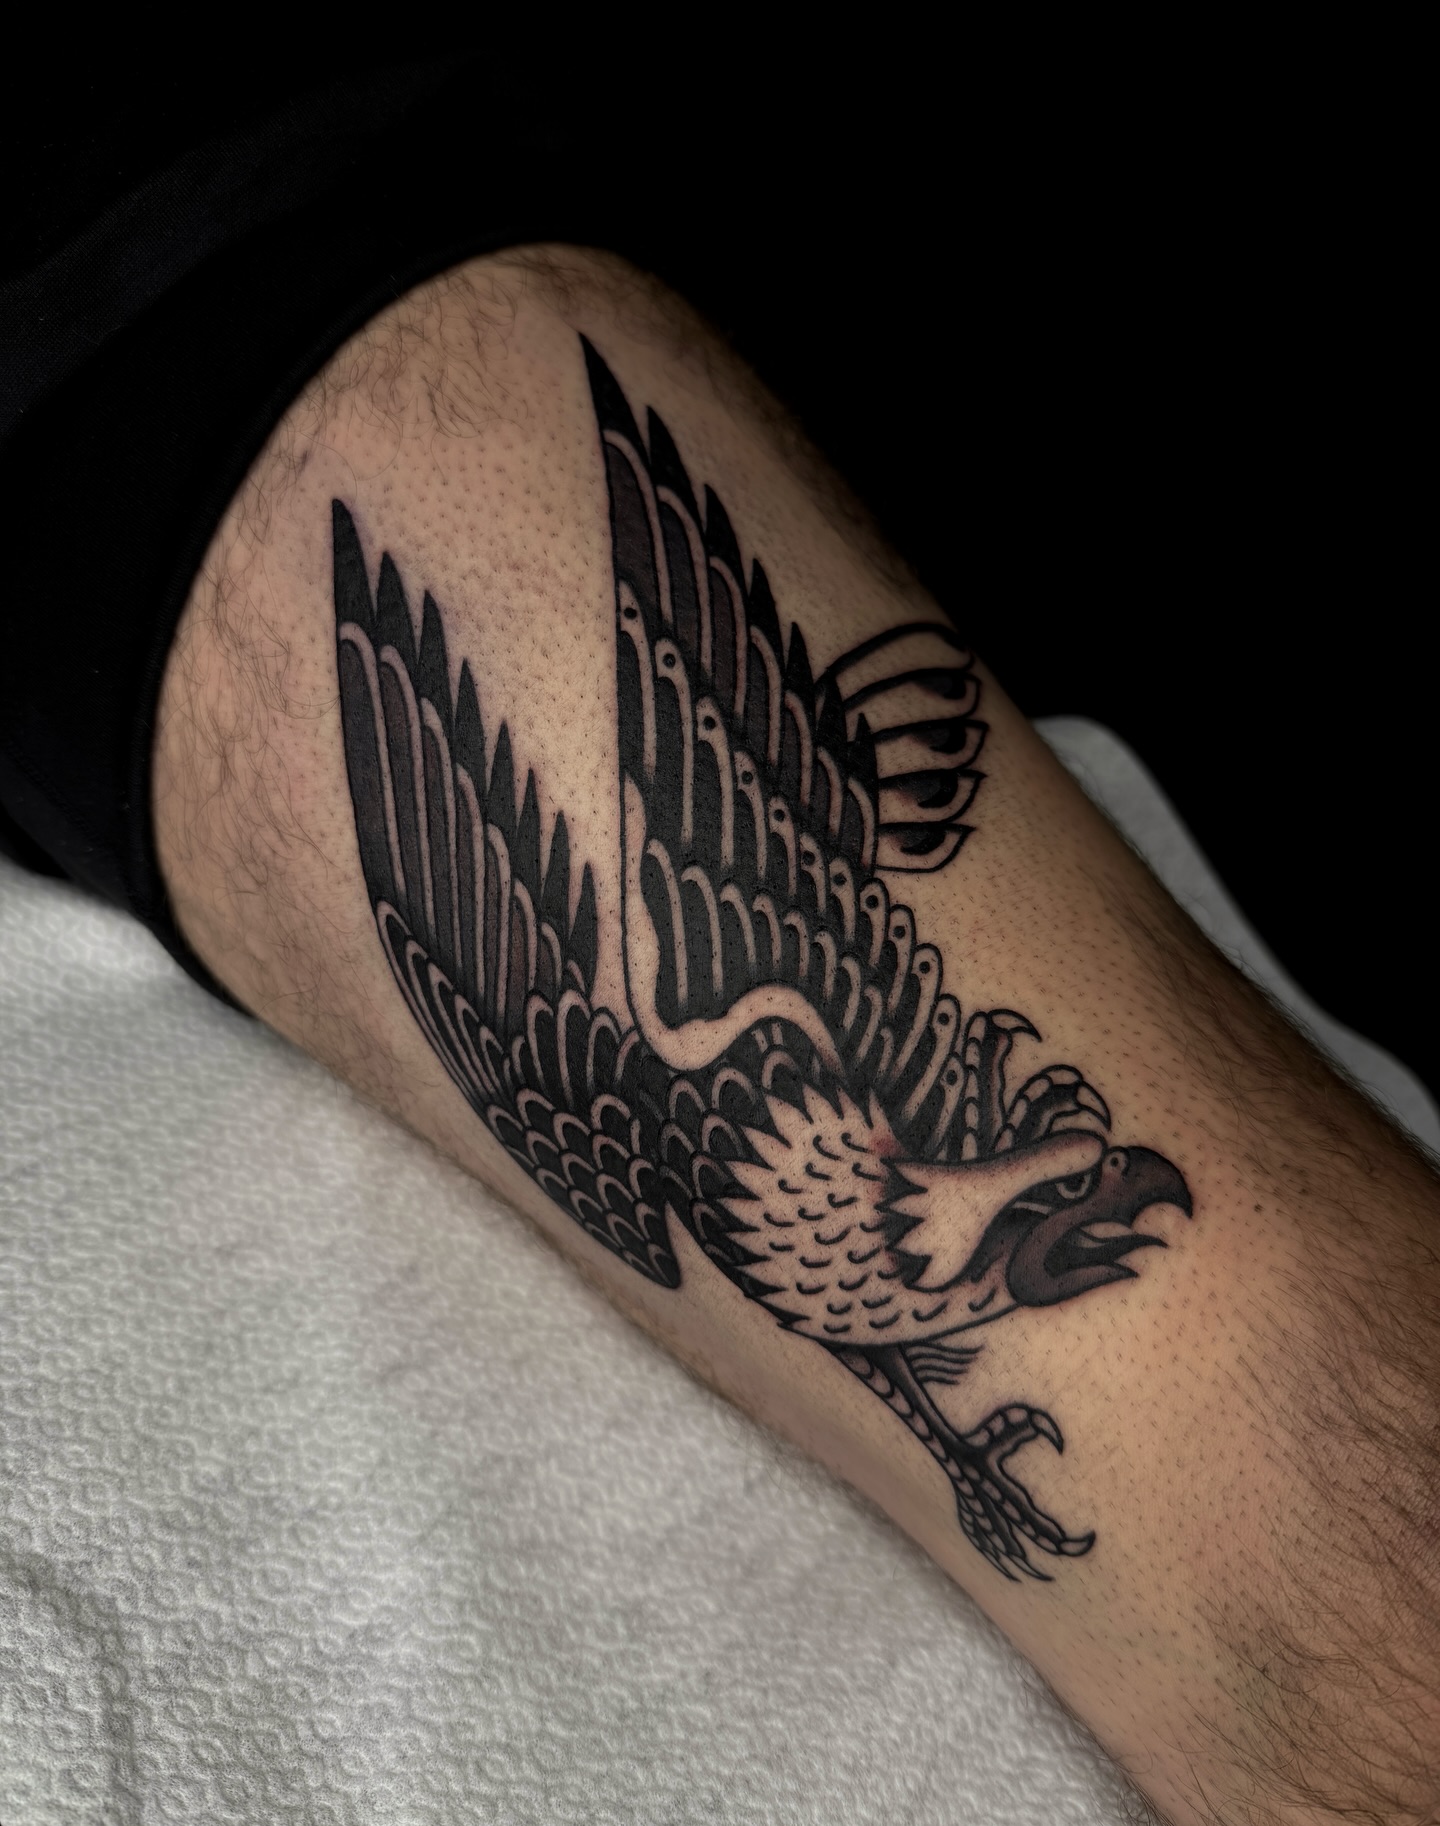
Traditional drawings use thick outlines and limited colour because those choices survive decades of skin ageing. The boldness is engineering, not just taste.
Neo-traditional keeps the heavy outline but allows more shading and a wider palette. It sits comfortably on the upper arm at roughly palm size and upward.
If you are drawing your own reference, exaggerate the line weight beyond what feels comfortable. Every traditional artist I have watched work draws heavier than the sketch they were handed.
Variations and Where to Take the Drawing Next
An upper arm drawing rarely stays a standalone piece for long. These are the usual directions it grows in.
Extending Into a Half Sleeve
The most common next step is downward, from the shoulder to the elbow. Drawing the upper arm piece with a deliberate open edge at the bottom makes that far easier later.
If extension is even a possibility, say so at the first consultation. Browsing half sleeve tattoo drawings together helps an artist plan the composition with room to grow.
Moving to the Inner Arm
The inner upper arm suits quieter drawings: script, a single small symbol, a narrow botanical.
It is more sensitive than the outer bicep in my experience, and the skin is softer, so very fine detail can spread a little more here.
Grey Wash Realism
Grey wash trades outlines for tone. It looks softer from a distance and needs a competent hand at the drawing stage to establish where the darkest values sit.
Bring a photo reference with strong directional light. Flat, evenly lit references produce flat, evenly grey tattoos.
Landscapes and Nature Scenes
Mountains, trees and horizons work on the upper arm as long as the horizon follows the muscle rather than cutting straight across it.
A straight horizontal line on a curved arm always looks slightly wrong. The same principle applies further down the limb, which is why so many forearm tattoo ideas use vertical compositions instead.
Shoulder-Led Designs
Some drawings read better anchored at the shoulder cap and trailing down, rather than centred on the bicep.
This suits ornamental and armour-style work particularly well — see shoulder tattoo designs and classy shoulder tattoos for how the anchor point changes the whole composition.
Taking a Drawing From Paper to Skin
Bring reference, not a finished design. Artists work faster and better from three or four images that show what you like than from one drawing they are expected to copy exactly.
Ask for the stencil to be placed and then walk to a mirror. Look at it from the angle other people see you from, not the angle you see your own arm from — they are not the same, and this is the cheapest correction you will ever make.
For aftercare, follow whatever your artist tells you first, because they know what they put in your skin. General guidance from the American Academy of Dermatology is a sensible cross-check, and questions like whether Vaseline is safe on a healing tattoo come up constantly.
Watch for spreading redness, swelling that worsens after the first few days, discharge or fever, and see a doctor rather than asking the internet. Allergic reactions to pigment are uncommon but real, and the US FDA fact sheet on tattoos and permanent makeup explains what is and is not regulated. Nothing here is medical advice.
Common Mistakes and How to Avoid Them
Drawing too small is the mistake I see most often. It usually comes from budget, and it usually costs more in the long run because the piece needs reworking.
The second is choosing a design that ignores the arm entirely — a rectangular composition on a round surface, with no plan for where the edges go.
The third is committing to a standalone piece while quietly hoping for a sleeve later. If a full sleeve is the eventual goal, plan the first piece as part of it.
And the fourth is picking an artist by price rather than portfolio. Look specifically for healed photos in the style you want, on arms, taken more than a year after the session.
Frequently Asked Questions
How big should an upper arm tattoo drawing be?
Most upper arm pieces I have seen work well start at roughly palm size and go up from there. The outer bicep on an average adult gives you something in the region of a hand-span of usable flat surface. Detailed styles like realism and portraiture generally need more space than that, not less. Your artist will size the stencil to your actual arm, so treat any measurement online as a starting point only.
Do upper arm tattoos hurt more than forearm tattoos?
For most people the outer bicep is among the more comfortable spots on the arm, because there is muscle between the needle and the bone. The inner upper arm is usually reported as sharper, and the area near the armpit more so again. Pain is genuinely individual, though, and things like sleep, food and caffeine affect it more than people expect. If you are anxious about it, book a shorter first session rather than a long one.
Can I bring my own drawing to a tattoo artist?
Yes, and most artists welcome it. Expect them to redraw it rather than trace it, because a drawing has to be adapted to the curve and size of your arm. Some studios charge a design fee for that work, which is normal. If an artist refuses to change anything about your drawing, that is worth questioning rather than celebrating.
How long does an upper arm tattoo take?
A simple linework piece on the bicep is often a single sitting of a couple of hours. Detailed shading, colour packing or a full wrap commonly runs across multiple sessions with healing time in between. The sessions I have sat through for medium-sized shaded work ran three to four hours each. Your artist can estimate accurately once the drawing is finalised, so ask at the consultation rather than guessing.
Will my upper arm tattoo stretch if my arm size changes?
Moderate changes in muscle or weight usually distort a tattoo far less than people fear, because the upper arm skin is relatively thick. Large or rapid changes can affect the shape, particularly for tight geometric patterns where distortion is easiest to see. Designs with organic shapes tend to tolerate change better. If you are mid-way through a significant fitness or weight change, it is reasonable to ask your artist whether waiting makes sense.
Quick Summary
- Treat any drawing as a starting point — it will be redrawn to fit your arm.
- Push the focal point to the outer bicep, where people actually see it.
- Draw at final size, especially for fine line work.
- Plan negative space deliberately in blackwork and ornamental designs.
- Decide where a wraparound design will seam before the stencil goes on.
- Say at the consultation if a half or full sleeve is a possibility later.
- Check the stencil in a mirror from the angle other people see you.
- Follow your artist’s aftercare, and see a doctor for anything that looks infected.