The collarbone is the closest thing tattooing has to a jewellery counter. Designs here drape across the skin the way a fine chain does, and a collarbone tattoo is one of the few placements that reads as an accessory rather than as a tattoo.
I have sat for work on the ribs, the forearm and the collarbone, and the collarbone was the one strangers commented on first. It sits exactly where a necklace would, so people register it as styling before they register it as ink.
That is also what makes it tricky. The bone sits close to the surface, the skin moves every time you shrug, and a design that looks perfect on paper can fight the anatomy underneath it. Most of the choices below are built around that curve rather than against it, and if you like the idea of ink that mimics jewellery you should also look at necklace tattoo ideas for the same effect in a different shape.
Below are fifteen designs I keep coming back to, grouped by the style they belong to, plus what artists have told me about how each one ages.
Which Collarbone Tattoo Style Is Right for You?
Style matters more than subject on this placement, because the linework decides how the piece holds up over ten years. Here is how the four main approaches compare.
| Style | Typical session | Ages best when | Choose it if |
|---|---|---|---|
| Fine line | 45 min – 2 hrs | Kept out of direct sun and touched up around year five | You want the jewellery effect above everything else |
| Micro-realism / stipple | 2 – 4 hrs | The artist leaves generous space between dots | You want soft depth without heavy black |
| Bold line / illustrative | 2 – 4 hrs | Lines are 1.5 mm or thicker from the start | You want something readable from across a room |
| Script lettering | 1 – 2 hrs | Letters are large enough that gaps stay open | The words matter more than the picture |
What Makes the Collarbone Different From Other Placements
The clavicle is one of the few bones you can trace with a fingertip through the skin. There is very little fat between bone and needle, which is exactly why the placement is more sensitive than a forearm or an outer thigh.
In my experience the sting is sharp rather than deep, and it concentrates at the two ends: the sternum notch in the middle and the point where the bone meets the shoulder. The flat stretch in between is genuinely manageable. If you are weighing this against other spots, our guide to the most painful tattoo spots puts it in context.
The second difference is movement. Every shrug, reach and deep breath shifts the skin over the bone, which is why artists often stencil with your shoulders relaxed and then check the design again with your arms raised.
Third, this area gets more sun than people expect. Necklines, summer tops and car windows all deliver UV to the collarbone year round, and UV is the single biggest reason fine line work fades faster here than on covered placements.
Finally, visibility cuts both ways. A crew neck hides the whole thing; a scoop neck frames it. That flexibility is a large part of why the placement stays popular with people who work in conservative environments.
15 Collarbone Tattoo Ideas Worth Stealing
I have grouped the fifteen designs by style rather than listing them one by one, because that is closer to the conversation you will actually have at the shop.
1. Fine Line Florals and Trailing Leaves
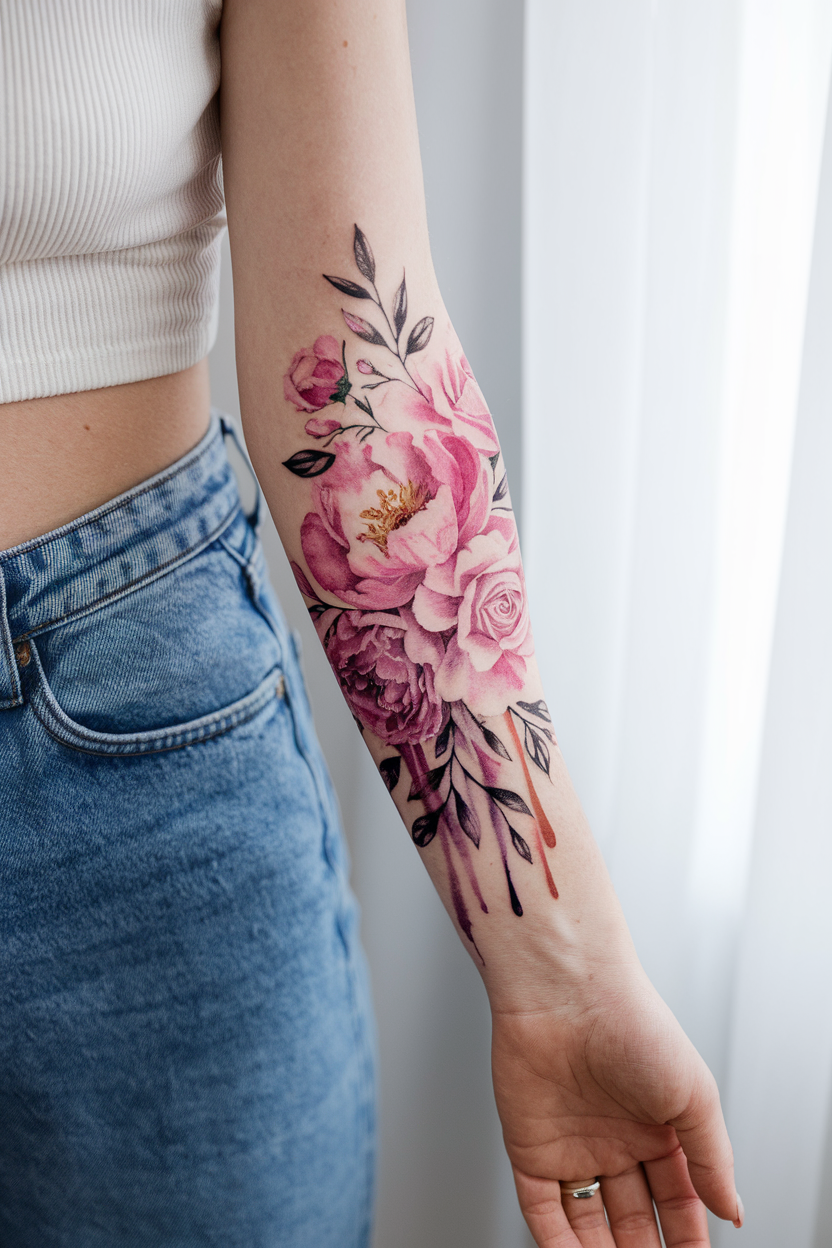
A vine or a run of leaves is the most requested collarbone design I have seen on studio walls, and the reason is geometric rather than sentimental: a stem naturally curves, and so does the bone.
Artists usually start the heaviest element near the sternum and thin the linework out toward the shoulder, so the design fades rather than stopping abruptly. Ask for that taper specifically, because a vine that ends in a blunt line looks unfinished.
Leaf-only versions are the quietest option in this whole list. No blossoms, no shading, just a trailing stem of five or six leaves. Every artist I have asked says these are the easiest collarbone pieces to touch up later, because there are no petal gaps to close in.
If you like botanicals but want more room to work with, the same vocabulary scales up comfortably onto the upper chest without changing the style at all.
2. Celestial Designs: Stars, Moons and Suns
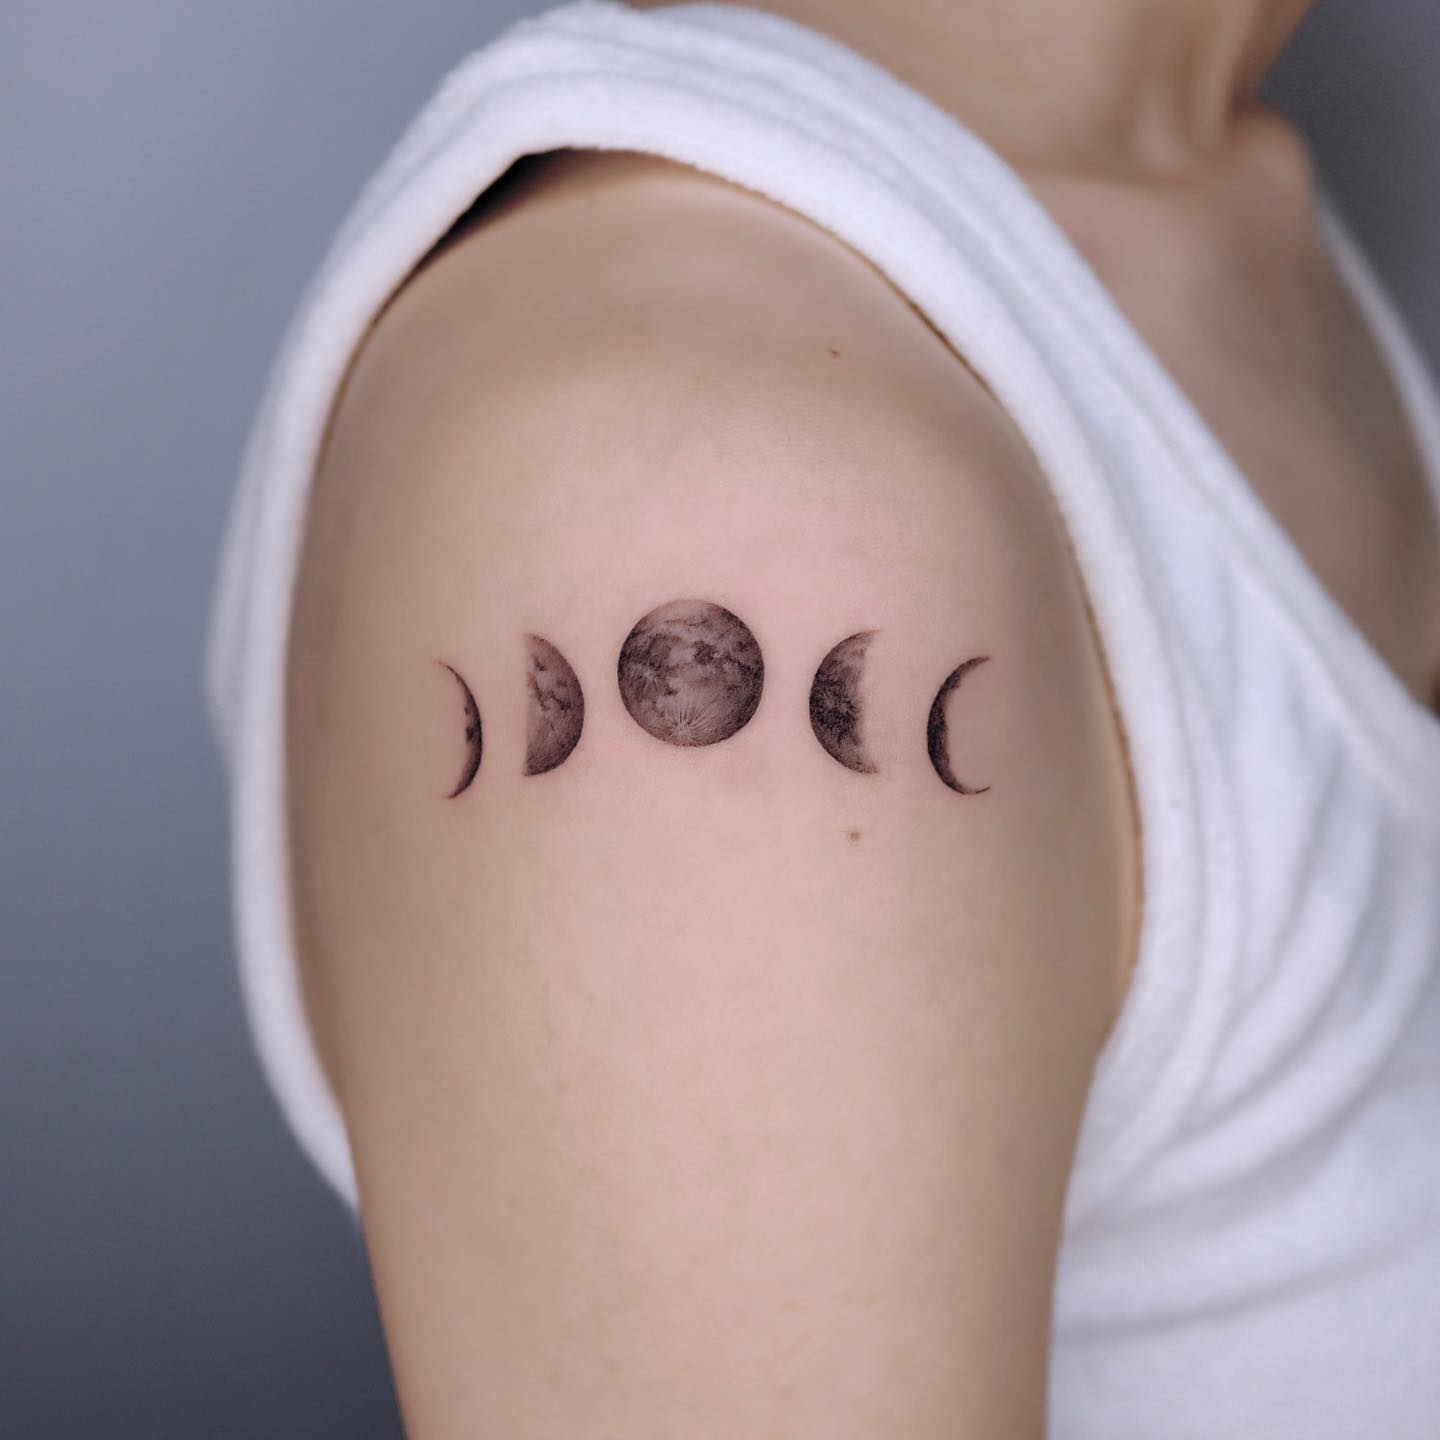
Celestial work suits this placement because the elements are small, separable and easy to space across a long horizontal line.
Scattered fine line stars are the most beginner-friendly version. Each star is three or four strokes, the whole piece often takes under an hour, and you can add more later without redesigning anything.
A crescent moon with trailing stars is the middle option: one anchor shape near the sternum, then a fan of smaller stars toward the shoulder. A celestial sun with alternating straight and wavy rays gives you a proper focal point if you want one deliberate centrepiece instead of a scatter.
One honest caveat: very small stars filled solid can blur into dots over a decade. Ask for open, unfilled stars if longevity matters more than contrast. There is a wider spread of options in our celestial tattoo collection.
3. Butterfly Chains and Winged Motifs
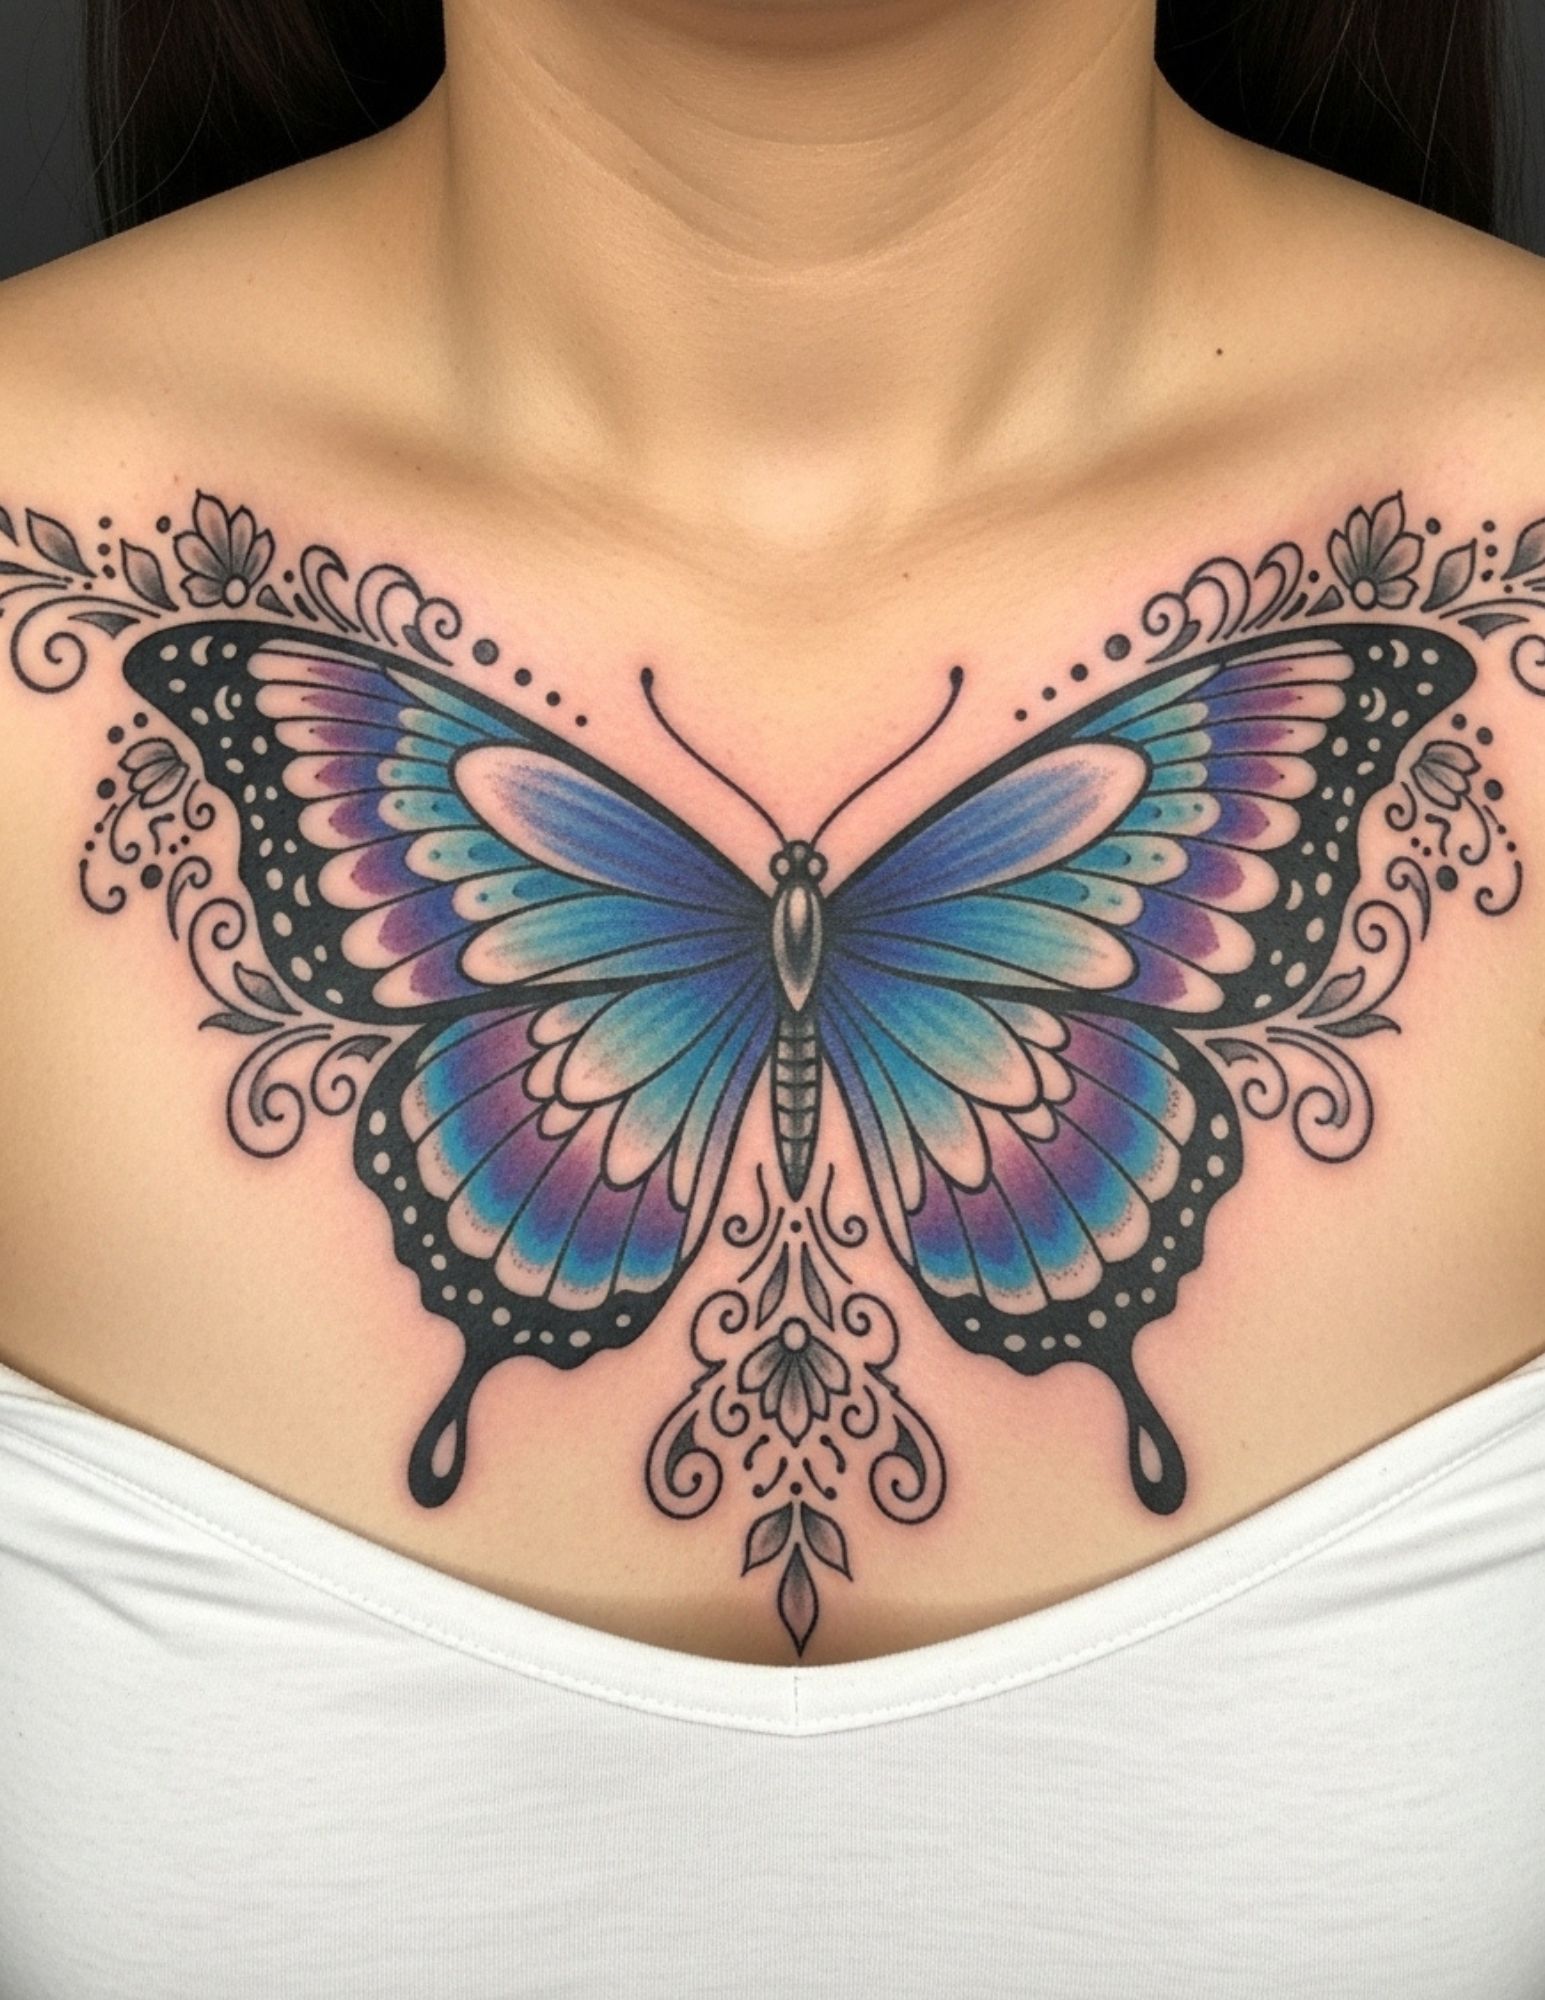
A row of butterflies linked wingtip to wingtip is the most literal interpretation of the jewellery idea, and it is the design people most often mistake for an actual necklace at first glance.
You can run them identical for a clean graphic repeat, or vary the sizes so the chain reads as movement rather than pattern. Symmetrical layouts, centred on the sternum and extending toward both shoulders, tend to photograph best.
The detail worth negotiating is wing density. Heavily shaded wings on a piece this small are the most common thing artists tell me they end up reworking, because the shading closes up as it settles. Two or three tones is usually plenty.
4. Minimalist Lines: Waves and Geometry
If you want the smallest possible commitment, a single continuous line is hard to beat. A wave running the length of the collarbone is one unbroken stroke that echoes the bone underneath it.
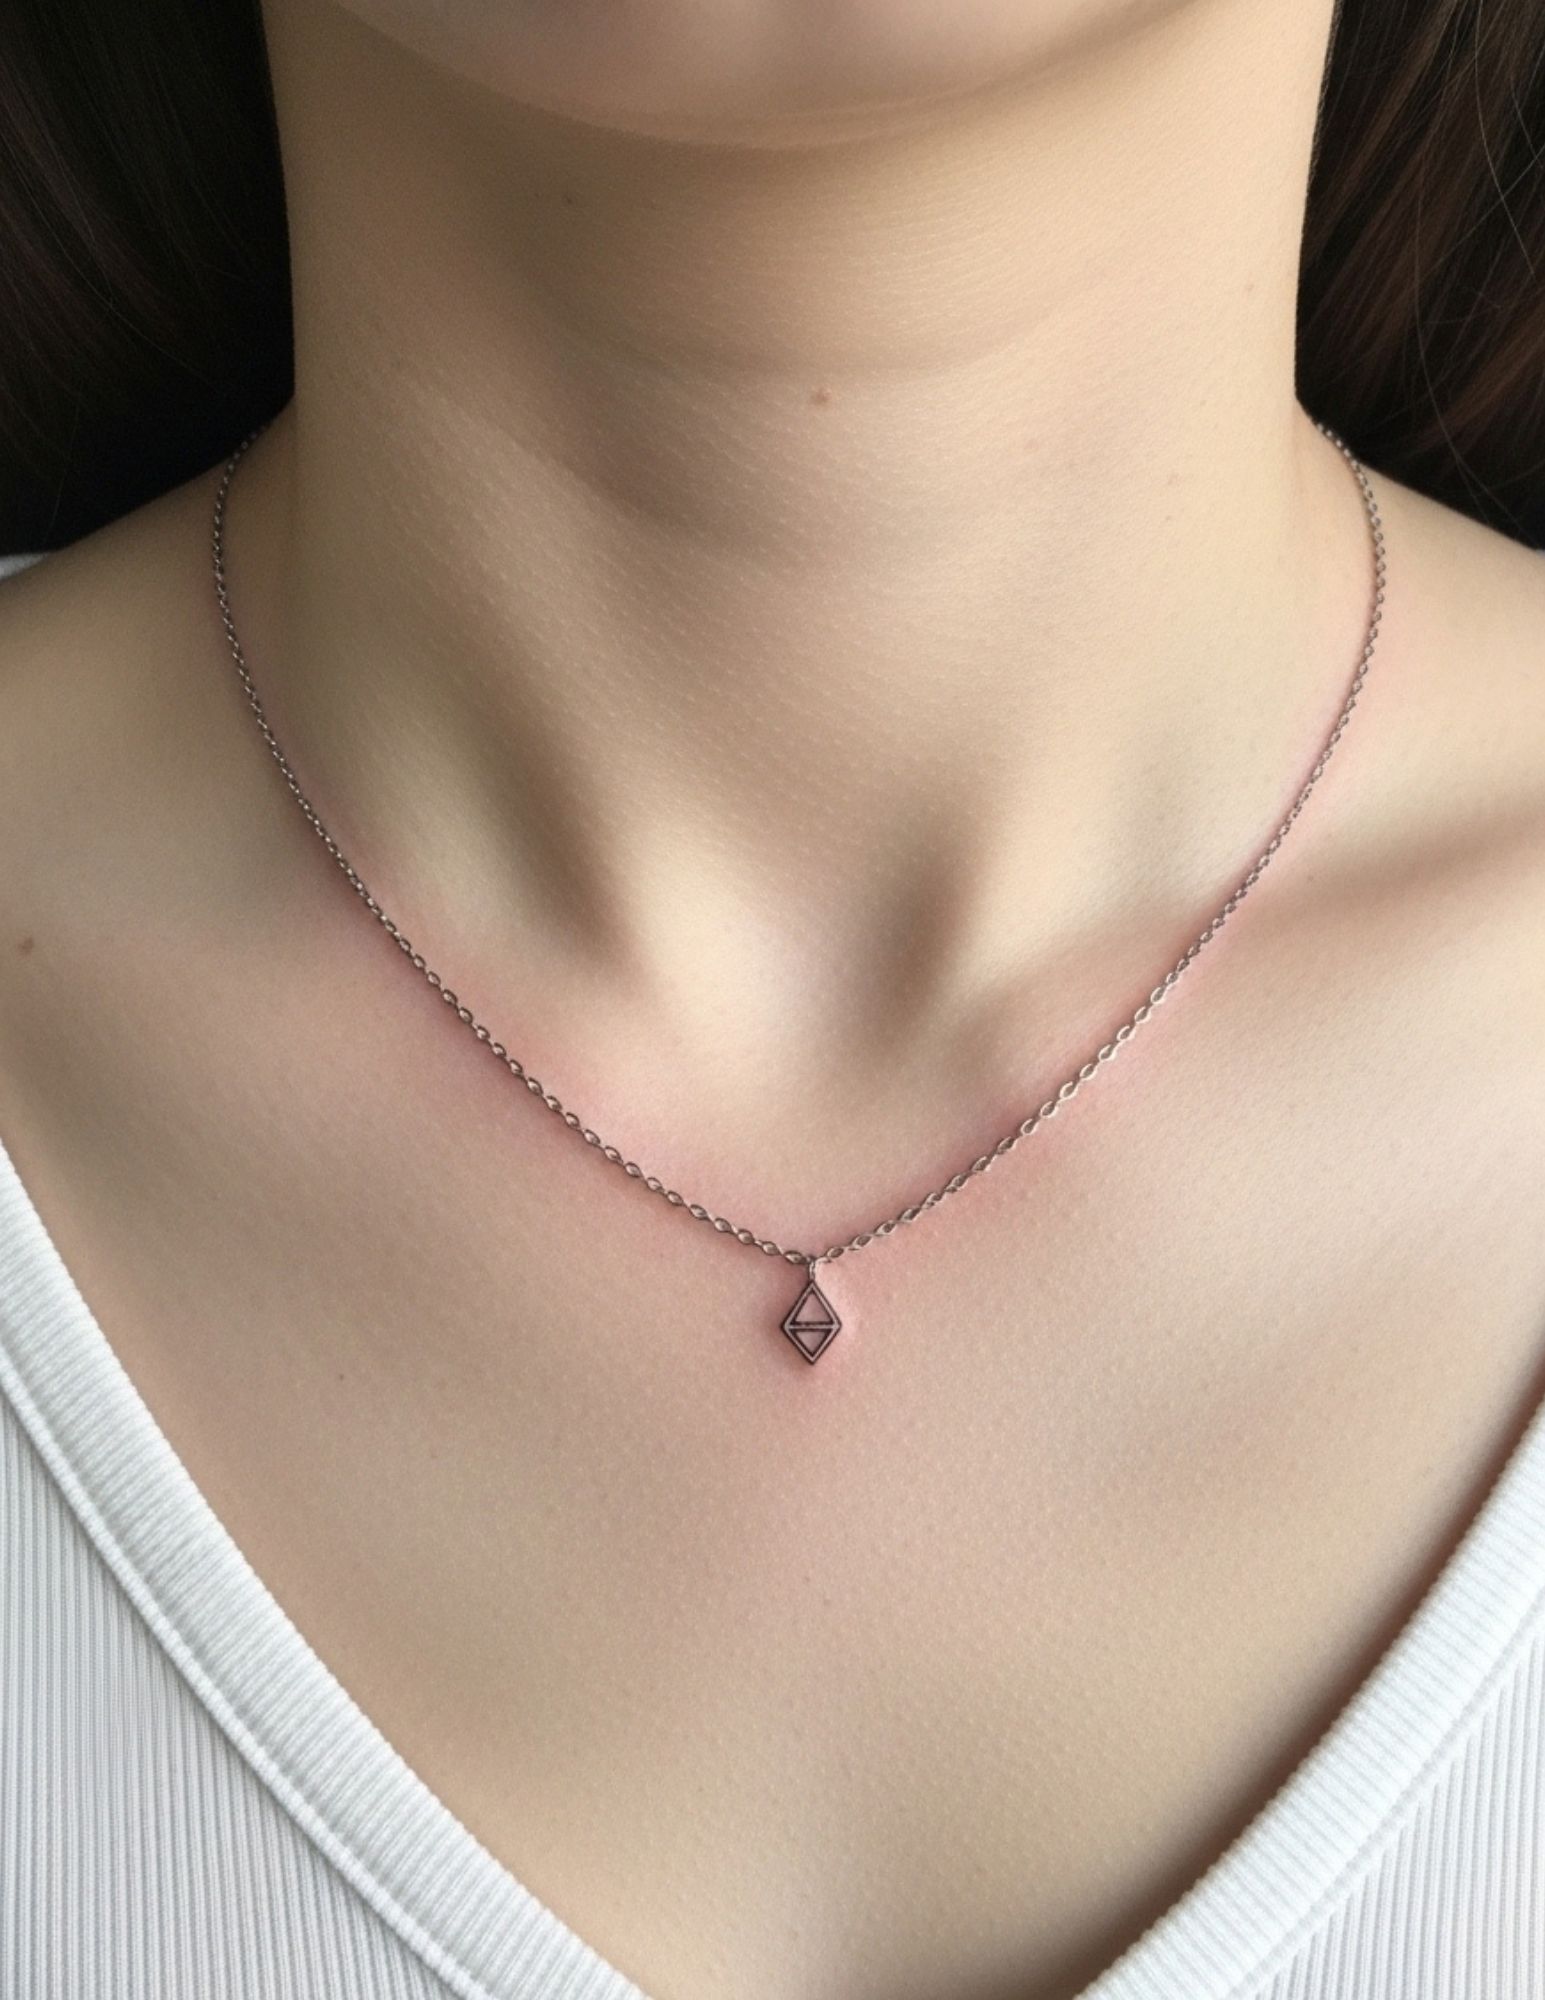
Geometric versions swap the curve for angles: three to five diamonds spaced evenly, or clustered off-centre for something less rigid. The contrast between hard angles and the soft curve of the body is the whole point of the design.
Both age unusually well. There is no fine internal detail to lose, so what you get at year ten is close to what you got at week four. In my experience these are also the fastest sessions on this list, often under an hour.
Straight-line thinkers should also look at the fine line spine placement, which follows a similar logic on a vertical axis.
5. Script Lettering and Word Tattoos
Cursive follows the clavicle arc so naturally that well-placed script can look like it was written directly onto the bone.
Names, dates, coordinates and short phrases in a second language are the usual choices. The technical constraint is size: letters that are too small close up as ink spreads slightly under the skin over the years, turning an e into a dot.
Every letterer I have spoken to gives the same advice, which is to size the script so that the smallest enclosed gap is still clearly visible at arm’s length. If the artist pushes back on your font choice, that is usually why, and it is worth listening to.
Print the stencil at full size and look at it in a mirror before the needle goes anywhere. Text reads differently on a curve than it does flat on paper.
6. Birds in Flight and Swallow Pairs
A small flock of birds moving from sternum toward shoulder is one of the oldest ideas on this placement and still one of the most effective, because the diagonal implies motion across a horizontal bone.
Minimalist versions reduce each bird to two curved strokes. Keep the flock to five or six shapes and vary the sizes so the nearest bird reads as closest to the viewer.
Swallows are the traditional alternative, usually mirrored as a pair with one on each side of the sternum. They carry more historical baggage than a generic bird, so it is worth reading up on what different bird tattoos mean before committing to a specific species.
7. Feathers, Lotus Blossoms and Symbolic Botanicals
This group covers designs chosen for meaning rather than shape, which changes the placement conversation slightly.
A feather that dissolves into stippled dots at one end is the most technically interesting of the three. The dots need real space between them; a dense stipple on thin skin over bone tends to close up into a grey smudge.
A single lotus blossom centred on the sternum notch is the most symmetrical option here, and it is one of the few designs that works better as one central element than as a spread. Our lotus flower tattoo designs guide covers the variations in more depth.
Both are usually one-session pieces, though a heavily stippled feather can run longer than you expect for its size.
8. Bolder Choices: Snakes and Sunflower Clusters
Not every collarbone tattoo has to whisper. Two designs on this list deliberately do not.
A snake silhouette wrapping the collarbone uses the bone as a natural S-curve, and because the body of the snake is a solid shape it holds contrast far longer than any fine line piece here. It is the option I would pick if I wanted something readable in twenty years.
Sunflower clusters bring weight and warmth to a placement that is usually delicate. Expect a longer session and a more involved healing week than a scattered-stars piece, simply because there is more ink in the skin.
Bolder work is also the more forgiving choice on this placement, since thicker lines tolerate the sun exposure and skin movement that thin ones do not. If snakes appeal, there is a fuller set in our snake tattoo ideas.
Variations Worth Considering
The same fifteen ideas change character considerably depending on how you place and scale them.
Single-Side Versus Symmetrical
A design on one collarbone only is easier to conceal, cheaper, and reads as deliberate asymmetry. Symmetrical pieces spanning both sides look more like jewellery but roughly double the session and the cost.
Wrapping Onto the Shoulder
Letting a vine or a flock continue over the shoulder cap turns a small piece into the start of something larger. It also means the tattoo is partly visible in almost any top. Our small shoulder tattoo ideas pair naturally with collarbone work if you are planning to expand later.
Colour Versus Black and Grey
Most collarbone work is black and grey, and there is a practical reason: on a sun-exposed, thin-skinned area, colour generally fades faster than black. Soft colour can work beautifully, but plan on touch-ups sooner than you would elsewhere.
Aftercare and Healing on the Collarbone
Follow the aftercare instructions your artist gives you, since they know what ink and technique they used. What follows is general context, not medical advice.
The collarbone heals awkwardly for one specific reason: bra straps, backpack straps and seatbelts all cross it. In my experience the first four or five days are the ones where you notice the placement, mostly because of what is rubbing against it rather than the tattoo itself.
Sun protection matters more here than almost anywhere. Once the tattoo is fully healed, the American Academy of Dermatology recommends keeping tattooed skin covered or protected with broad-spectrum sunscreen, and this placement gets sun in every season.
Watch for anything that is not settling normally: spreading redness, swelling that worsens after the first few days, heat, pus, or a fever. Those are signs to see a doctor rather than to search online, and the US Food and Drug Administration notes that reactions to tattoo ink can appear well after the session. The Mayo Clinic has a plain-language overview of the risks worth reading before a first tattoo.
Common Mistakes, and What to Do Instead
Going too small is the mistake I see most often. A design sized for a wrist looks lost on a collarbone, and shrinking a detailed image to fit is how you end up with a blur in five years.
Ignoring the stencil check with your arms raised is a close second. Skin over the clavicle moves a lot, and a design that is level at rest can sit crooked in every photo you take.
Booking a fine line specialist for a bold design, or the reverse, is the third. These are different skill sets, and portfolios tell you which one you are looking at.
Still weighing it up? If this would be your first piece, first tattoo ideas covers what to expect from the process itself, and jewellery-inspired tattoo ideas show the same aesthetic across wrists, ankles and fingers if you decide the collarbone is not the right spot after all.
Frequently Asked Questions
How badly does a collarbone tattoo hurt?
It is more sensitive than a forearm and less intense than the ribs or sternum. The bone sits close to the surface, so the sensation is sharp and vibrating rather than deep. Most people find the middle stretch of the bone manageable and the two ends — the sternum notch and the shoulder joint — noticeably worse. Sessions here are usually short, which helps a great deal.
How long does a collarbone tattoo take to heal?
The surface generally looks settled within two to three weeks, while the deeper layers keep healing for a couple of months. The complication on this placement is friction: bra straps, bag straps and seatbelts all cross the area. Loose necklines for the first week make a real difference. Follow the specific aftercare your artist gives you rather than generic advice.
Will a fine line collarbone tattoo fade faster than other placements?
In most cases yes, and sun exposure is the main reason rather than the placement itself. Necklines leave this area uncovered year round, and UV breaks down fine linework faster than thicker lines. Plan on a touch-up somewhere around the five-year mark, and use sunscreen on healed ink. Bolder designs hold up considerably longer.
How much does a collarbone tattoo cost?
Pricing depends far more on your artist’s rate and the design’s complexity than on the placement. A small fine line piece is often a shop minimum or a single short session, while a symmetrical design spanning both collarbones roughly doubles that. Always ask for a quote based on the finished stencil, not a rough description.
Can I hide a collarbone tattoo at work?
Usually, yes, which is a large part of the appeal. A crew neck or a buttoned collar covers the entire area, and most designs sit low enough that a standard shirt hides them completely. If concealability is your priority, keep the design below the bone rather than above it and avoid letting it run onto the shoulder.
Quick Summary
- The collarbone reads as jewellery, which is why necklace-style chains, vines and scattered stars work better here than dense standalone images.
- Fine line work gives you the delicate effect but fades fastest; bold lines and solid silhouettes hold contrast far longer.
- Pain is sharp rather than deep, and concentrates at the sternum notch and the shoulder end of the bone.
- Have the artist check the stencil with your arms raised as well as relaxed, because the skin here moves a lot.
- Size script so the smallest enclosed gap is clearly visible at arm’s length, or it will close up over time.
- Sun exposure is the biggest threat to a collarbone tattoo — cover healed ink or use broad-spectrum sunscreen.
- Symmetrical designs spanning both sides look best but roughly double the session time and the cost.
- See a doctor, not a forum, for spreading redness, worsening swelling, heat, pus or fever.